Skip to content

Kitchens

Kitchens planned around how you cook and store, then built and fitted by one team. From a single run to a kitchen that opens onto the living room.

Who this suits

  • A kitchen that no longer works for you
  • A new home before move-in
  • Part of a complete home
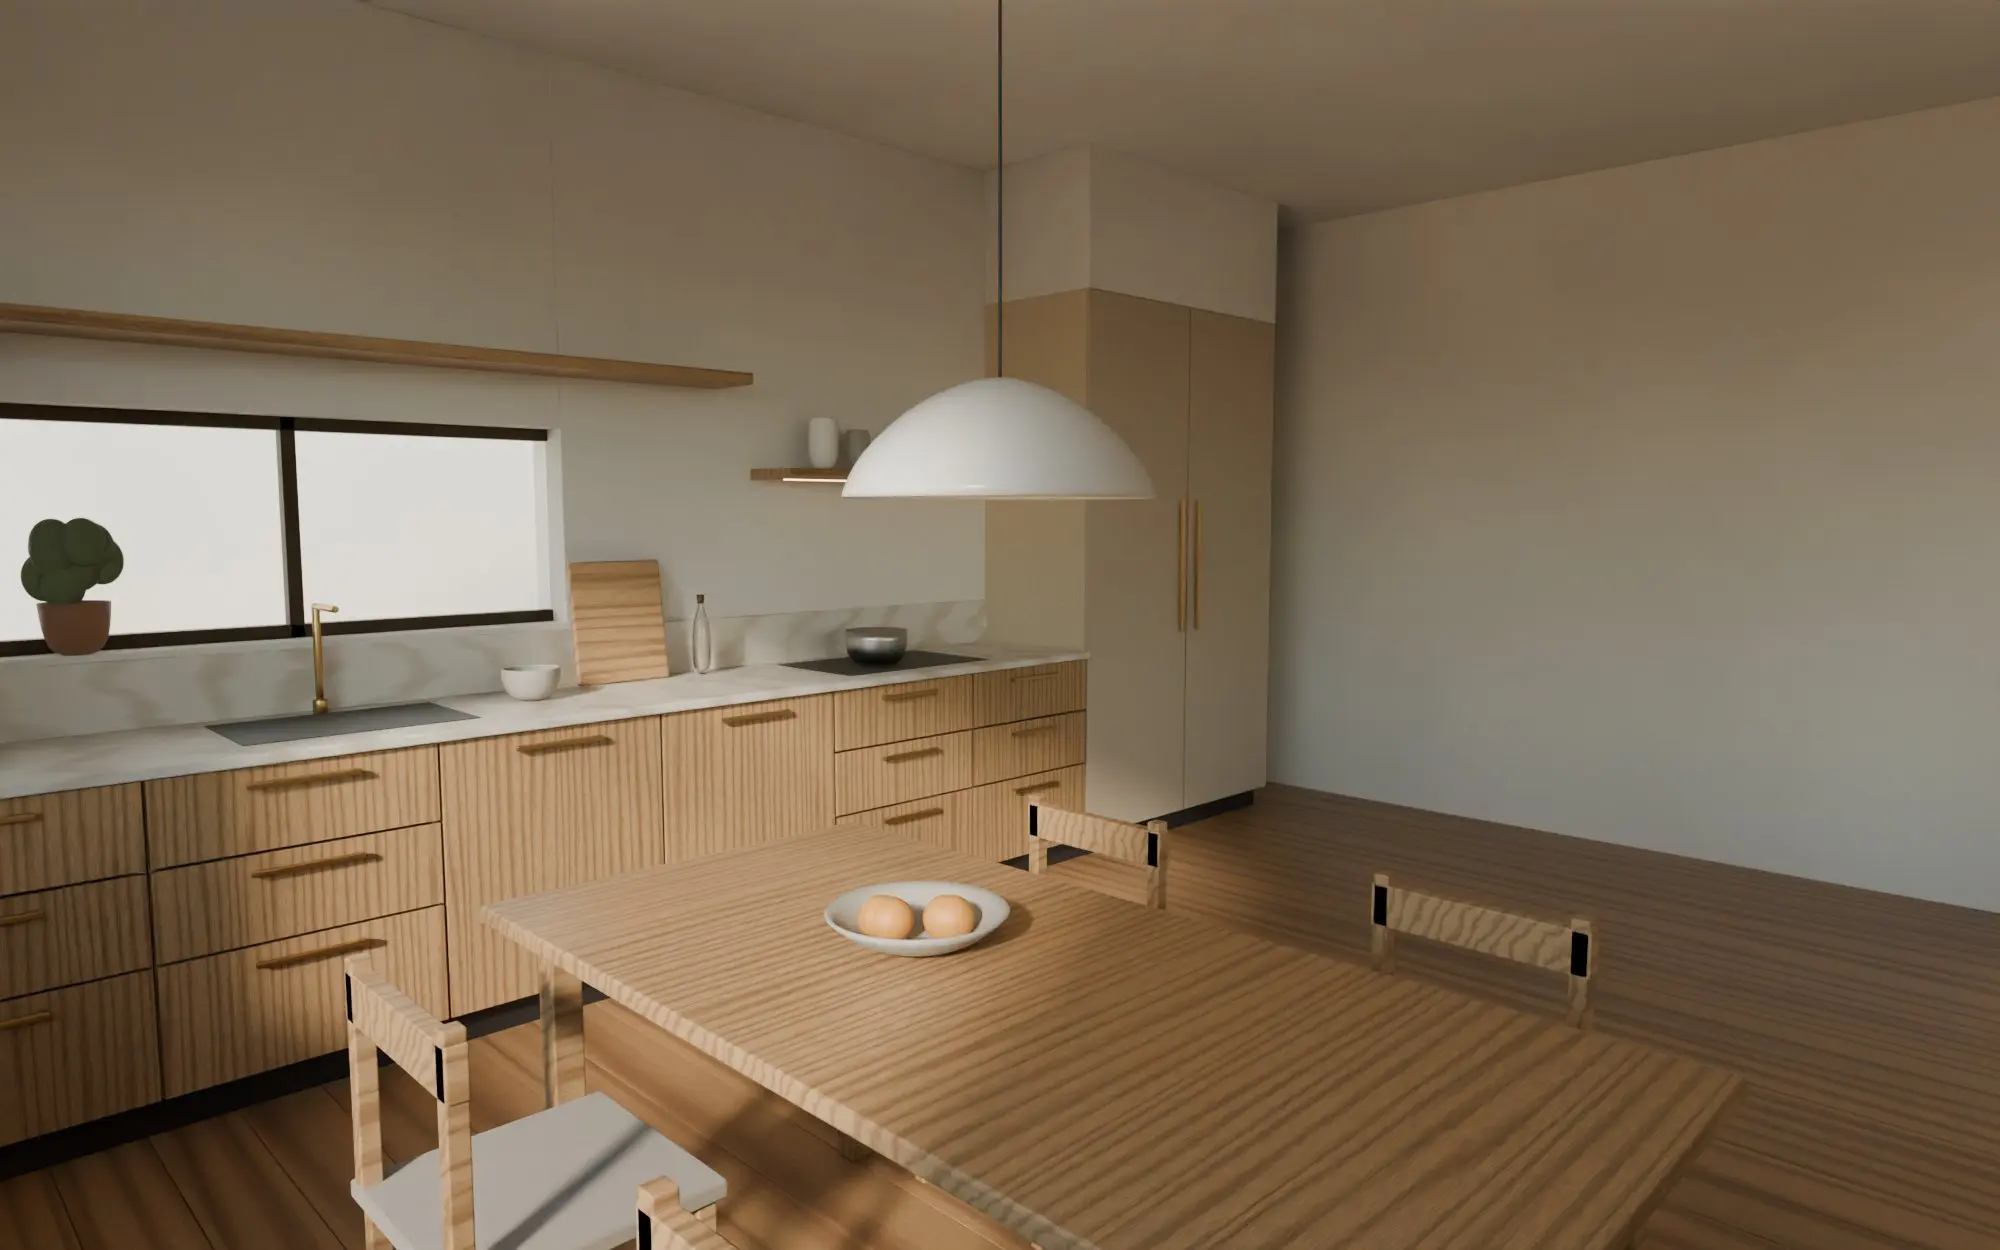
Concept render of a kitchen seen past the dining table: oak-veneer drawers, a limestone worktop, an open shelf and tall storage

What's included

  • Measured layout and 3D design
  • Cabinets, shutters and internal fittings
  • Worktop and splash coordination
  • Appliance and lighting positions
  • Installation and handover

Projects

How this kind of project runs

  1. Stage 1 of 6: First conversation

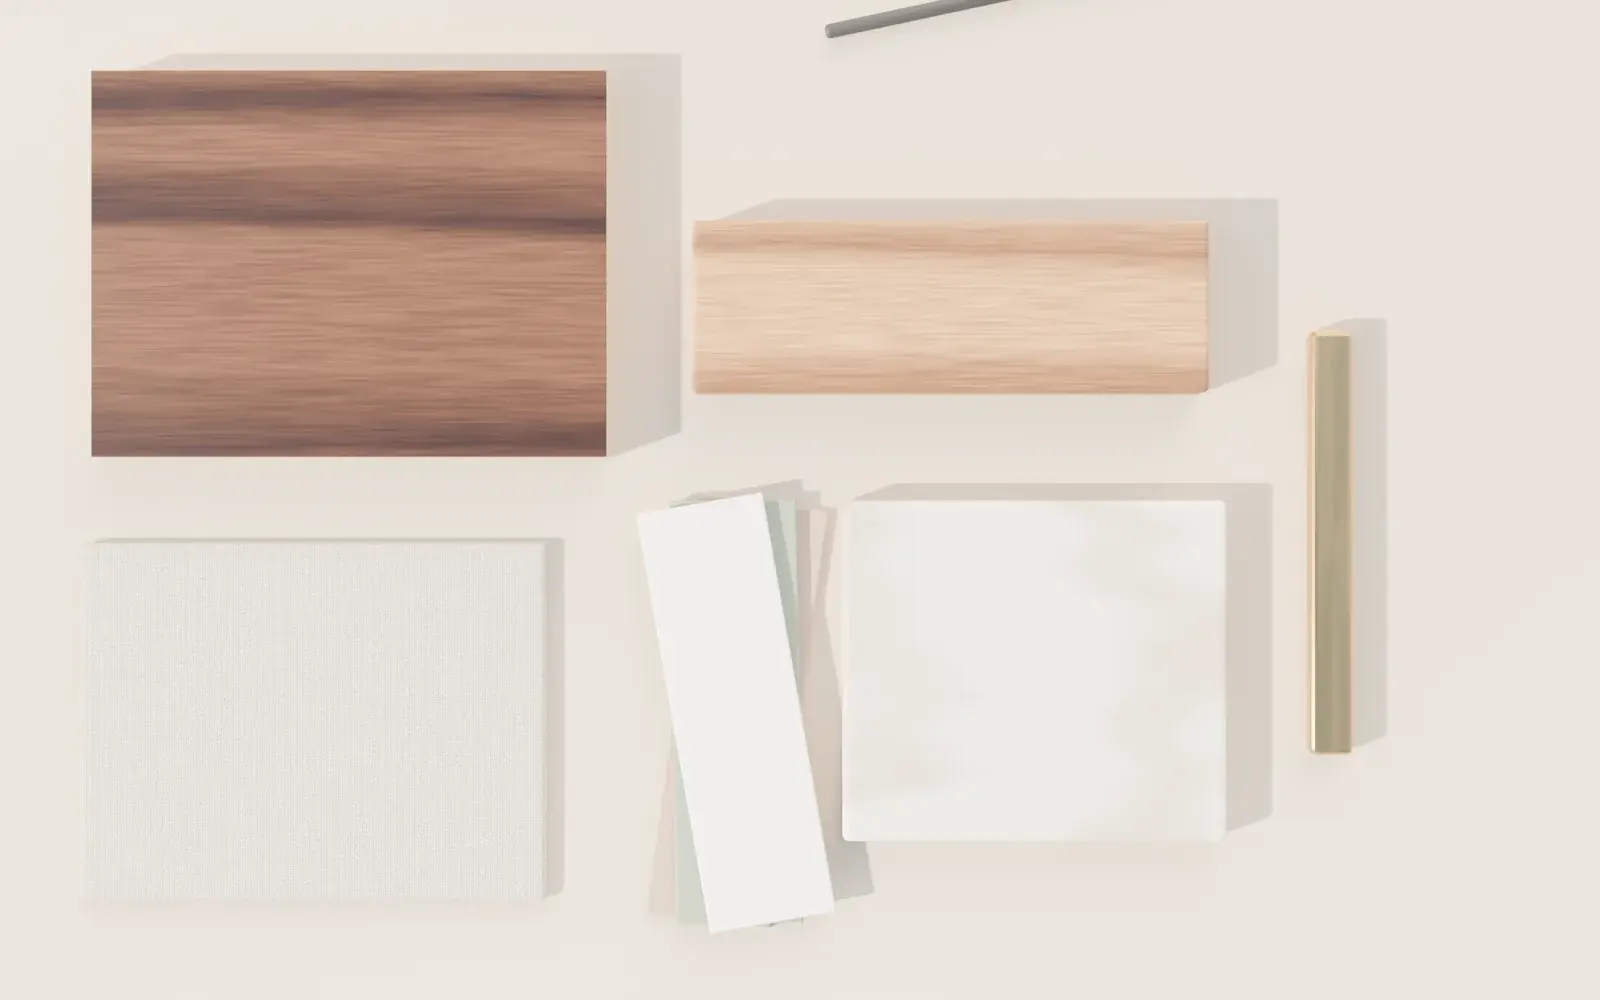
    Material samples laid out: walnut-faced plywood, oak, limestone, linen, lacquer chips and a brass pull
    A call or meeting about the space, how you use it and what isn't working. We talk about scope and a comfortable budget range, and agree whether a site visit is the right next step.

    You receiveA summary of what we heard · A proposed next step

    You approveWhether to go ahead with a site visit

    Led byDesign lead

    ThenSite visit & measurement
  2. Stage 2 of 6: Site visit & measurement

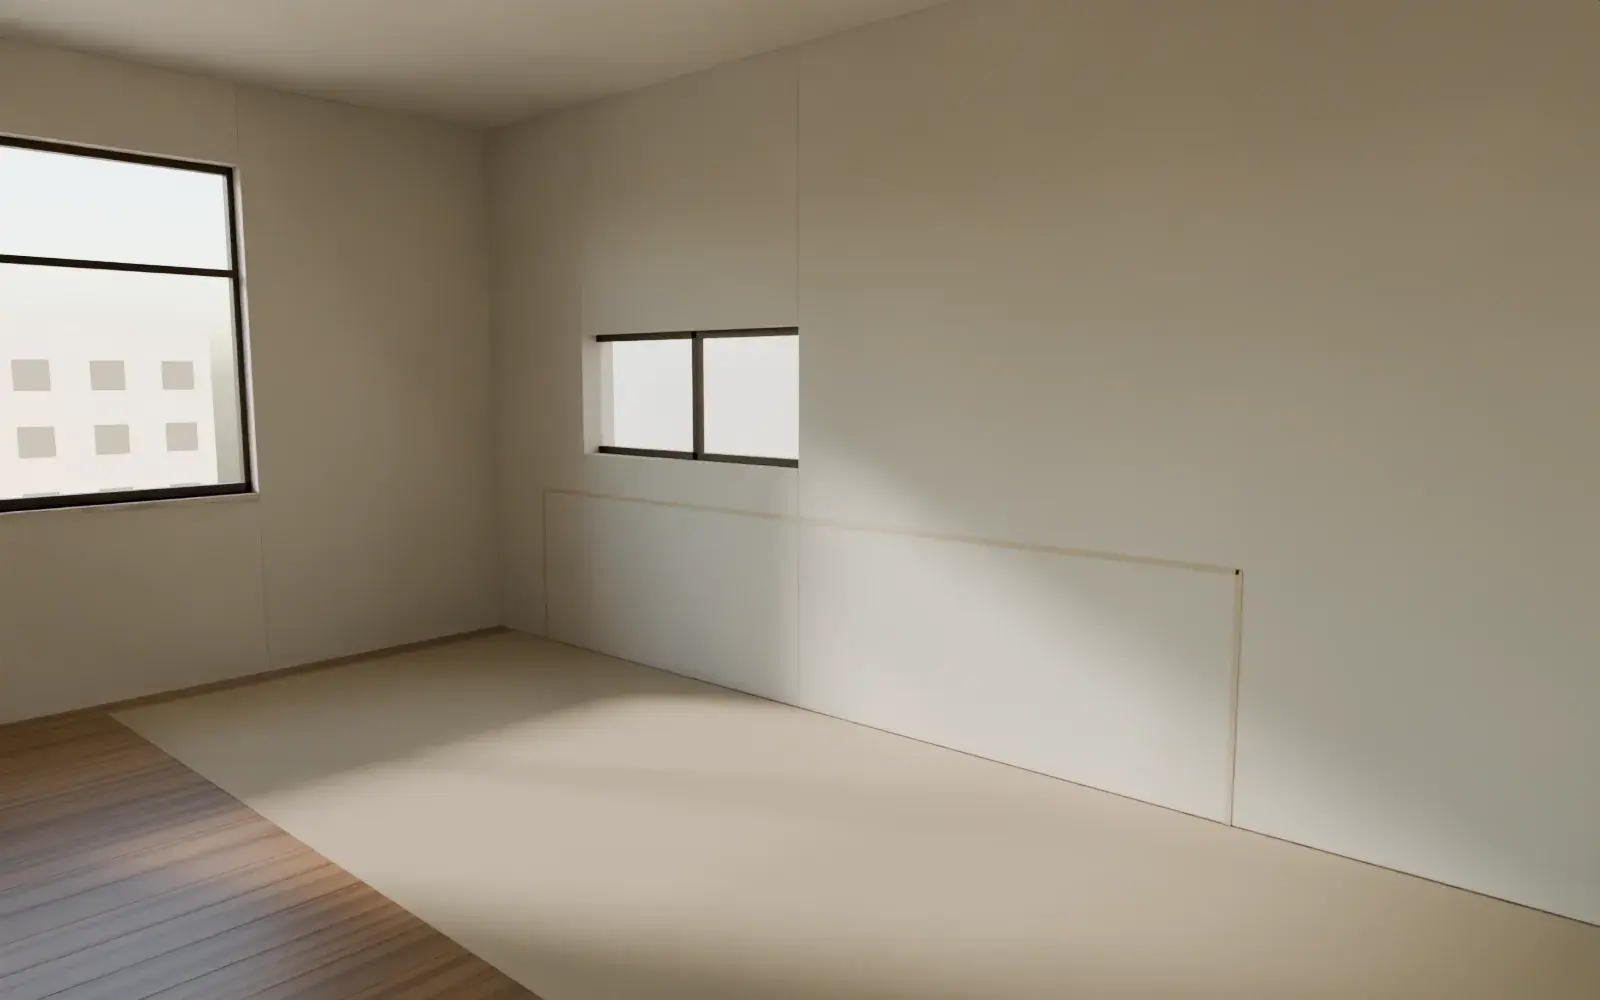
    An empty room with the kitchen's outline taped on the wall and paper protecting the floor
    We measure every wall, opening and service point, photograph the space and check what can and can't move. This is where most surprises are found — before they cost anything.

    You receiveMeasured drawings of the space · Notes on constraints

    You approveThe brief the design will answer

    Led byDesign lead and site lead

    ThenDesign & 3D
  3. Stage 3 of 6: Design & 3D

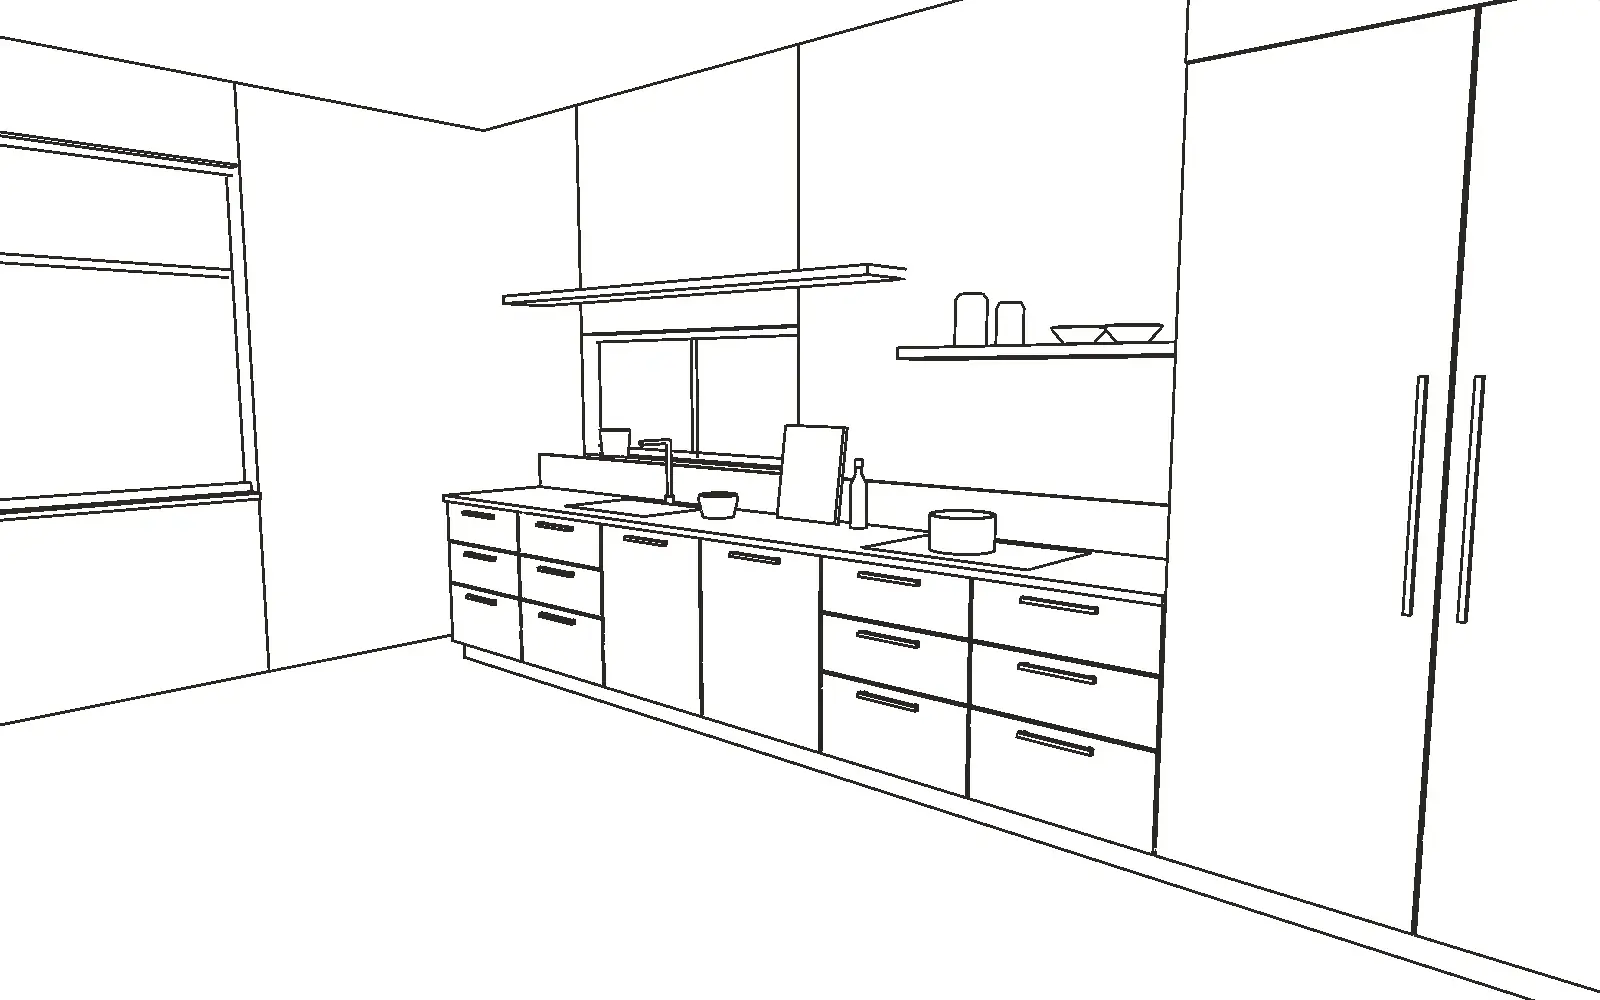
    Line drawing of the kitchen run and tall storage
    Layouts first, then 3D views and material samples you can hold. We revise together until the plan, the look and the estimate all agree.

    You receiveLayout drawings · 3D views · Material and finish samples · An itemised estimate

    You approveFinal design · Materials and finishes · Estimate

    Led byDesign lead

    ThenProduction
  4. Stage 4 of 6: Production

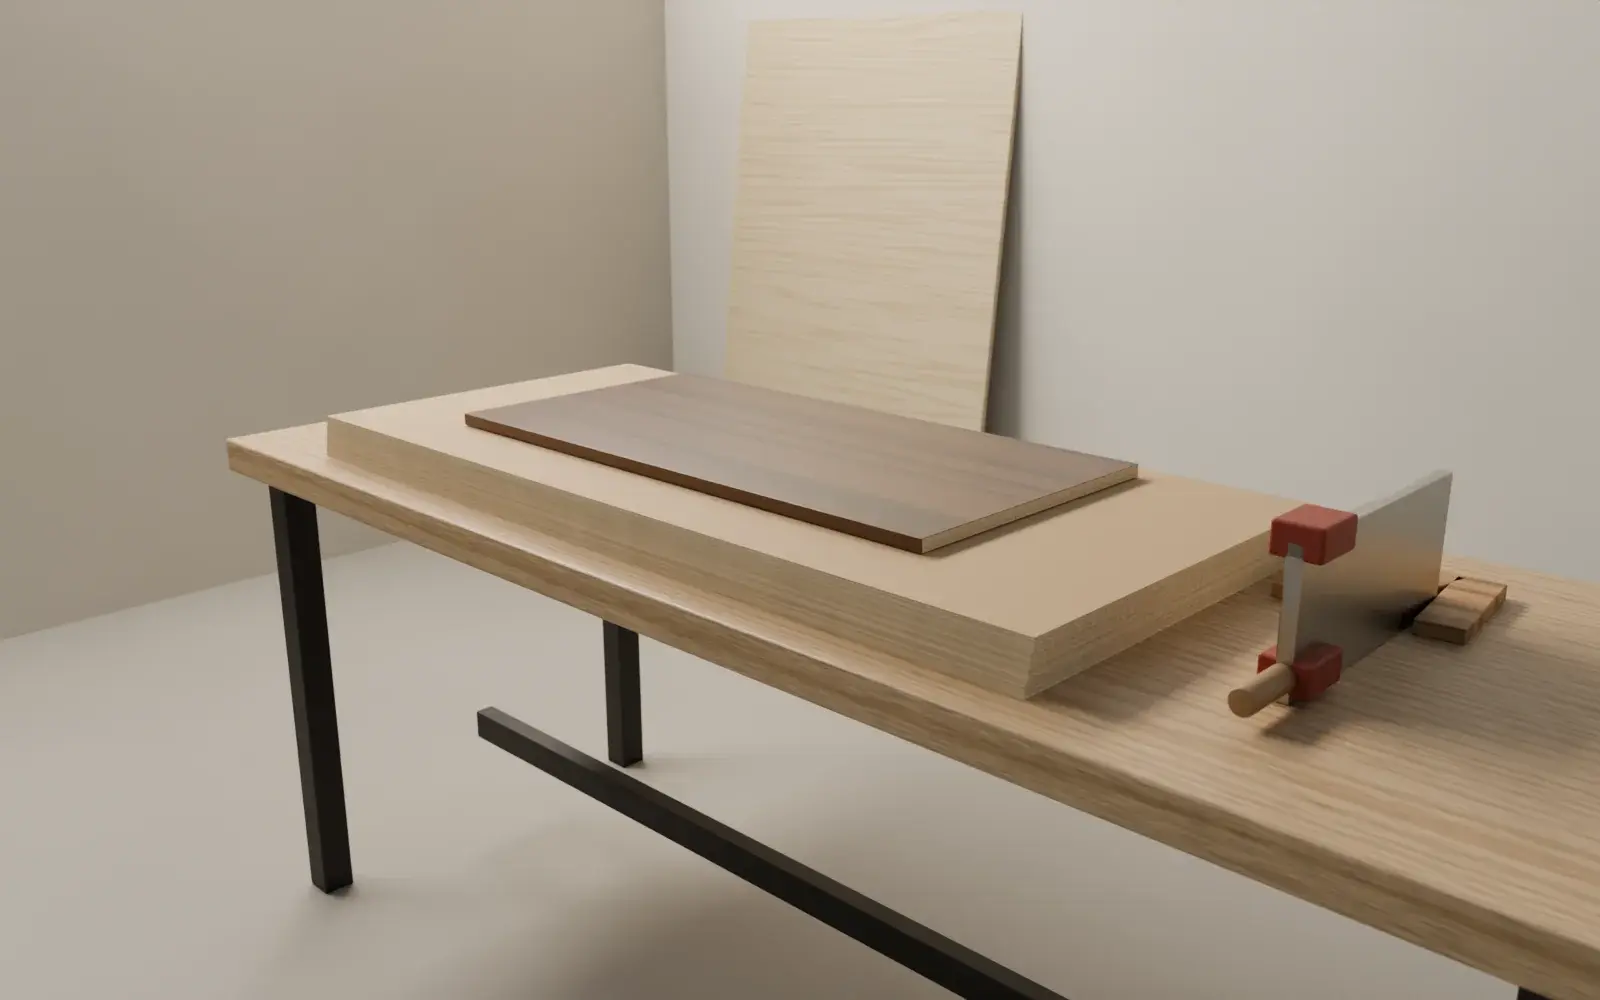
    A workshop bench with stacked plywood sheets, a walnut-faced panel, a clamp and a steel rule
    Joinery is made from the approved drawings. Site work — electrical, plumbing, civil — is scheduled so the room is ready when the joinery is.

    You receiveA written schedule · Progress updates at agreed points

    You approveAny change, in writing, before it is made

    Led byProduction and site leads

    ThenInstallation
  5. Stage 5 of 6: Installation

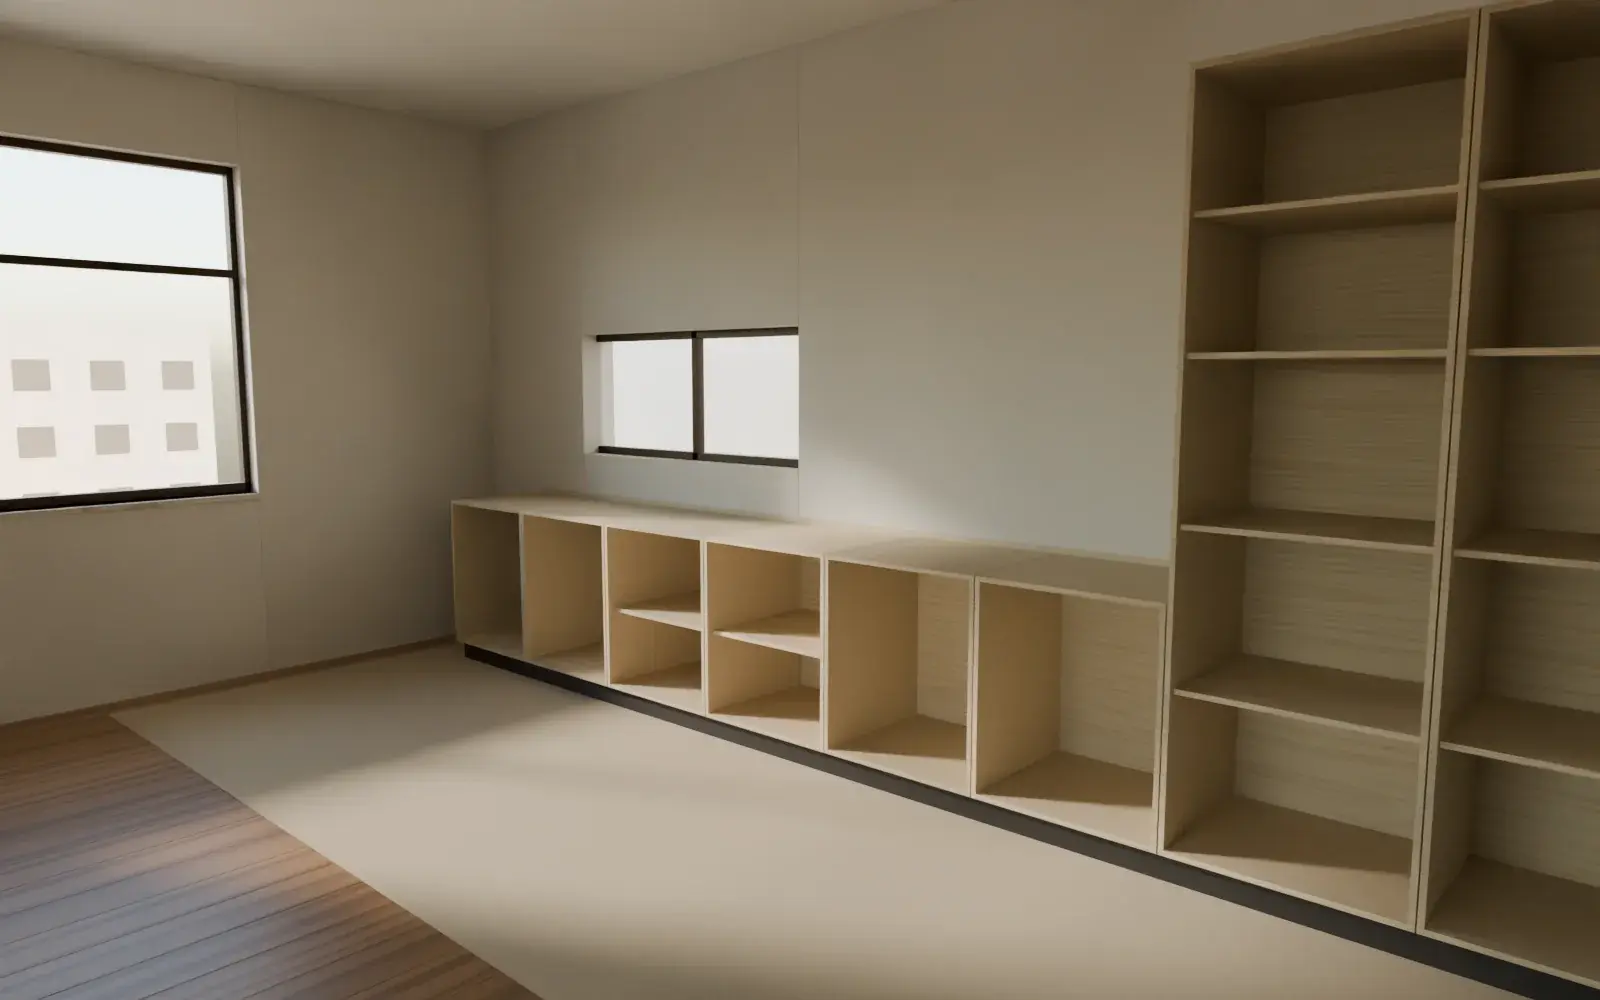
    Kitchen carcasses installed along the wall, before fronts and worktop
    Fitting on site: carcasses levelled, doors aligned, worktops templated and fixed. The site is kept clean and protected each day.

    You receiveA daily summary of what was done

    You approveSnag list walk-through

    Led bySite lead

    ThenHandover
  6. Stage 6 of 6: Handover

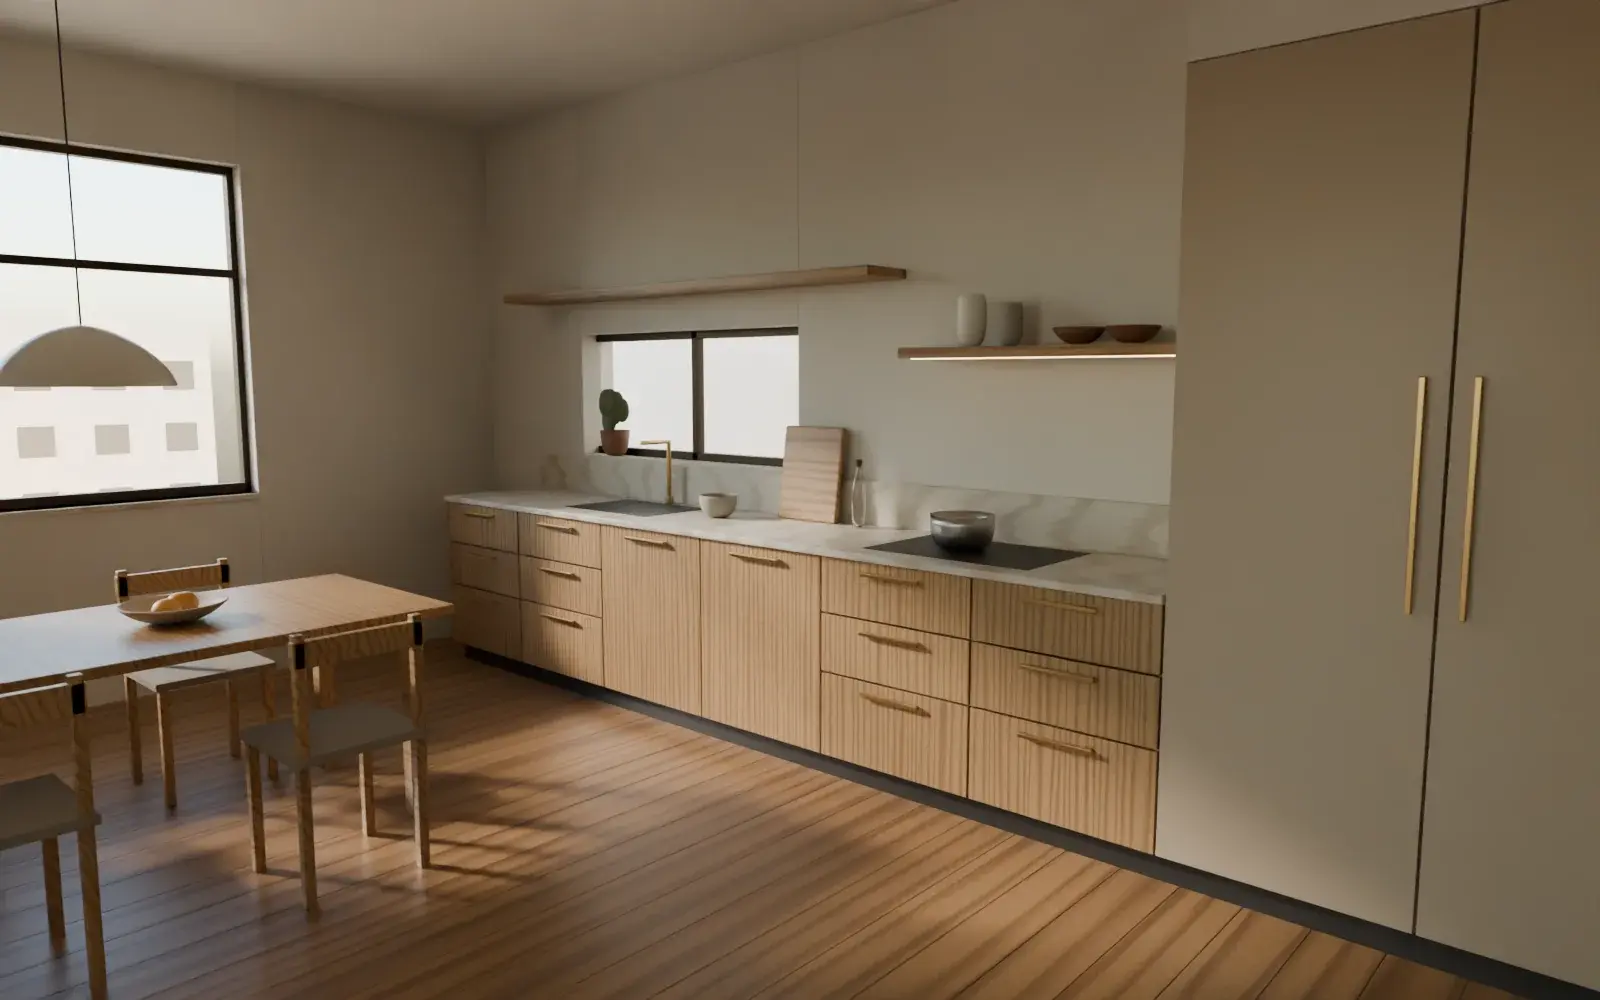
    The finished kitchen with oak fronts, limestone worktop and dining table
    We walk through every door, drawer and fitting together, fix anything outstanding and explain how to look after each finish.

    You receiveCare guide for your materials · A record of what was installed

    You approveHandover sign-off

    Led bySite lead and design lead
    ThenBook a consultation

Material options

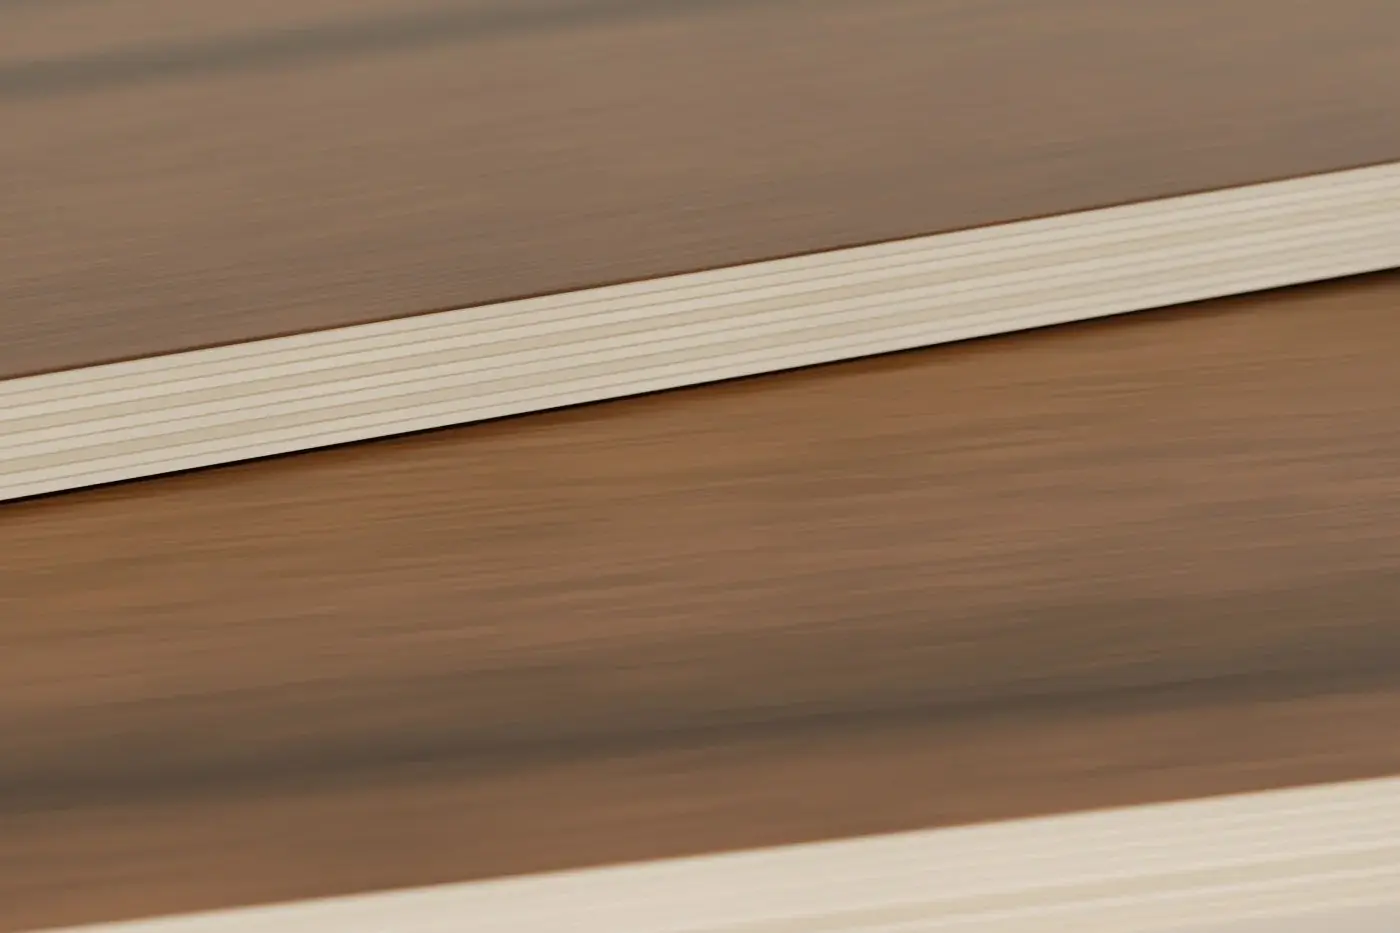
Concept render: boards seen edge-on, showing the layers of the core beneath the veneer
Board edges — the layers that give it strength

Boiling-water-resistant plywood

What it is
Plywood made from thin wood layers bonded with a water-resistant adhesive, often called BWP or marine-grade. It is the box behind the door — the part you rarely see.
Where we use it
Kitchen base units, bathroom vanities and anywhere near water.
Why
It holds screws well, resists swelling from spills and steam, and keeps its shape over years.
Trade-offs
Heavier and costlier than particle board; edges need banding or veneer to look finished.
Care
Wipe spills from edges promptly; keep sink cupboards ventilated.
Concept render: a fan of matte lacquer samples in terracotta, sage, stone, grey and white
Lacquer samples — five colourways

Matte lacquer

What it is
A sprayed paint finish on board, built up in layers and sanded between coats.
Where we use it
Kitchen and wardrobe shutters where a calm, solid colour is wanted.
Why
Any colour is possible, and a matte surface hides fingerprints better than gloss.
Trade-offs
Chips can happen on sharp knocks and need a careful touch-up; pale colours show marks.
Care
Soft cloth and mild soap; no abrasive pads.
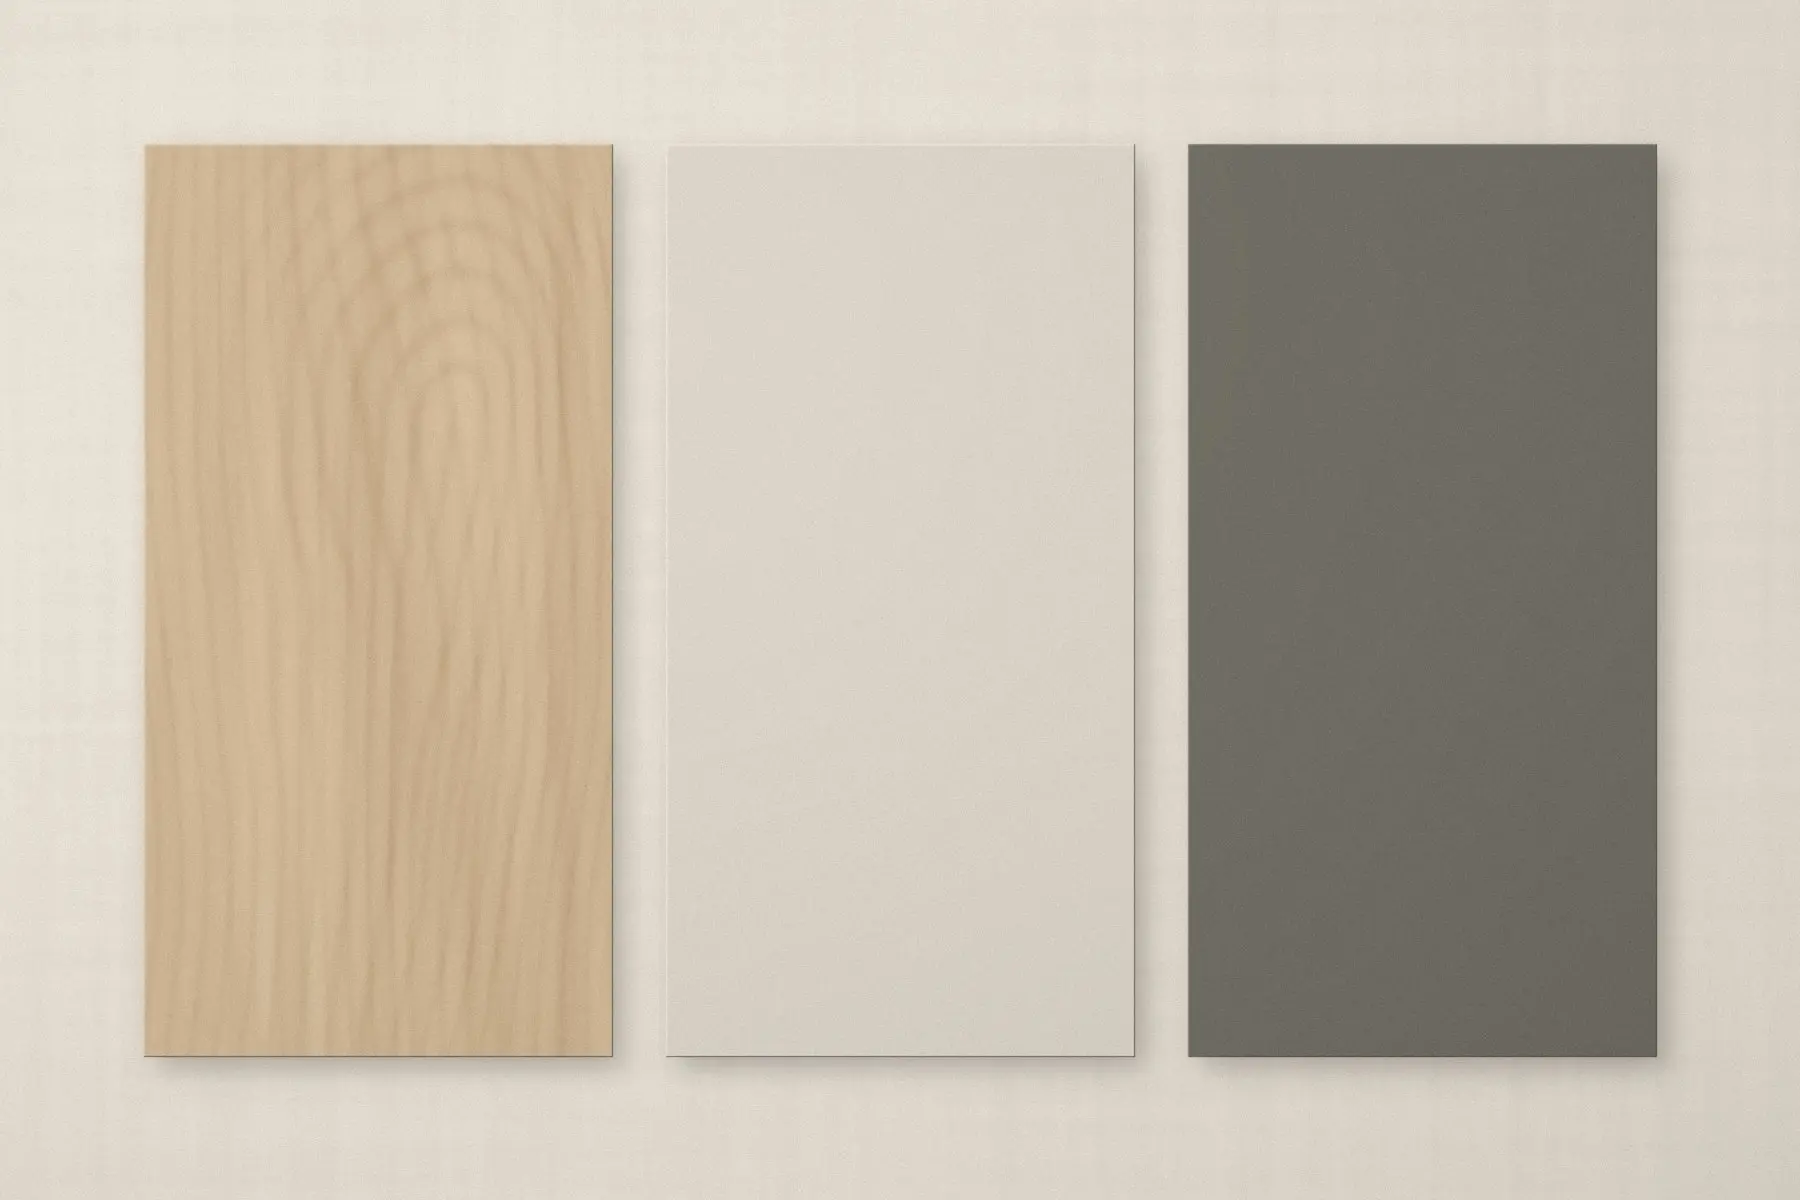
Illustration of three laminate samples: a wood print, a pale solid and a dark solid
Laminate samples

Laminate

What it is
A printed or solid-colour sheet pressed onto board under heat and pressure.
Where we use it
Hard-working shutters, interiors and commercial counters.
Why
Tough, easy to clean and available in many colours and wood looks.
Trade-offs
Edges show a line; wood prints don't age like real timber.
Care
Any mild cleaner; avoid hot pans directly on the surface.
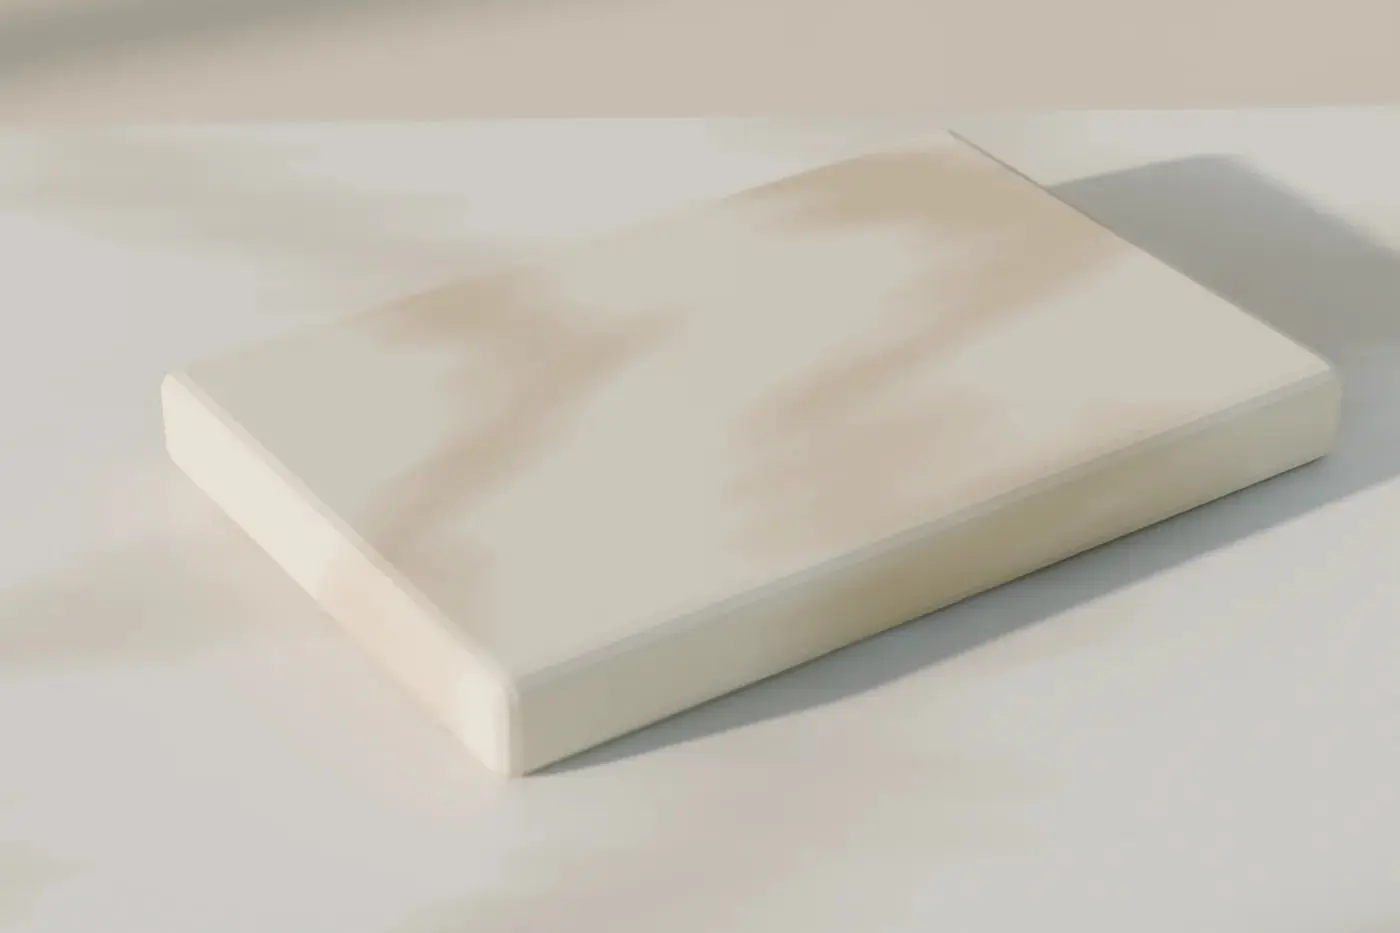
Concept render: a honed stone sample with an eased edge, resting on a pale worktop
Honed stone — eased edge

Stone worktops

What it is
Natural or engineered stone slabs, cut and finished on site templates.
Where we use it
Kitchen worktops, splashes and vanity tops.
Why
Heat- and wear-resistant, with a weight and presence that board can't match.
Trade-offs
Some natural stones stain or etch; engineered stone is more uniform but less varied.
Care
Wipe acids and oils promptly; reseal natural stone as advised for the type.
Illustration of a concealed cup hinge and mounting plate inside a door
Concealed hinge

Soft-close hinges

What it is
Concealed cup hinges with a damper that slows the door for the last few centimetres.
Where we use it
Every hinged door in kitchens and wardrobes.
Why
Doors close quietly and stay aligned; adjustment screws let doors be re-levelled over time.
Trade-offs
Quality varies widely; cheaper dampers weaken over time.
Care
Re-adjust if a door drops; keep hinges free of grit.

What affects the cost

  • Size and layout
  • Shutter material and finish
  • Internal fittings and hardware
  • Worktop choice

Every quote is itemised, so you can see where the money goes.

Questions

Do you take on small projects?
Yes. A single wardrobe, a kitchen or one room gets the same design process as a complete home — just fewer drawings. Tell us what you have in mind and we'll say plainly whether we're the right fit.
How is an estimate put together?
Room by room and item by item: carcass, shutters, finish, hardware, worktops and fitting are listed separately, so you can see what each choice costs and adjust before anything is made.
What happens if I change my mind mid-project?
Changes are easiest before production starts. After that, any change is agreed in writing — what changes, what it costs and how it affects the schedule — before any work on it begins.

Talk to us about your project

Any size of project is welcome. You'll speak to a person, not a sales script.

What happens next

  1. We call you back to understand the space and what you need
  2. We visit to measure and talk through ideas
  3. You receive a first layout and a clear next step

May we use Google Analytics to see which pages are useful? No advertising cookies. Privacy