Interiors designed around how you live, and made to be answered for.
Homes and workplaces, from a single wardrobe to a complete home — designed around daily life, then built as drawn.
The idea
A room is used in a thousand small ways a day. We start there — where things go, how the light falls, what gets touched most — and let the design follow.
Then we build what we drew. The people who plan your space stay with it through production, installation and handover, so what you approve is what you get.
Every size of project is welcome — one wardrobe gets the same care as a whole home.
Enter the space
A home is a sequence of rooms, not a set of pictures.
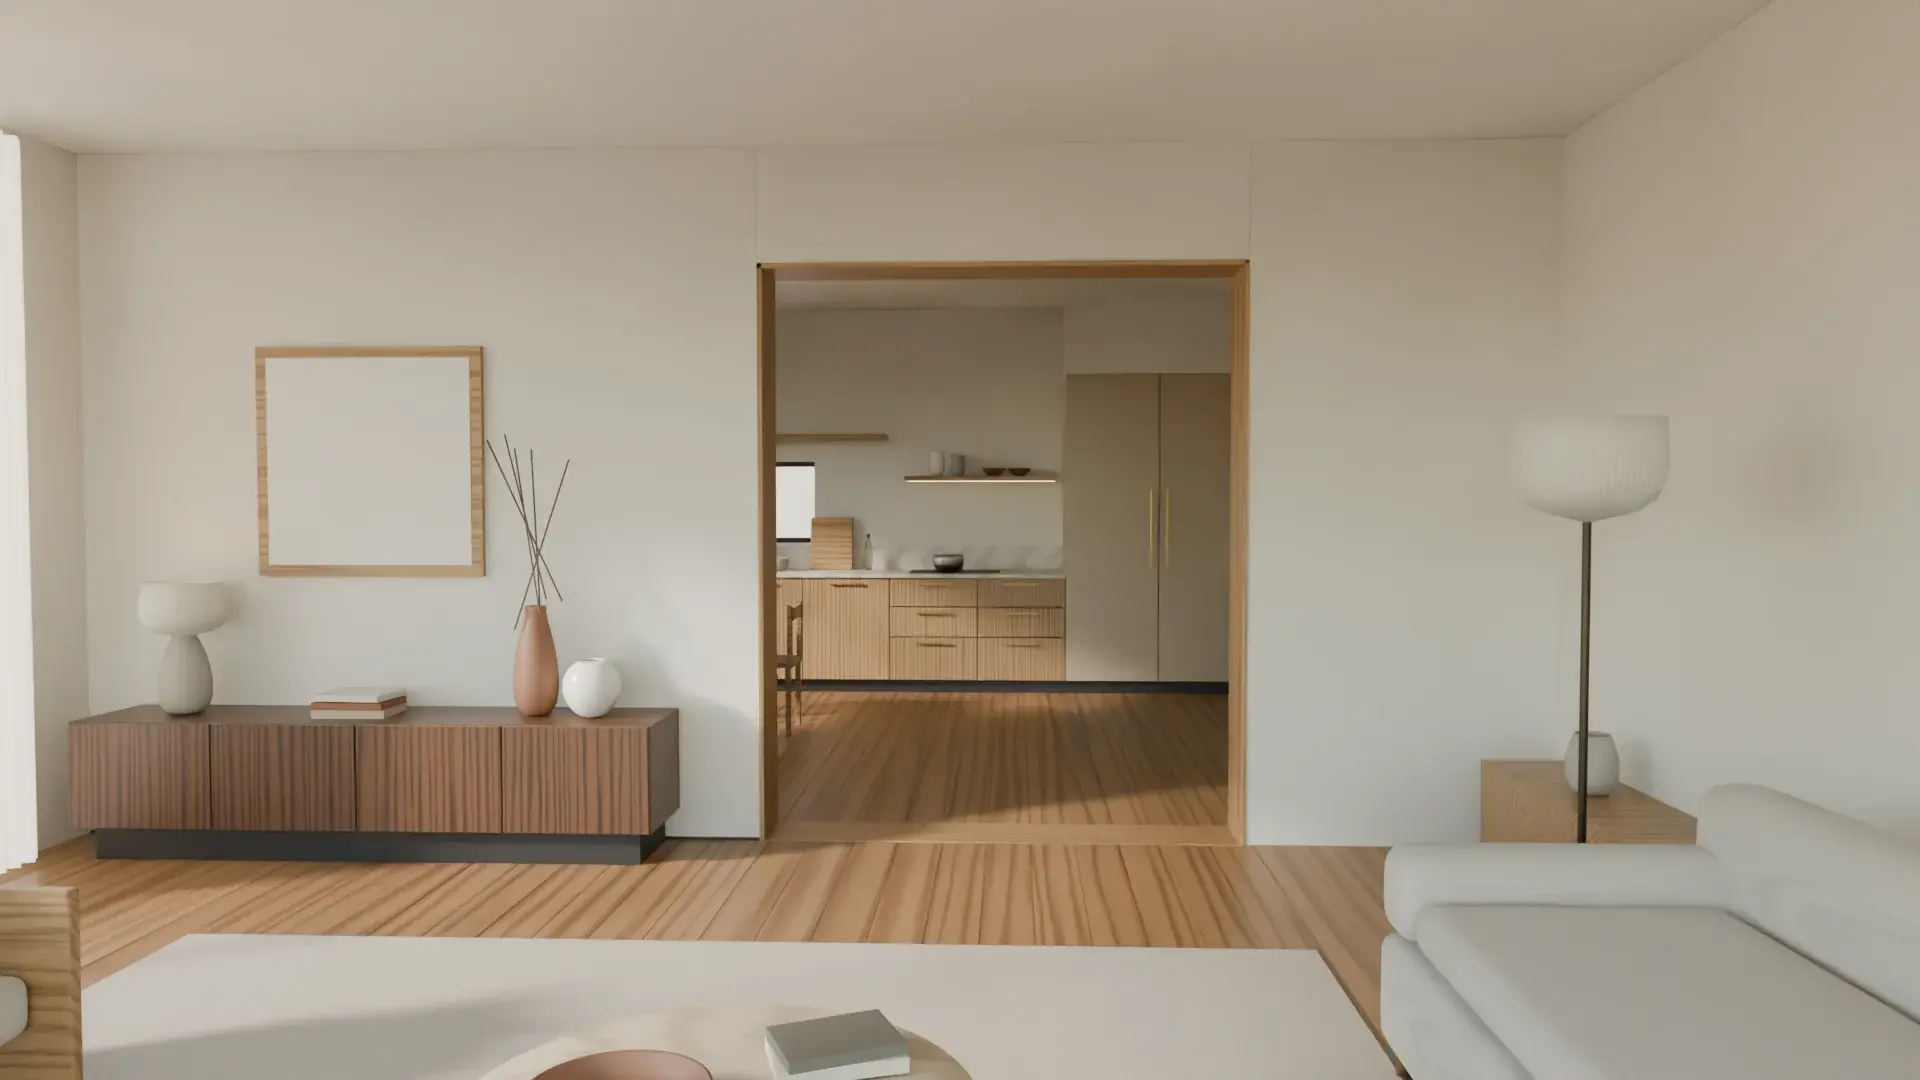
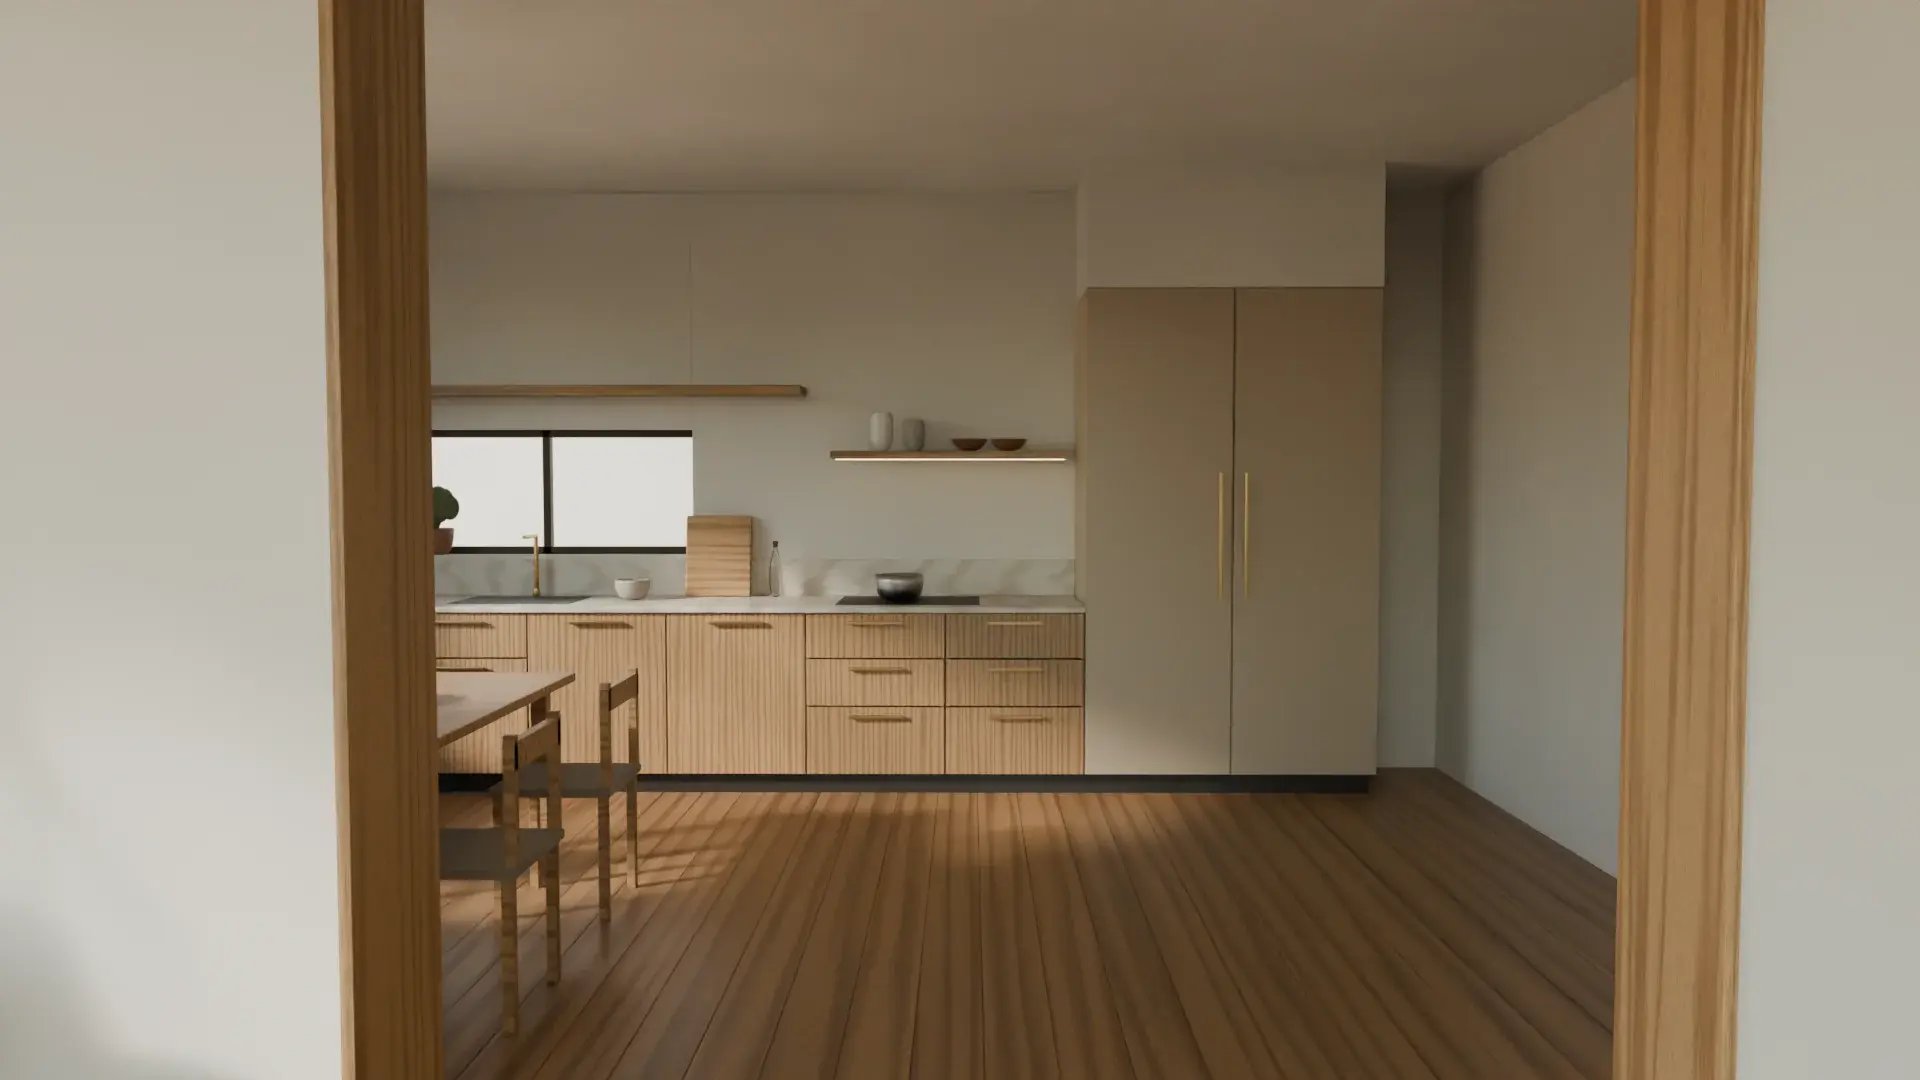
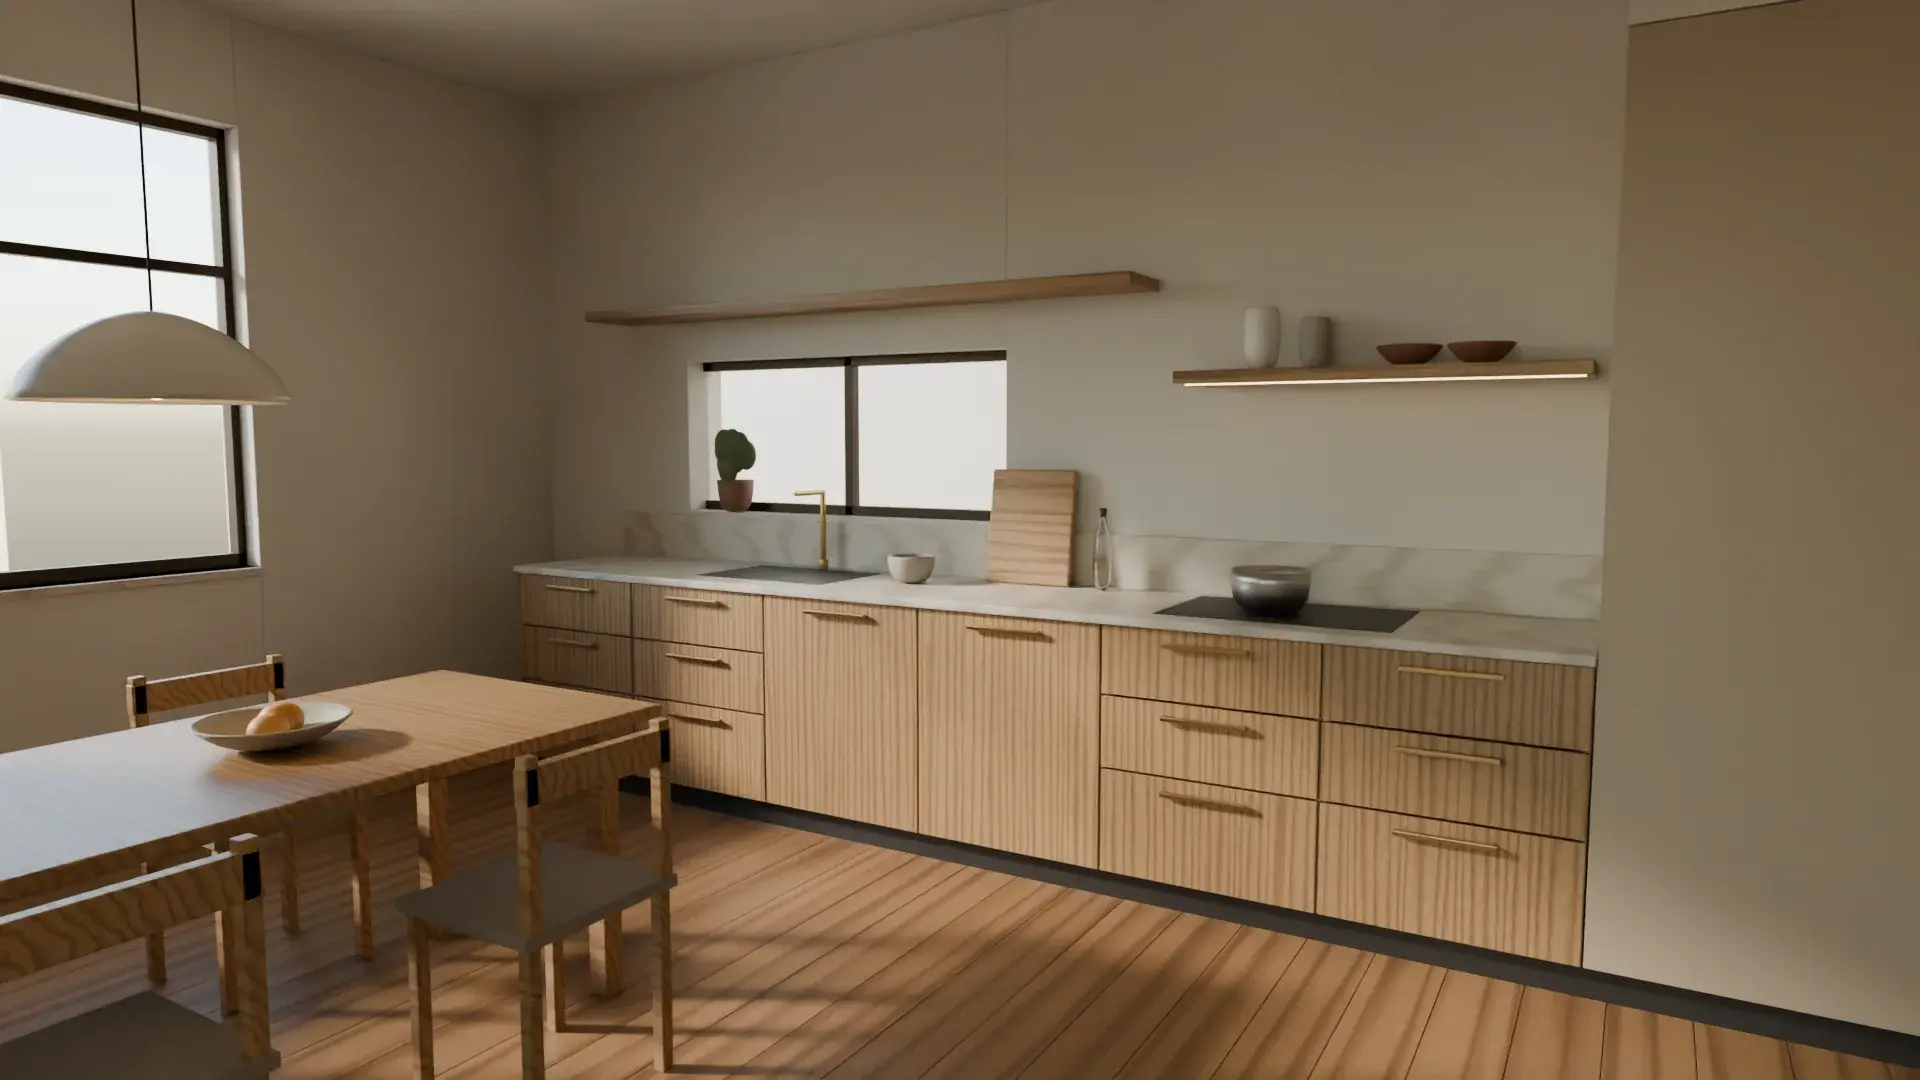
Arrive
The first view sets the tone: a clear line of sight, light from one side, nothing in the way.
Move through
Openings are framed, not just cut. An oak-lined reveal marks the step from living to cooking.
Settle
The kitchen is planned around the table: what is used daily is within reach, and the worktop stays clear.
Explore a space
Look closer. Every choice has a reason.
The kitchen
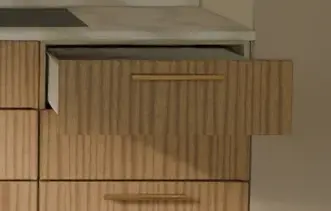
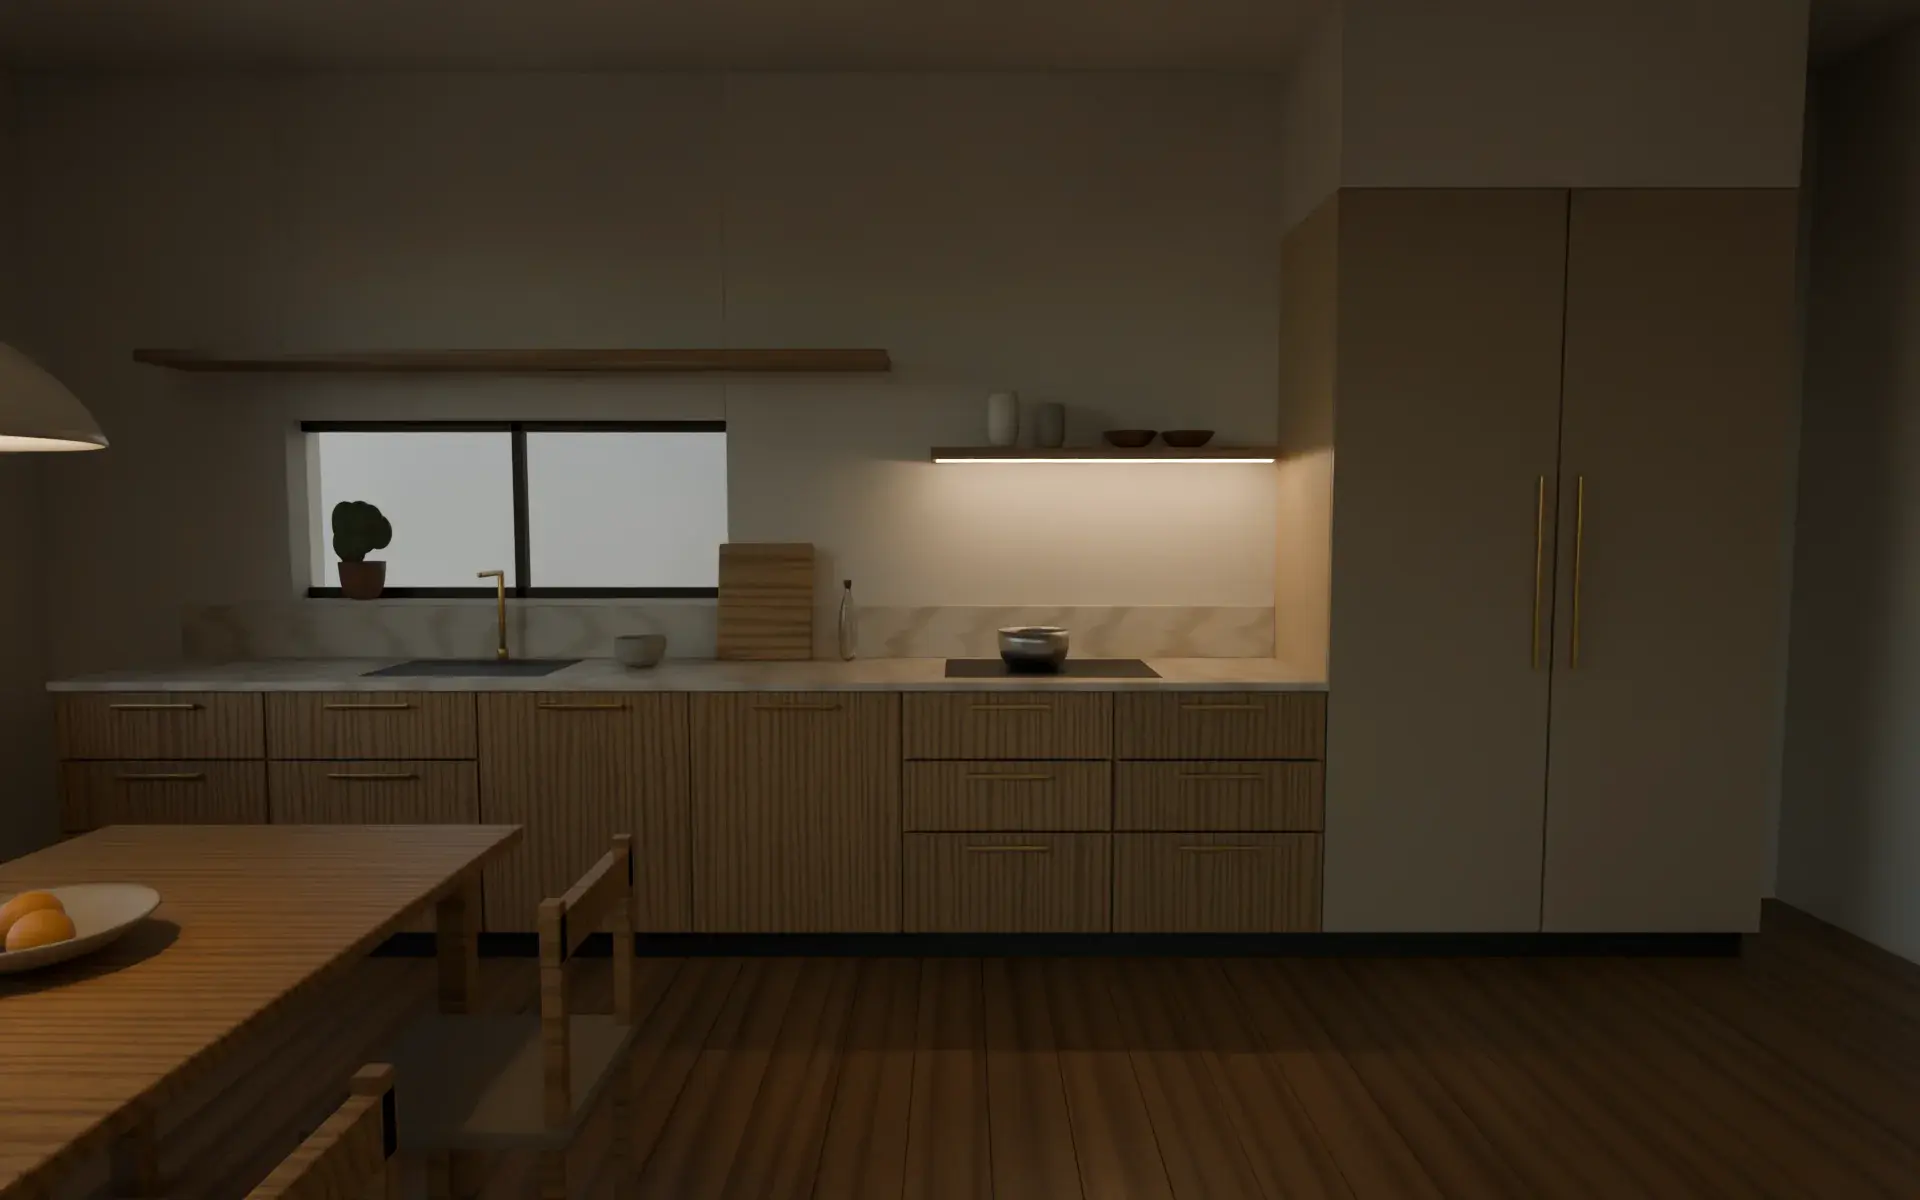
Five decisions in one run of cabinets. Select a point to read why — or use it: pull out a deep drawer, or see the kitchen in the evening light.
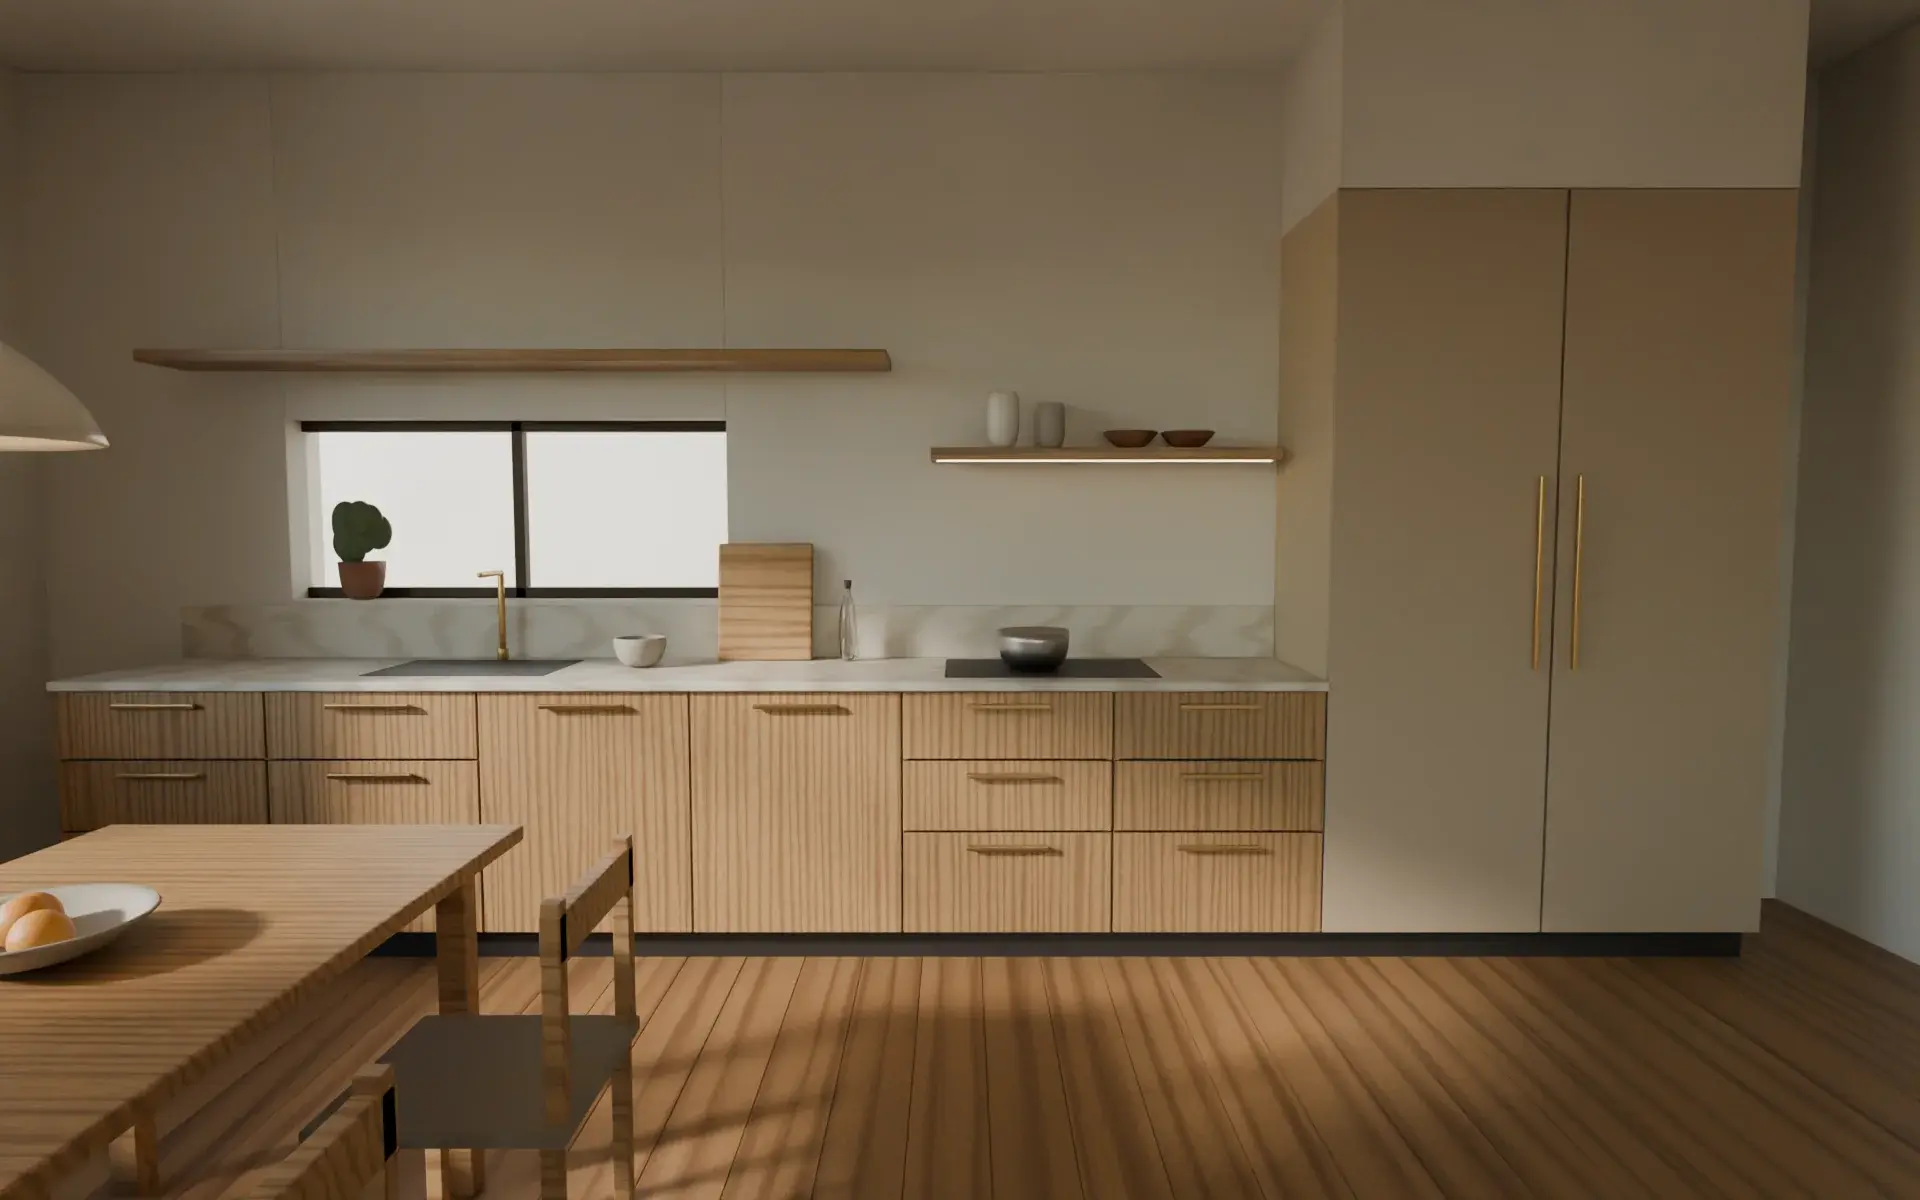
- 01The worktopHoned limestone with an eased edge: kind to hands and pans, and it doesn't chip where it is knocked most.
- 02Tall storageFull-height doors hide the pantry and appliances, so the rest of the run can stay open and light.
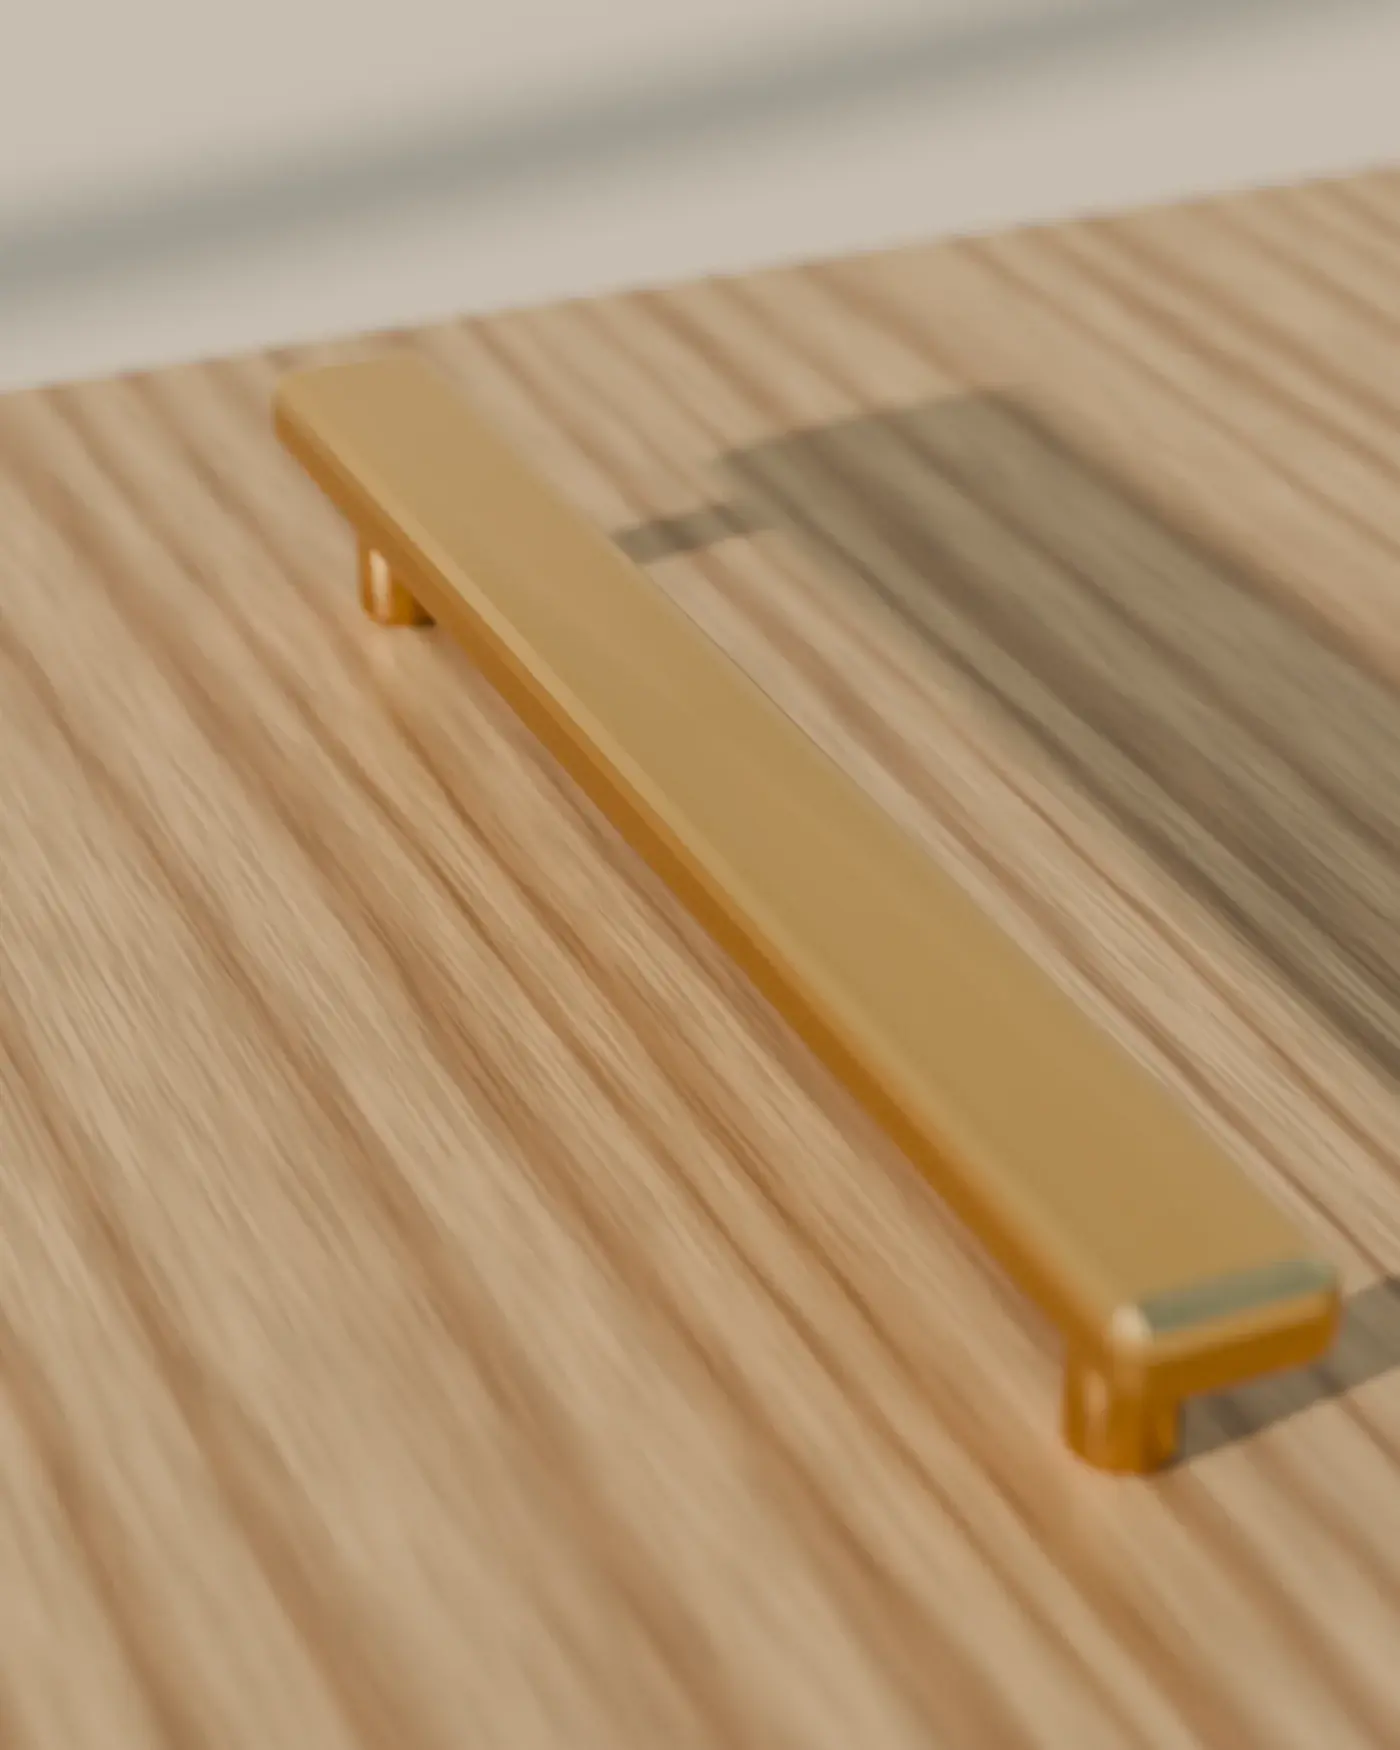
- 03HandlesA slim brushed-brass bar on the top edge of each drawer, where the hand naturally falls.
- 04Task lightA warm strip under the shelf lights the worktop without glare.
- 05Oak frontsVeneer with a vertical grain, and deep drawers instead of shelves so nothing is lost at the back.
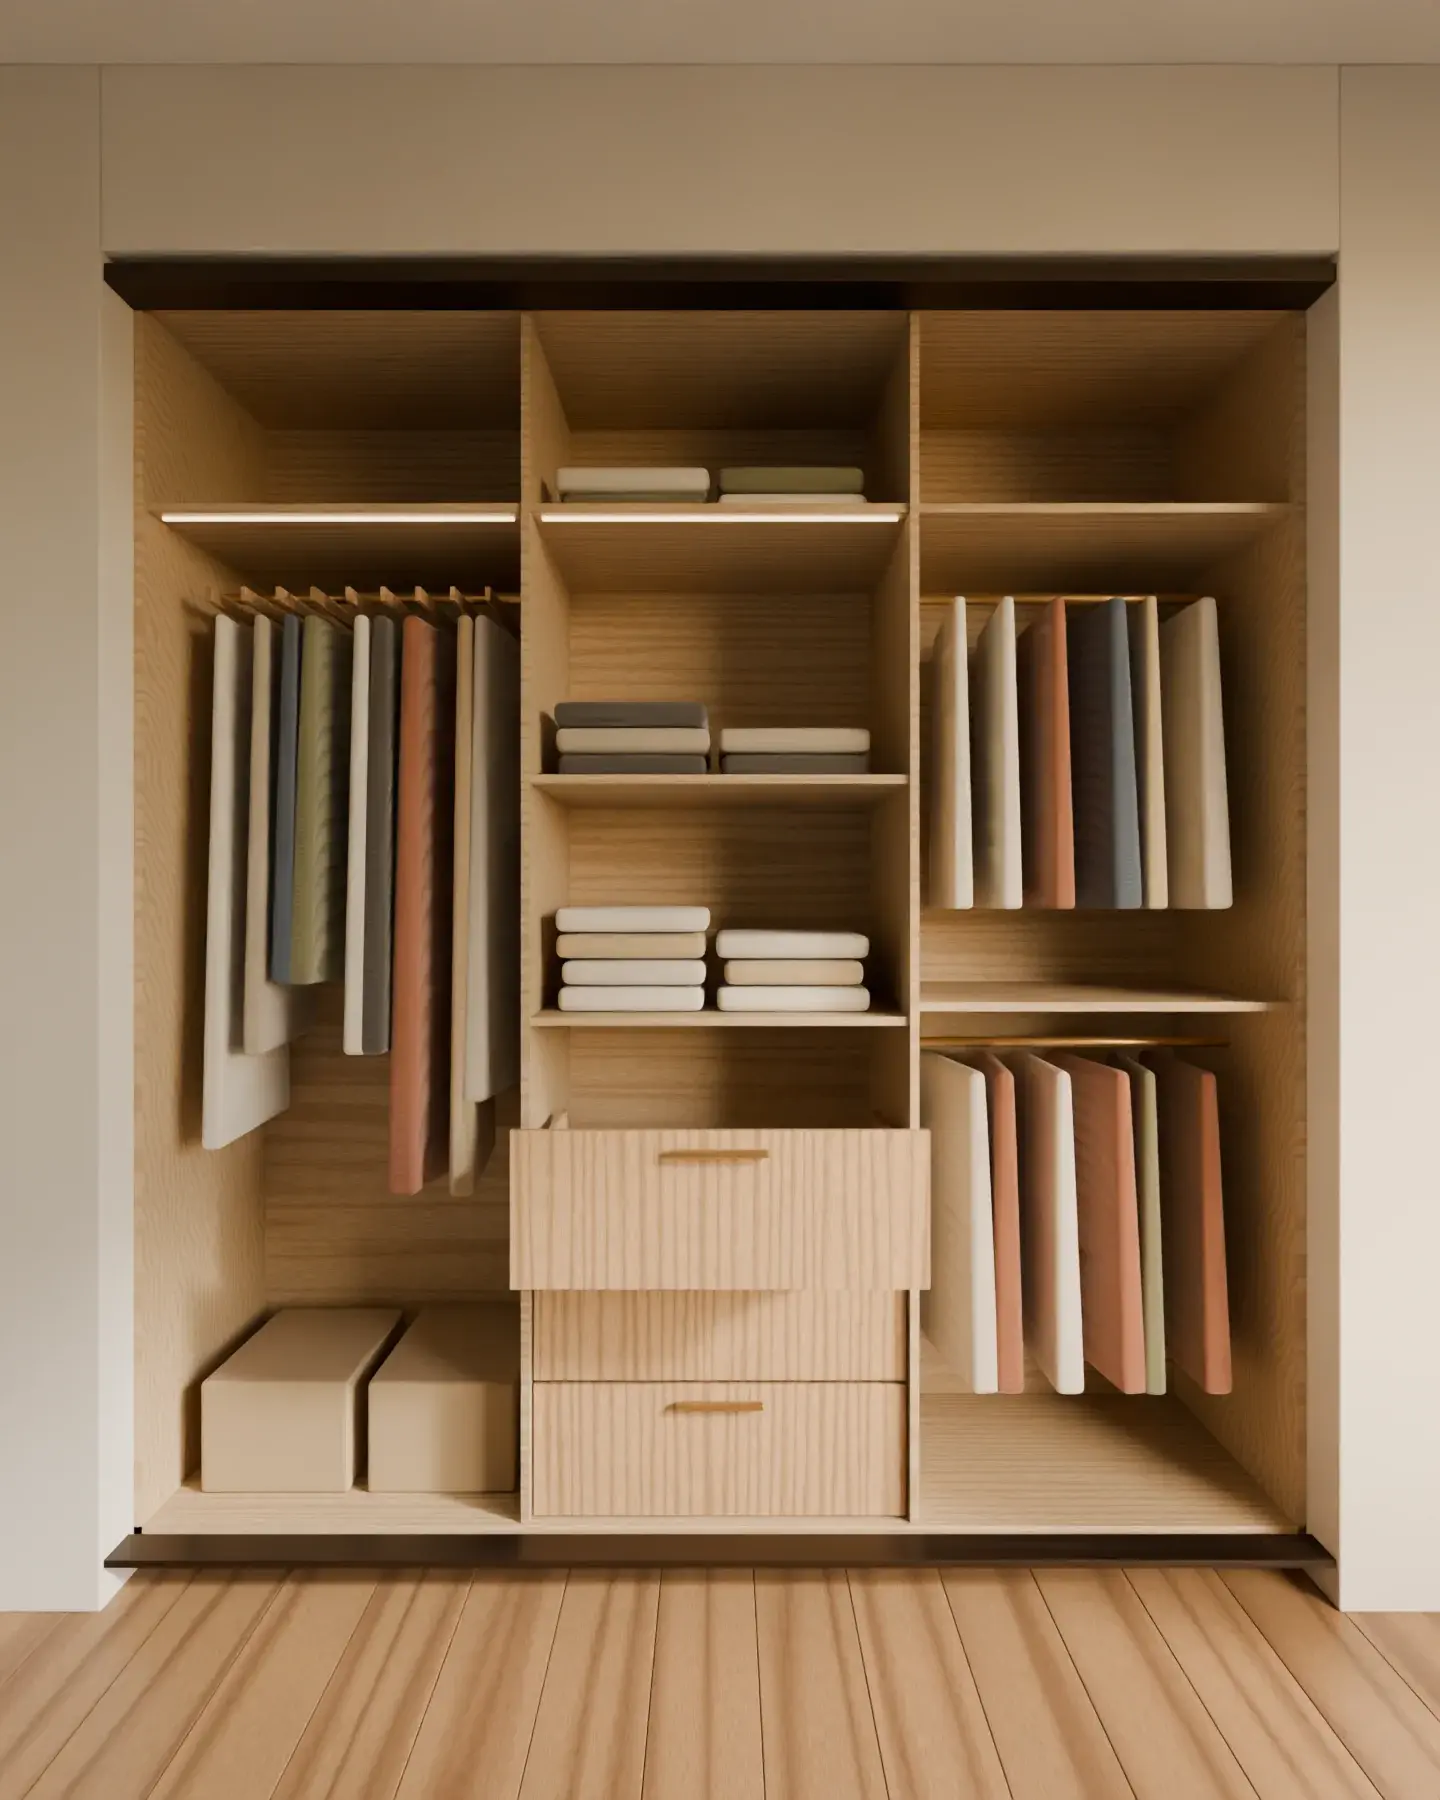
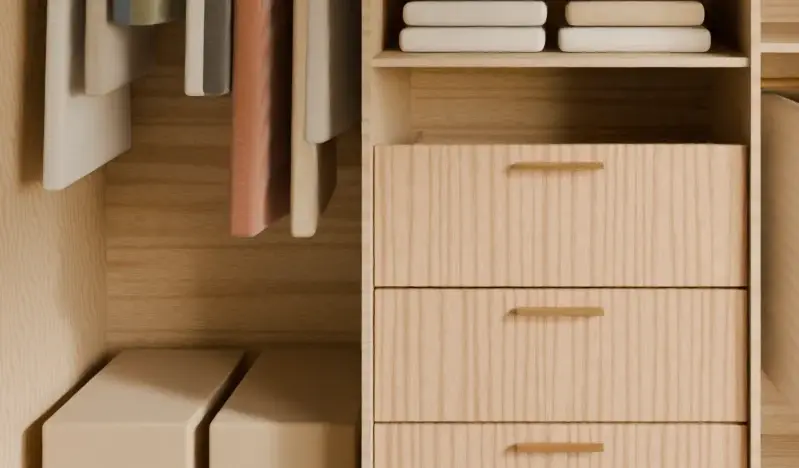
- 01Long hangingFull-length space for coats and dresses, lit from above so dark colours are easy to tell apart.
- 02Folded shelvesSpaced to the height of a stack of jumpers, so nothing topples when one comes out.
- 03Divided drawerOak dividers for the small things that otherwise end up in a heap.
- 04Shelf lightA warm strip under the top shelf.
- 05Sliding doorsThree panels on a top track: no door swings into the room.
The wardrobe
Planned from the inside out: what you own first, then the doors. Open it, then pull out the drawer.
Materials
Touch it before you choose it.
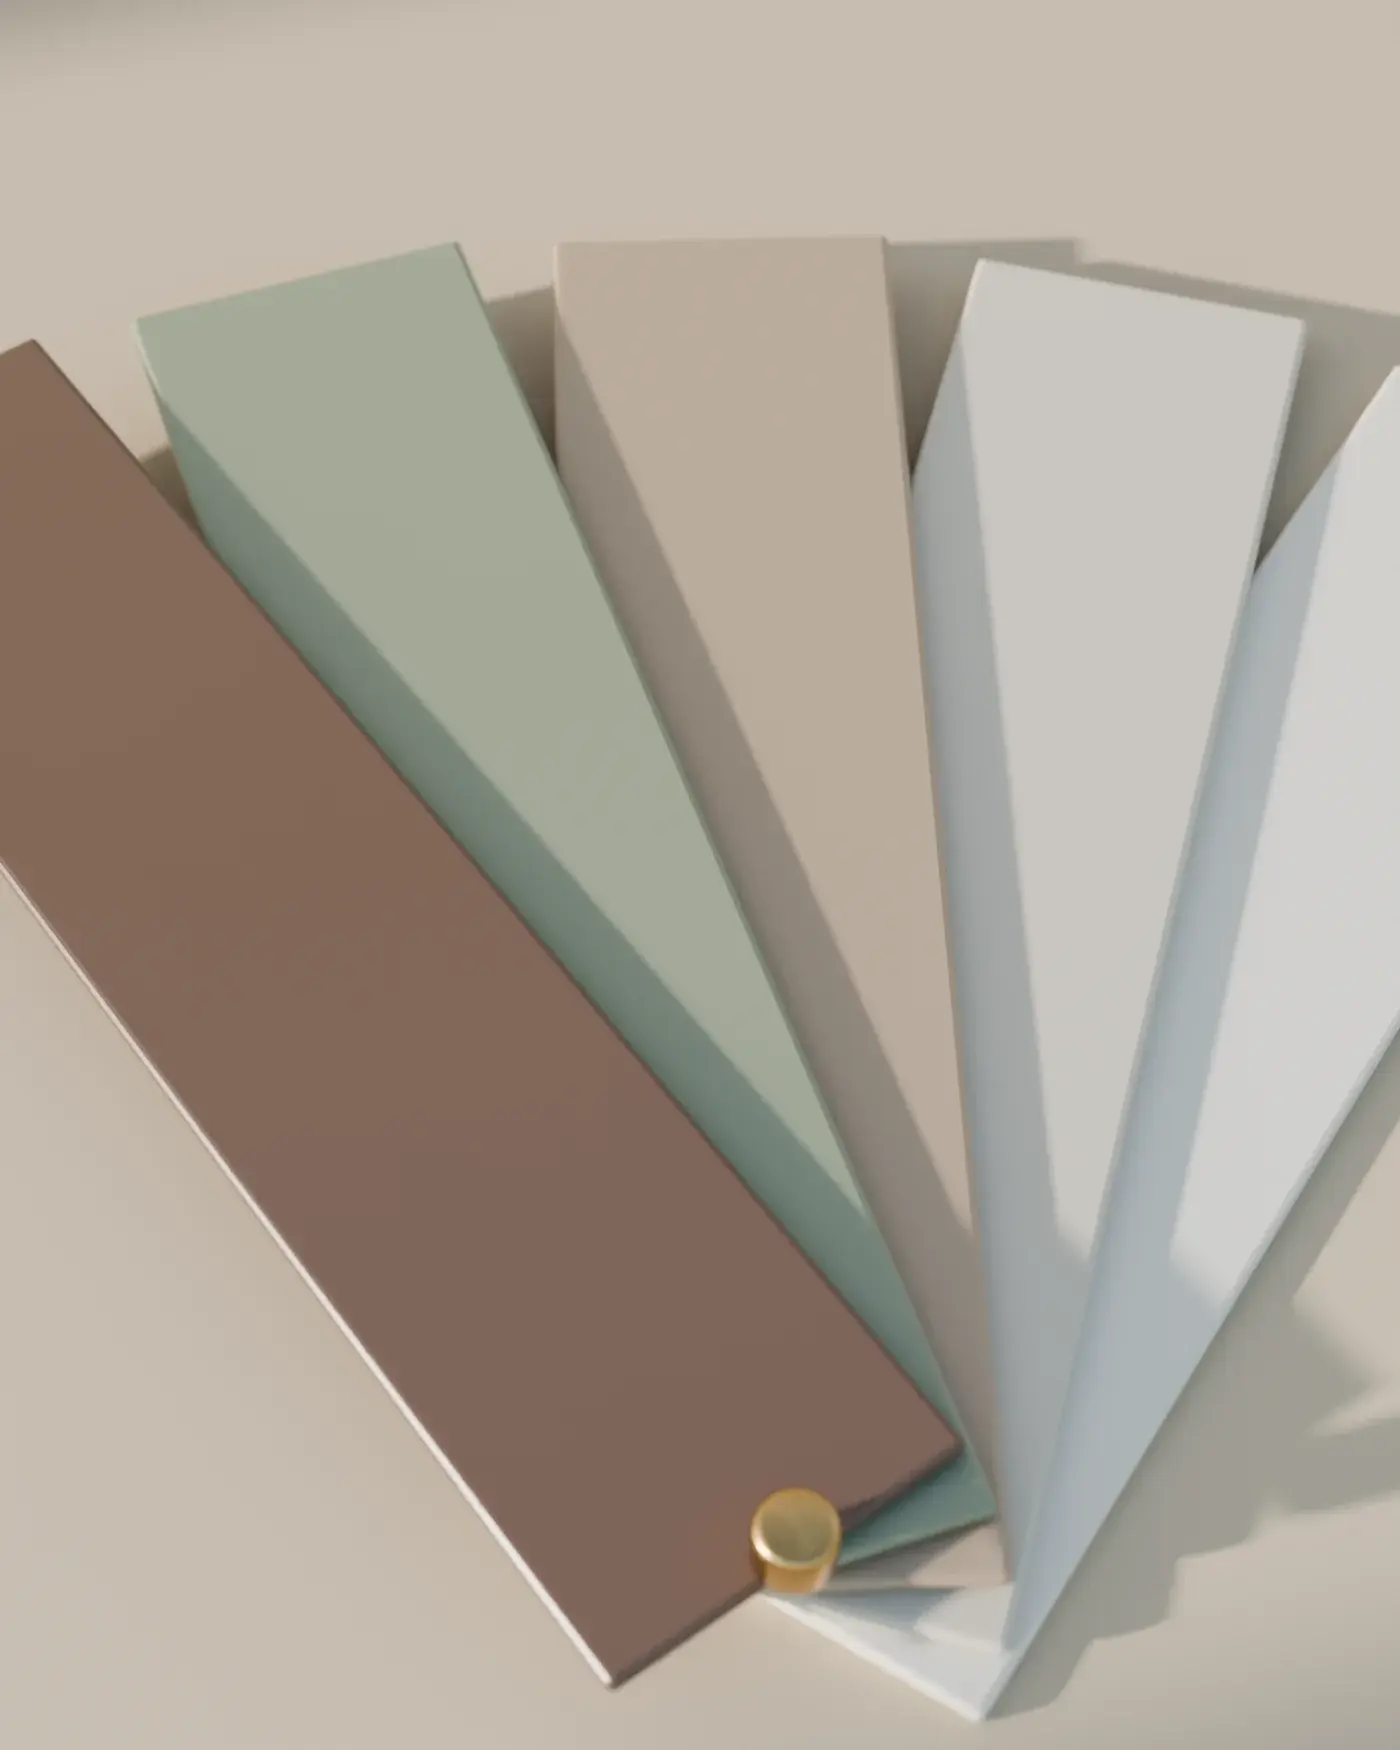
Every surface in a home is handled, cleaned and lived with. Choose a material to see what it is, where it works and how it wears.
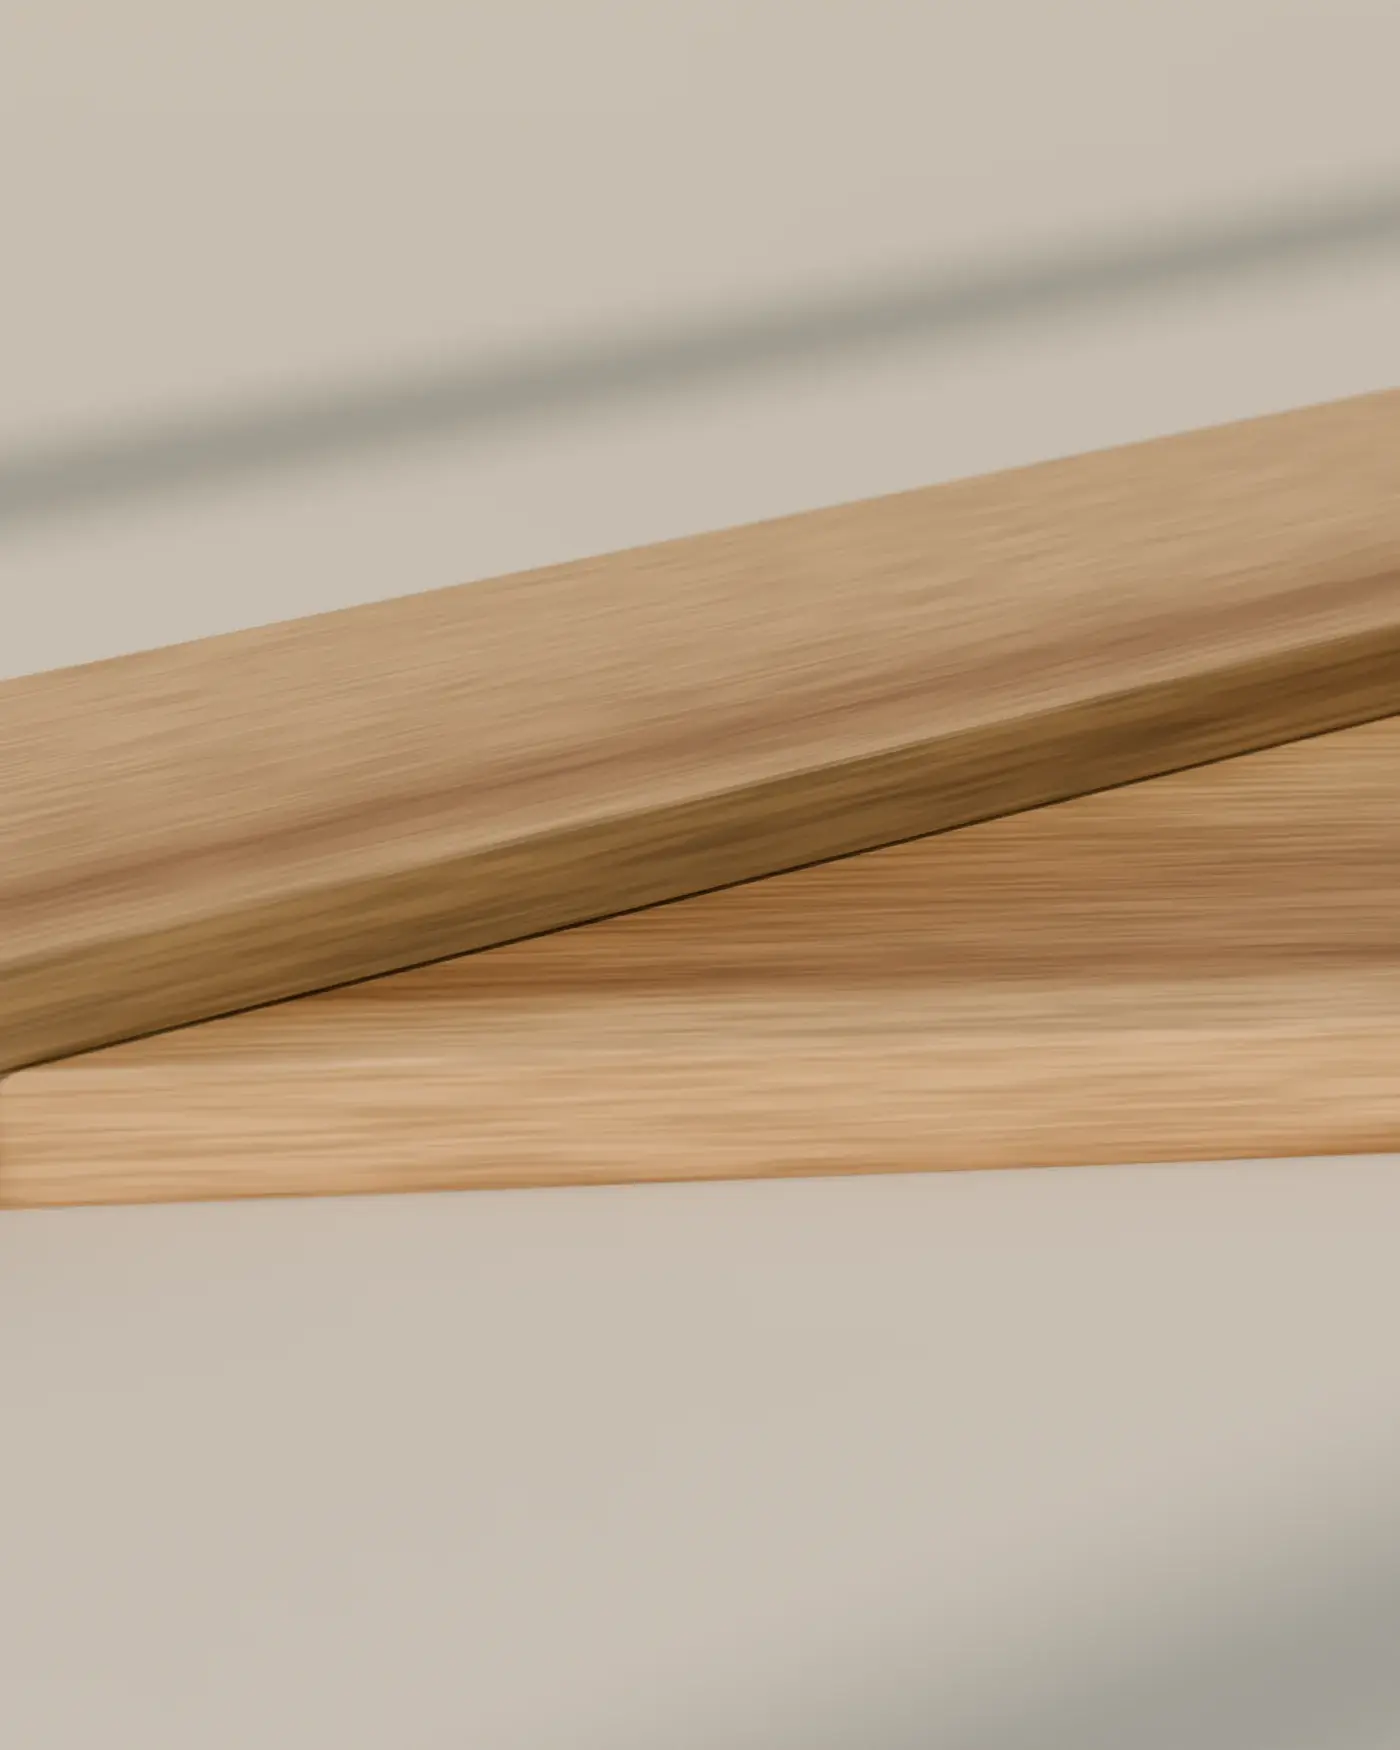

Solid timber is warm to the touch and can be sanded and refinished. It moves a little with the seasons, so joints are designed to allow for it.
Where it works
Tables, shelves, frames and edges that are handled every day.
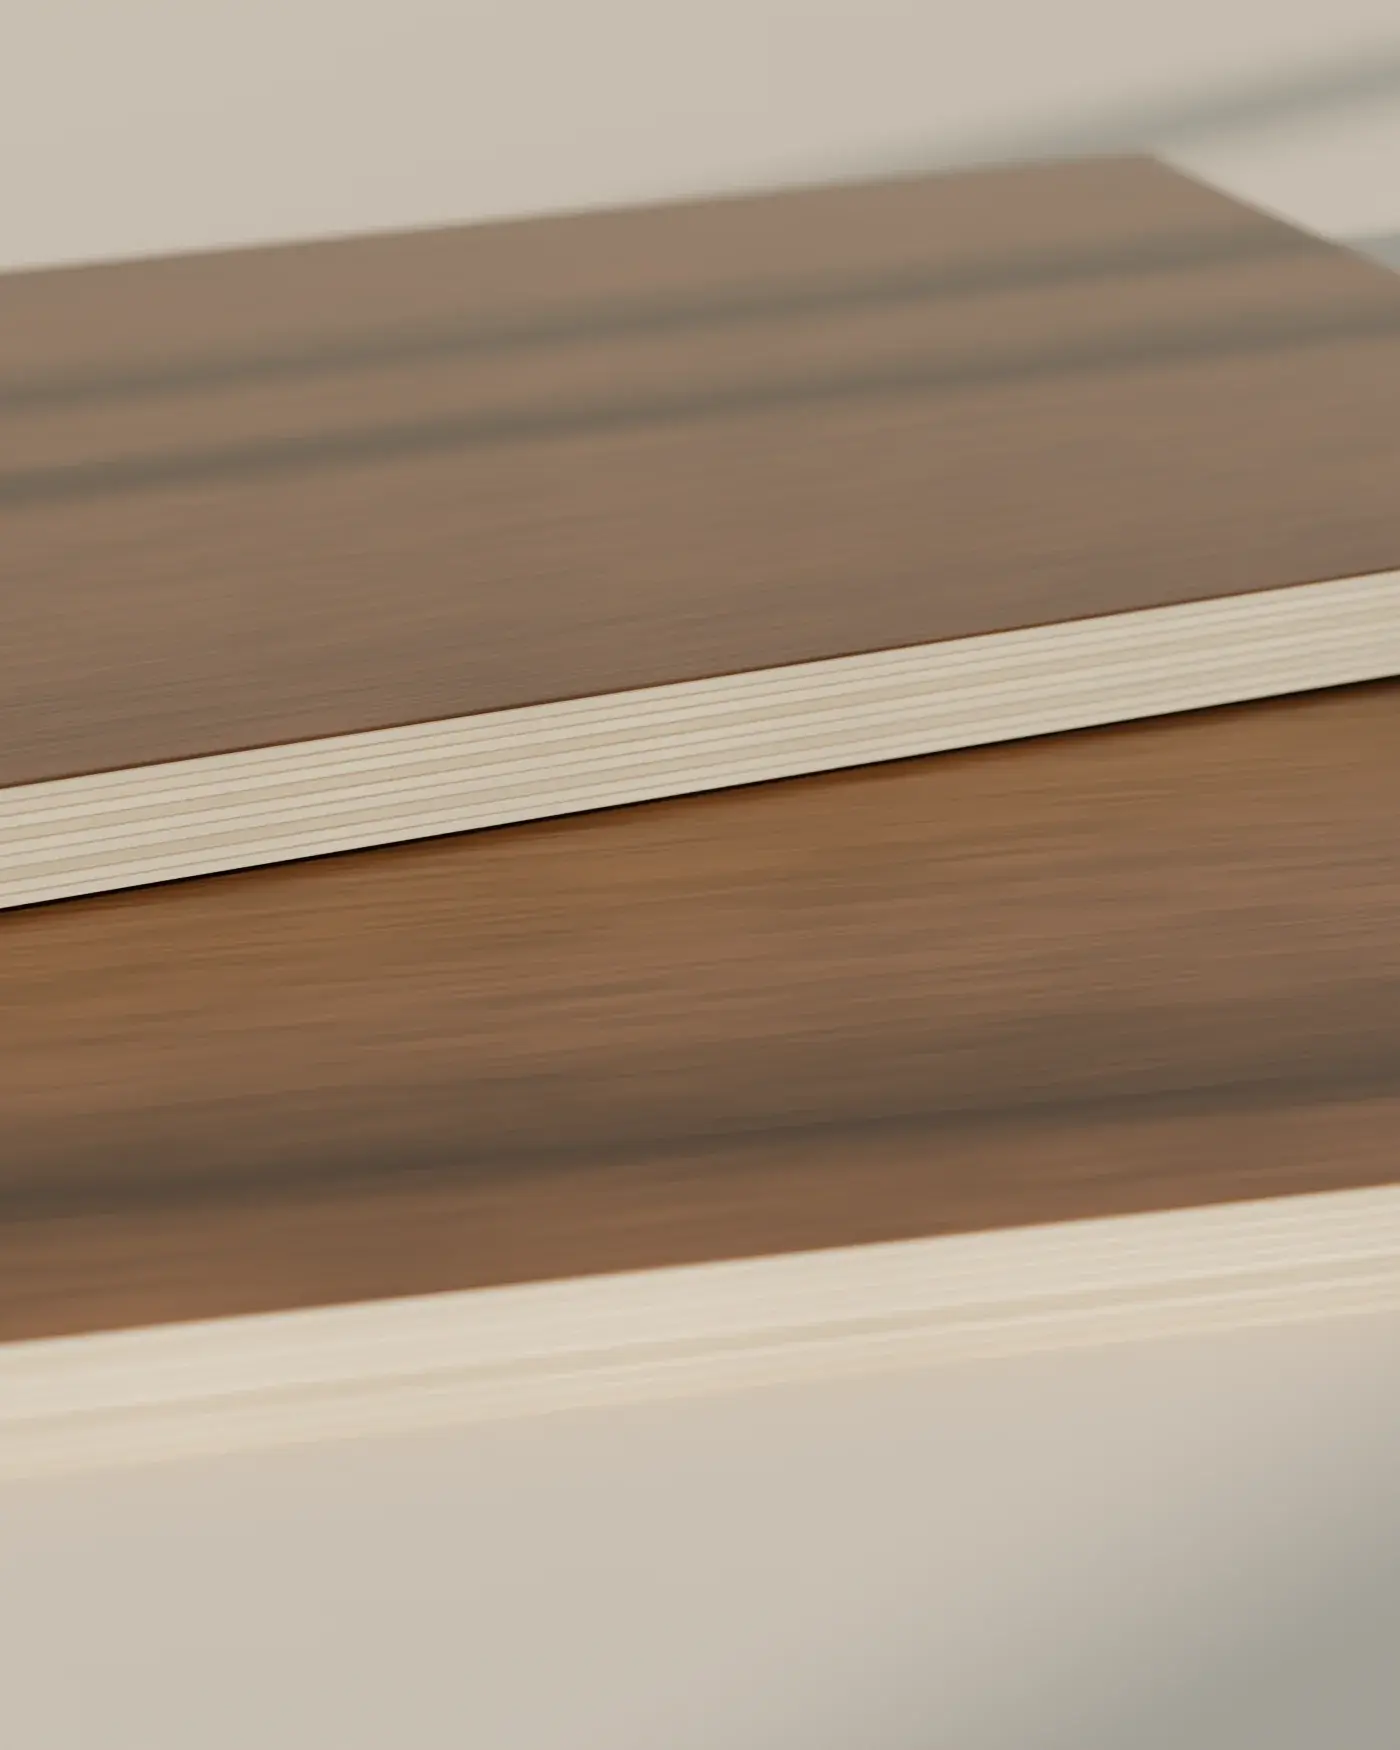
A thin slice of real wood laid over a stable core: the look of timber across large, flat panels that stay straight.
Where it works
Wardrobe doors, wall panelling, kitchen fronts.
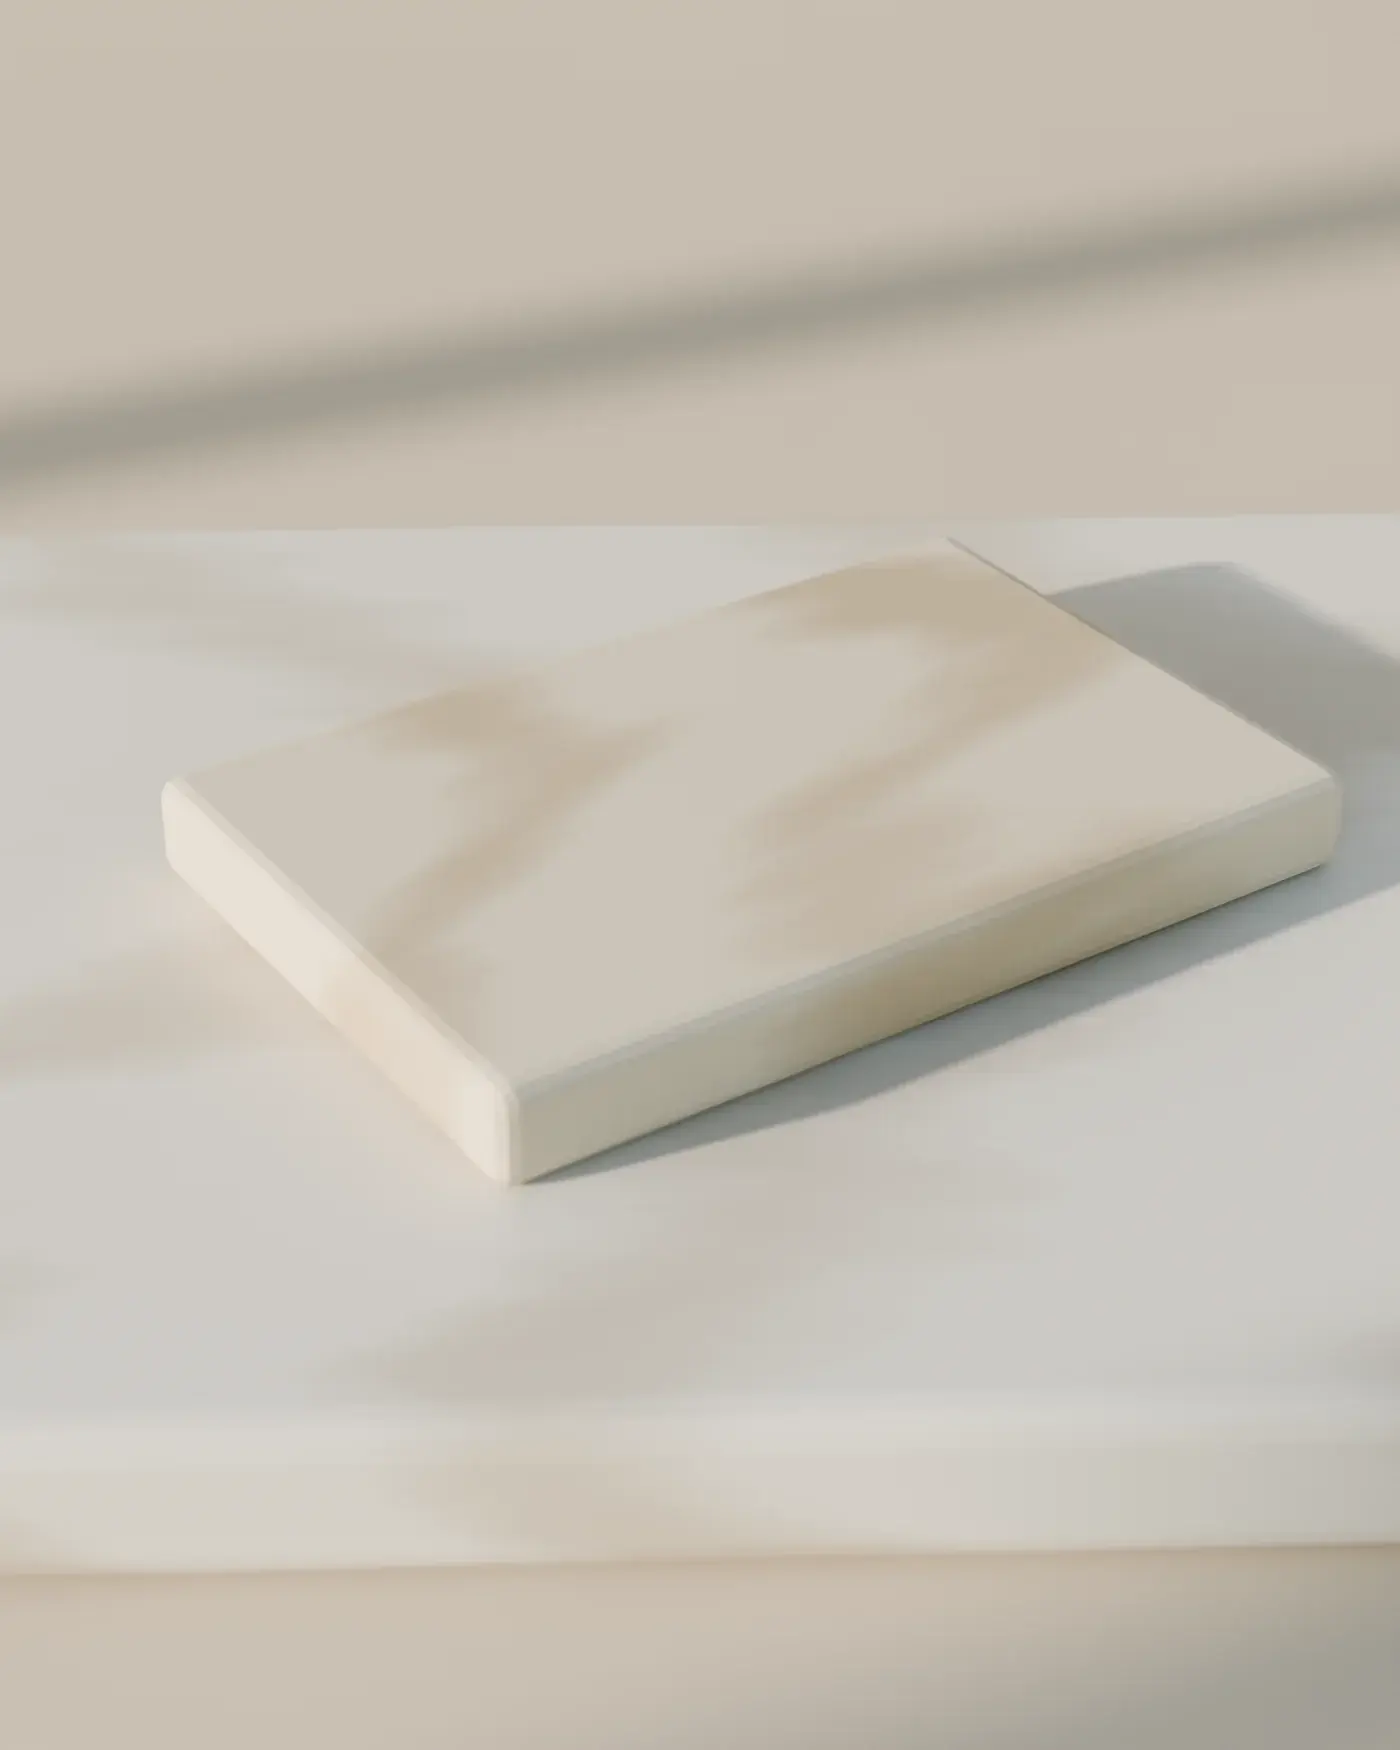
Dense, cool and heat-resistant. Honed finishes hide marks better than polished ones, and natural stone needs sealing.
Where it works
Worktops, splashbacks, vanity and table tops.
Linen and cotton soften a room for the ear as well as the eye. Heavier weaves suit seating; sheers filter light.
Where it works
Upholstery, curtains, headboards, cushions.
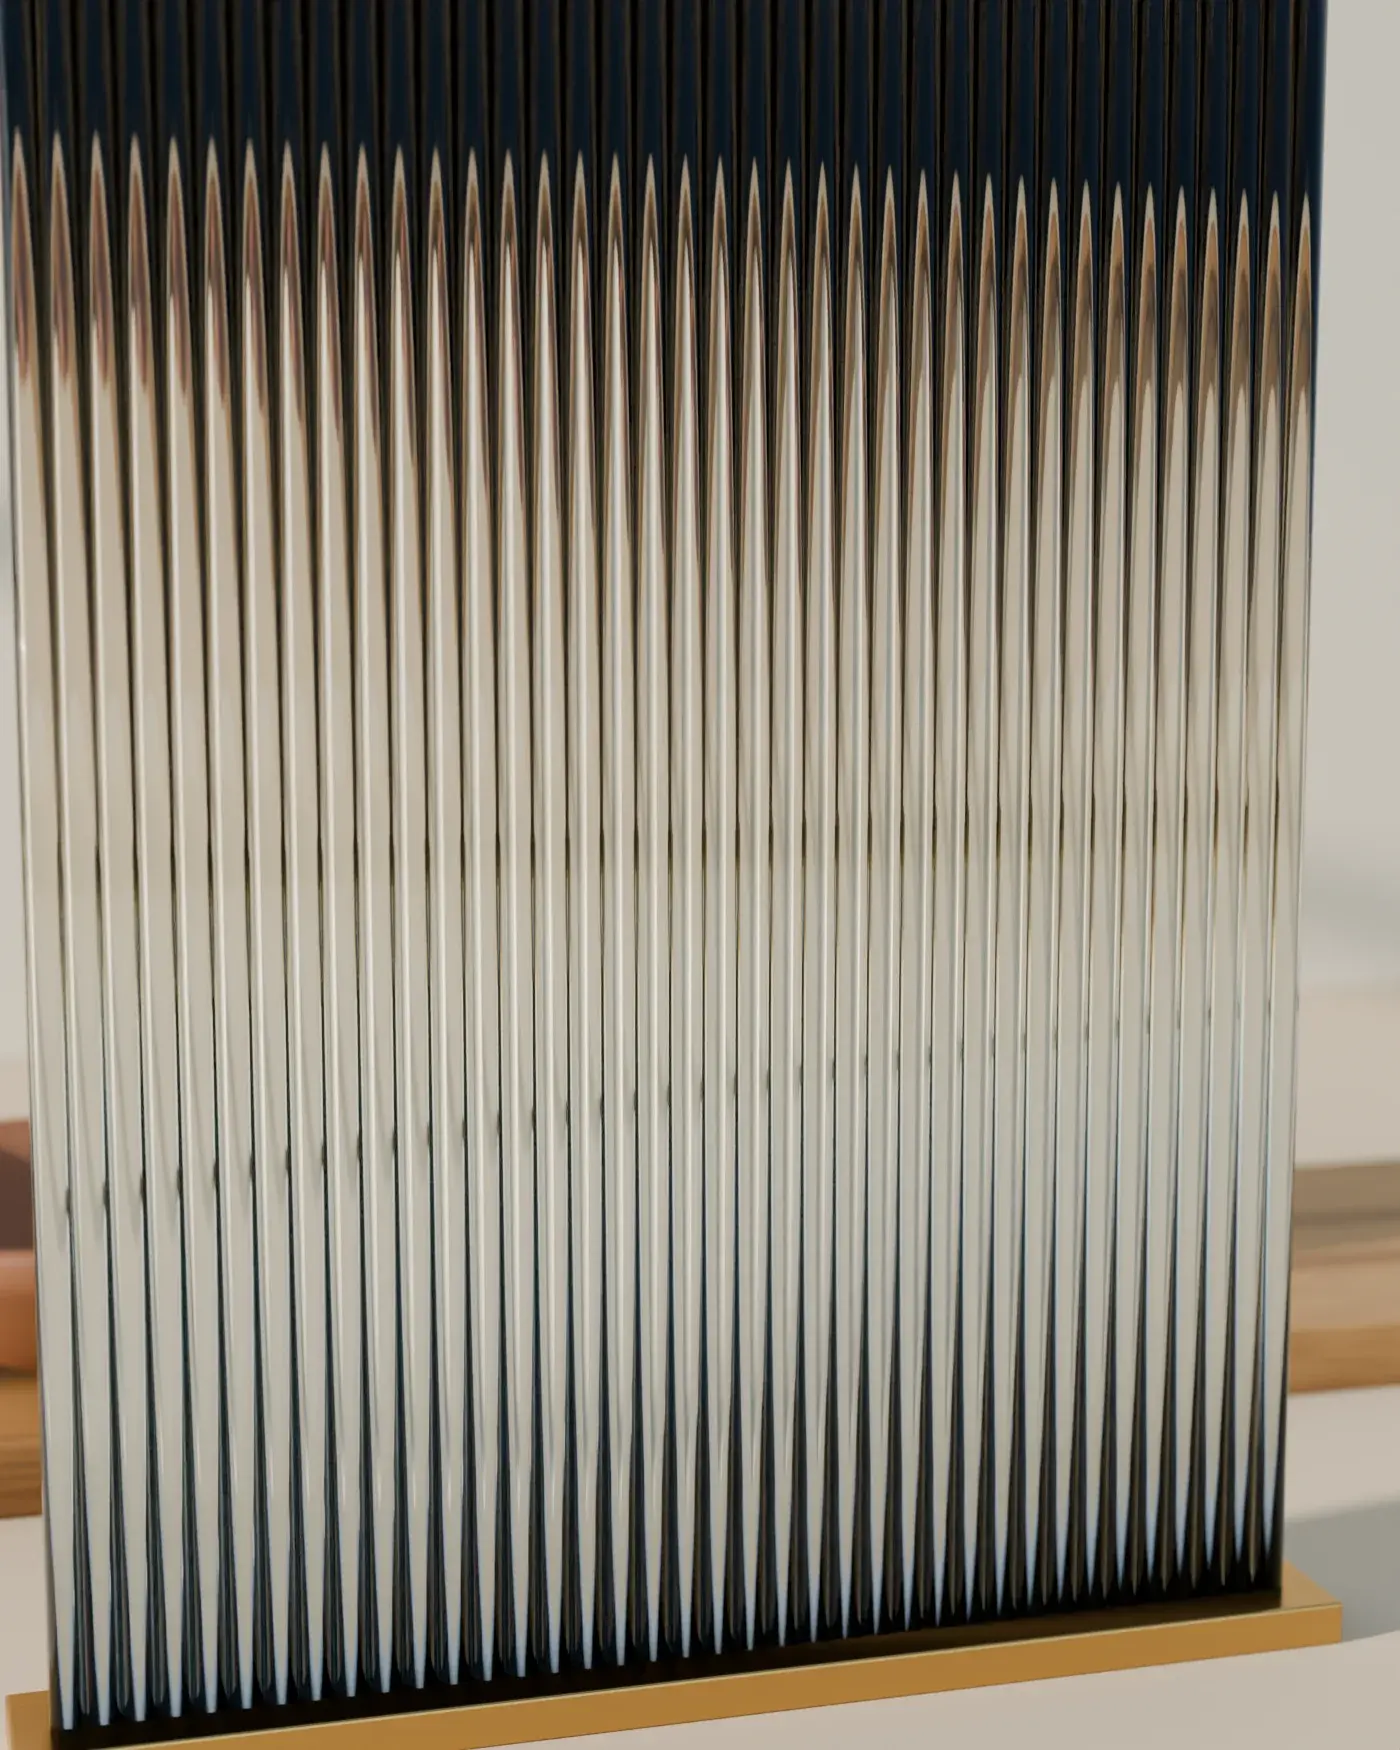
Clear glass shares light between rooms; fluted and frosted glass blur what is behind while keeping the light.
Where it works
Partitions, cabinet fronts, shower screens.
The parts you touch and the parts you never see: handles, hinges, runners. They decide how a cabinet feels years from now.
Where it works
Handles, hinges, drawer runners, sliding tracks.
Lacquer, laminate and oil change colour, sheen and how a surface cleans. Matte hides fingerprints; gloss shows every one.
Where it works
Shutters, furniture, joinery edges.
Design and execution
What you approve on paper is what gets built.
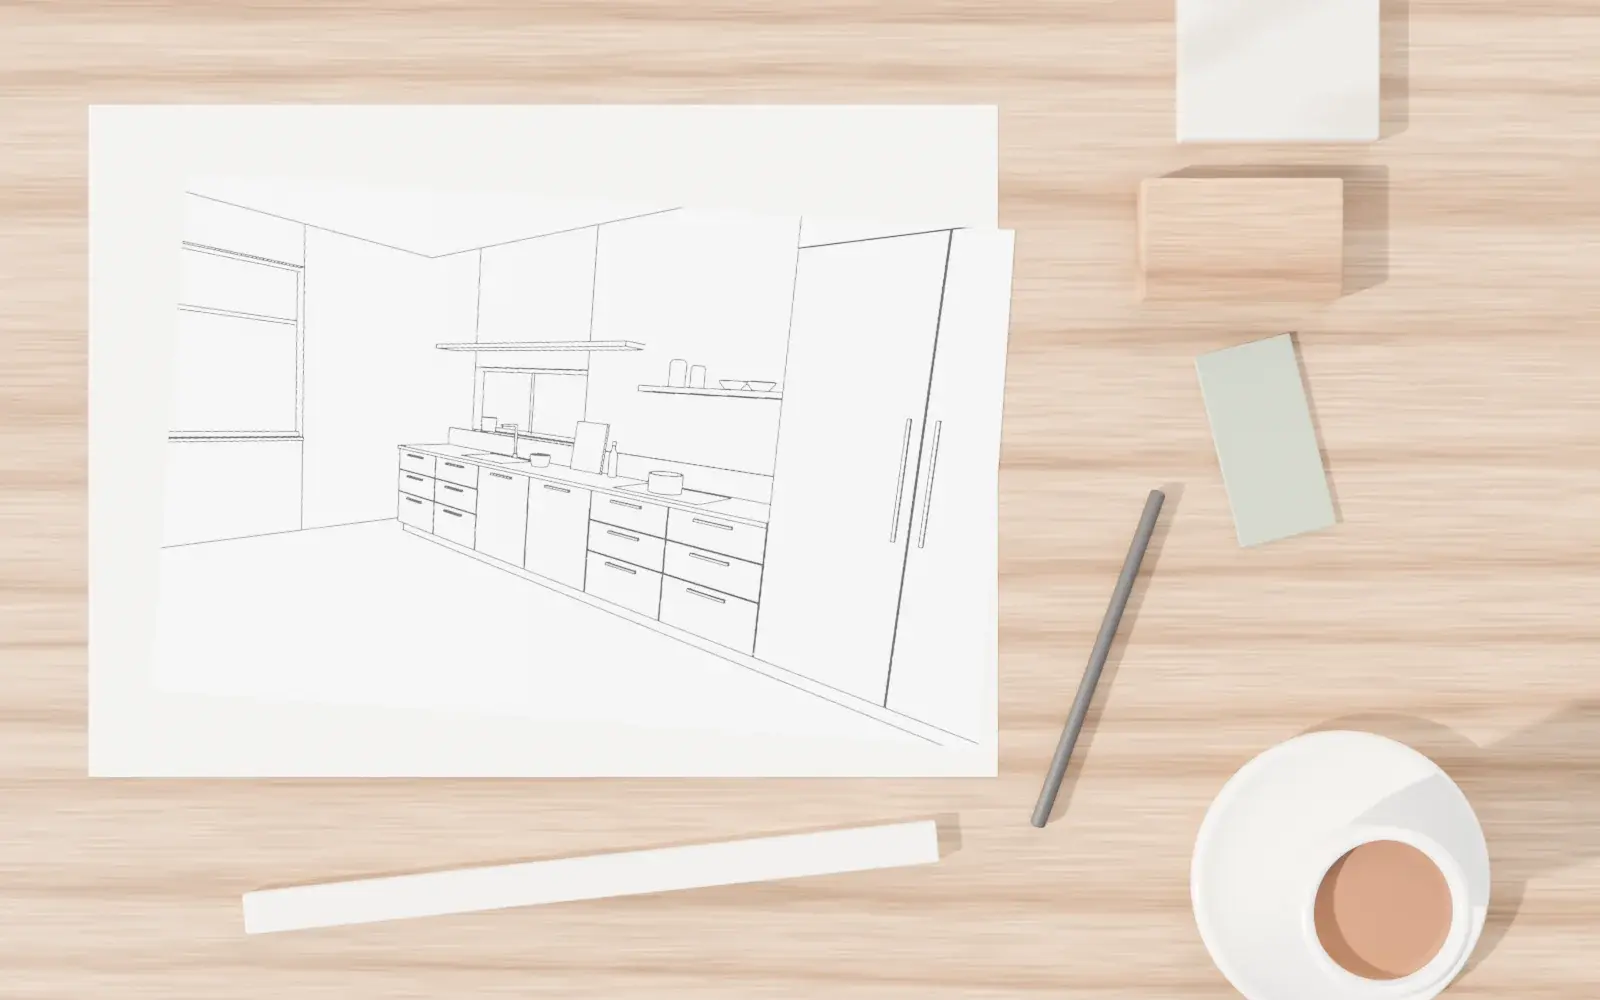
One room, seen from one viewpoint at three stages: the drawing you approve, the design it becomes, and the space built from it.
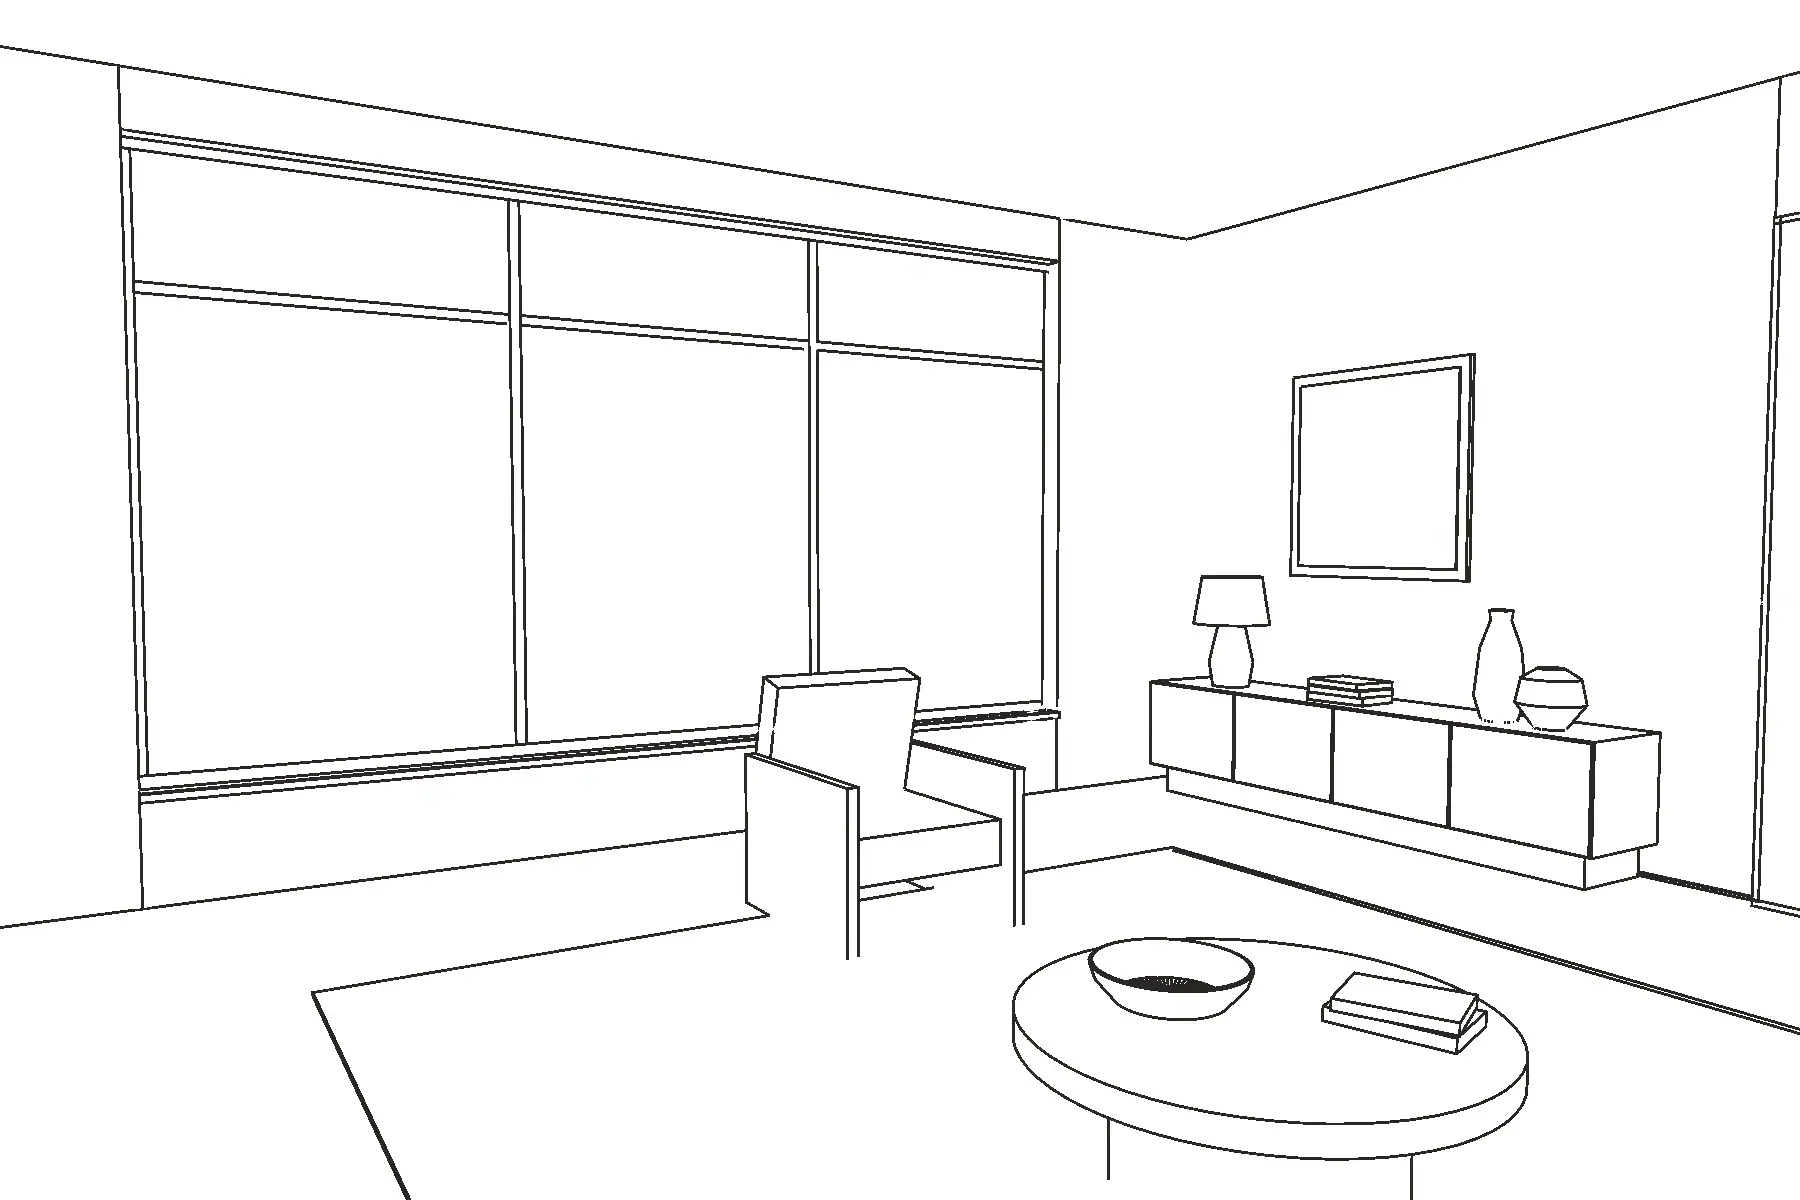
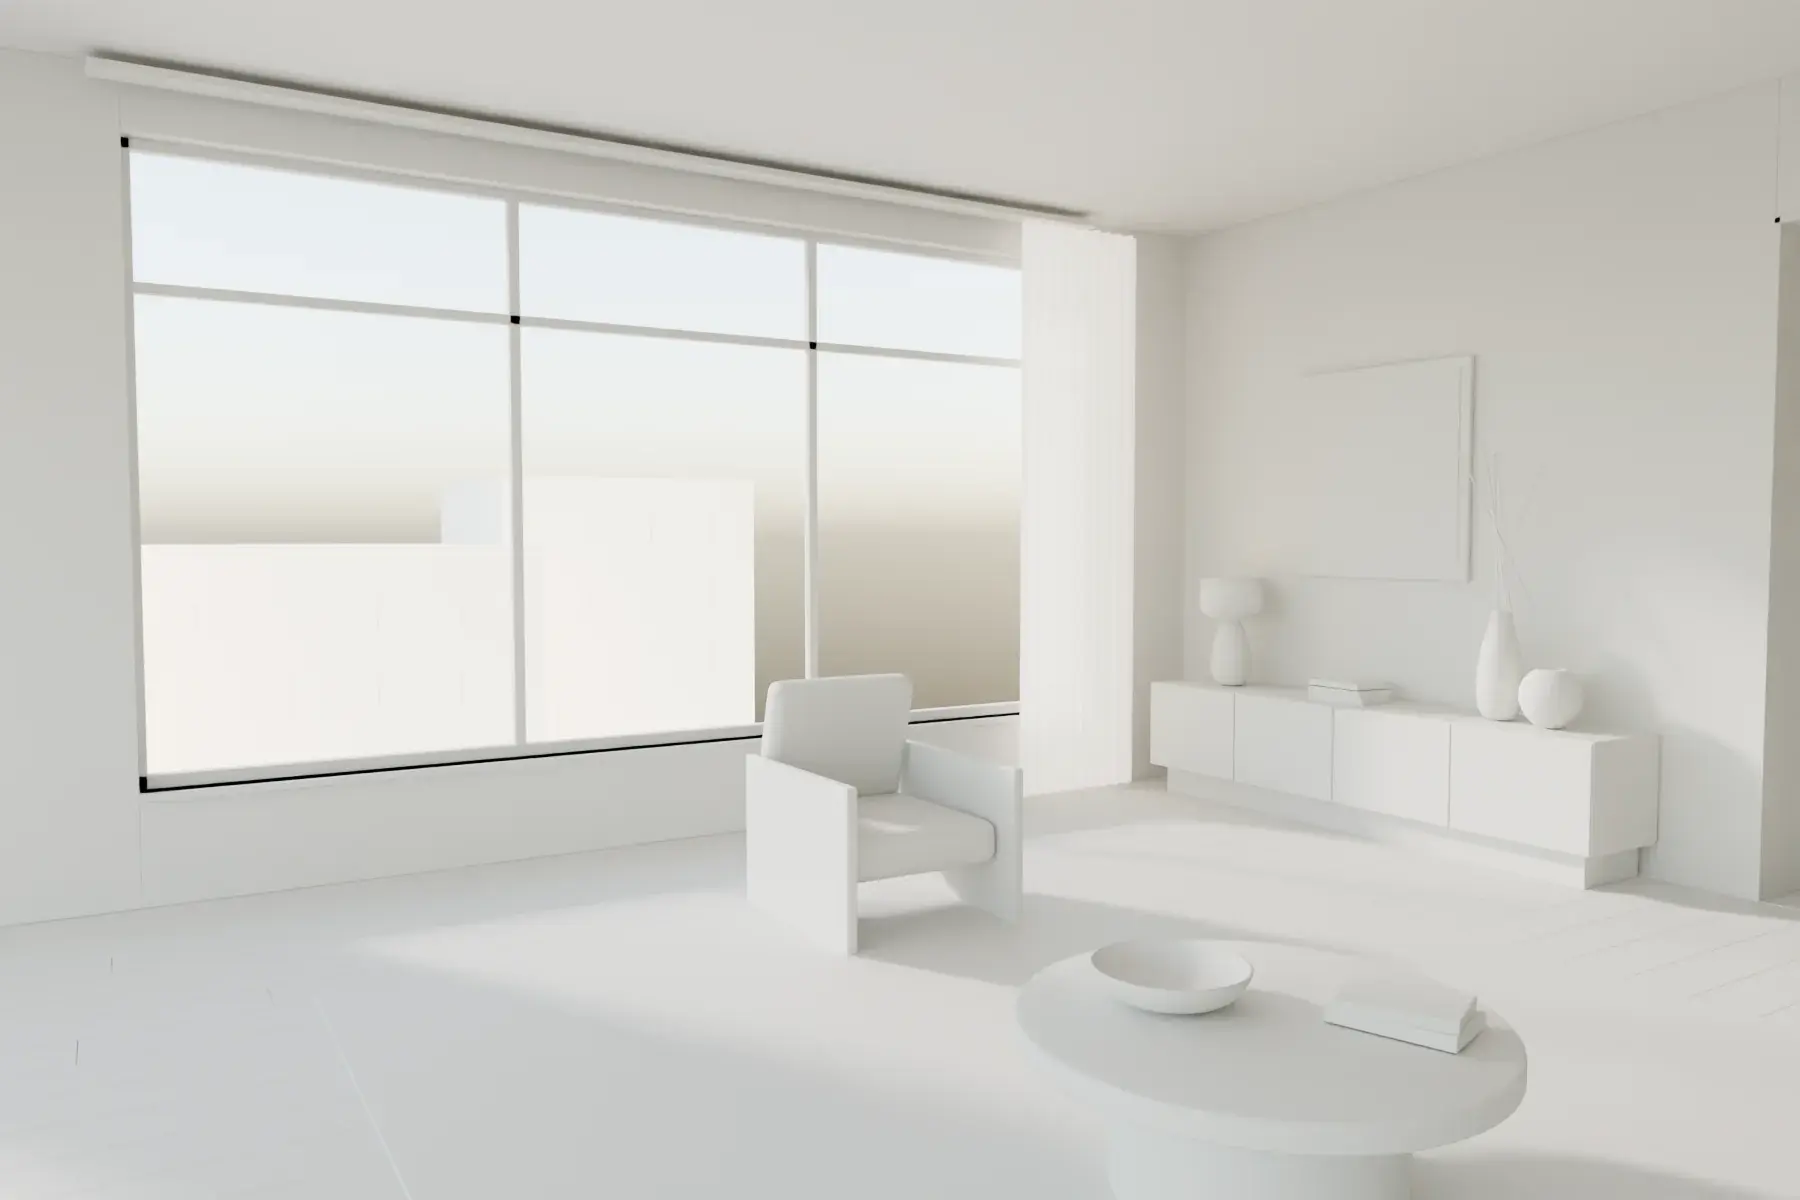
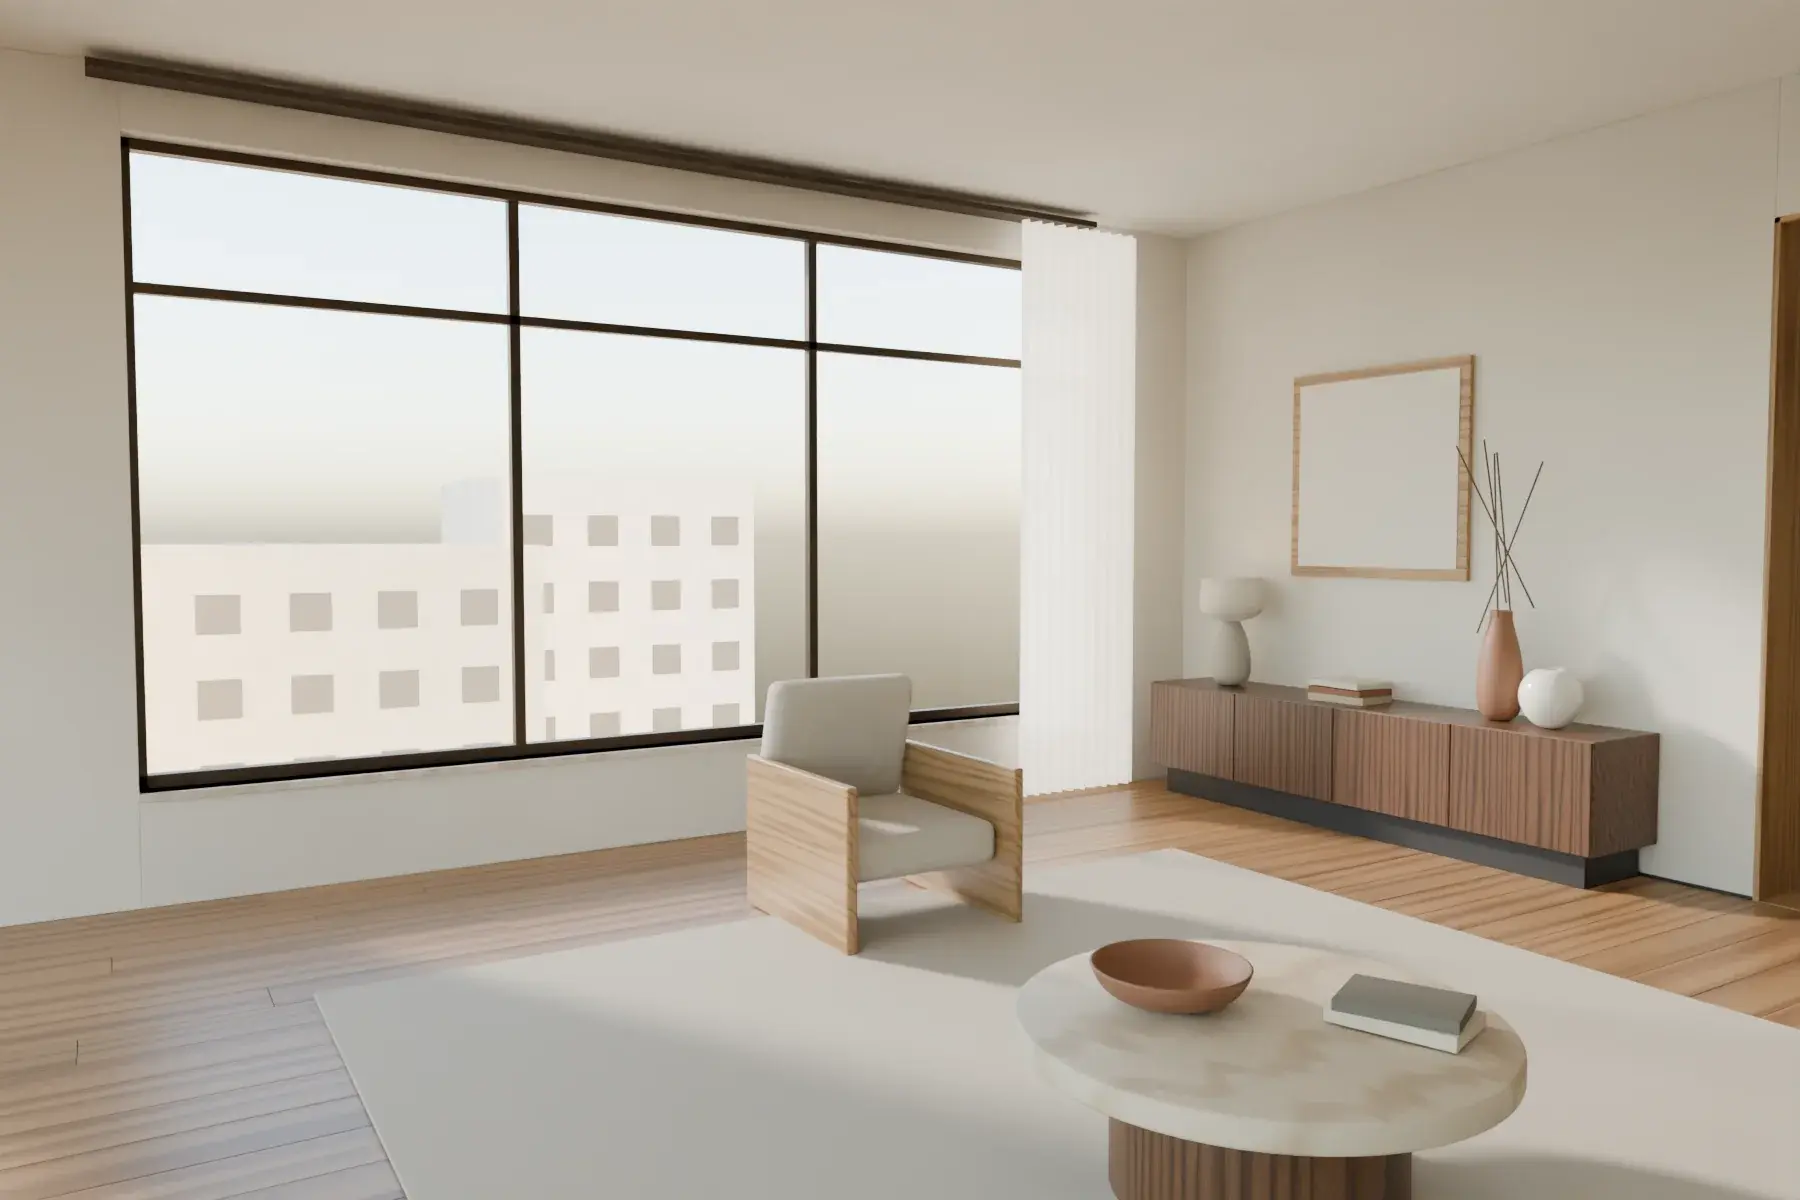
Drawing
Plans, elevations and views, revised with you until every dimension is agreed.
Design
The same room in three dimensions: proportions, light and clearances checked before a finish is chosen.
Built
Made to the approved drawings, installed, and walked through together.
Services
Where a project can start
A single wardrobe, one kitchen or a whole home. Each is designed and built by the same team, and every size of project is welcome.
- Complete home interiorsEvery room of a home designed together and delivered by one team, so materials, storage and details carry from room to room.
- KitchensKitchens planned around how you cook and store, then built and fitted by one team. From a single run to a kitchen that opens onto the living room.
- Wardrobes & walk-insWardrobes, lofts and walk-in dressing rooms designed from the inside out: what you own first, then the doors.
- Custom furnitureShelving walls, desks, beds, consoles and seating made to fit the room and what it holds — one piece or a set.
- RenovationBathrooms, kitchens and whole rooms taken back and rebuilt: the work behind the walls planned as carefully as the finishes in front of them.
- Commercial interiorsOffices, cafés, salons and showrooms, planned around how the space earns its keep: durable materials, clear circulation and fit-outs scheduled around trading.
Selected projects
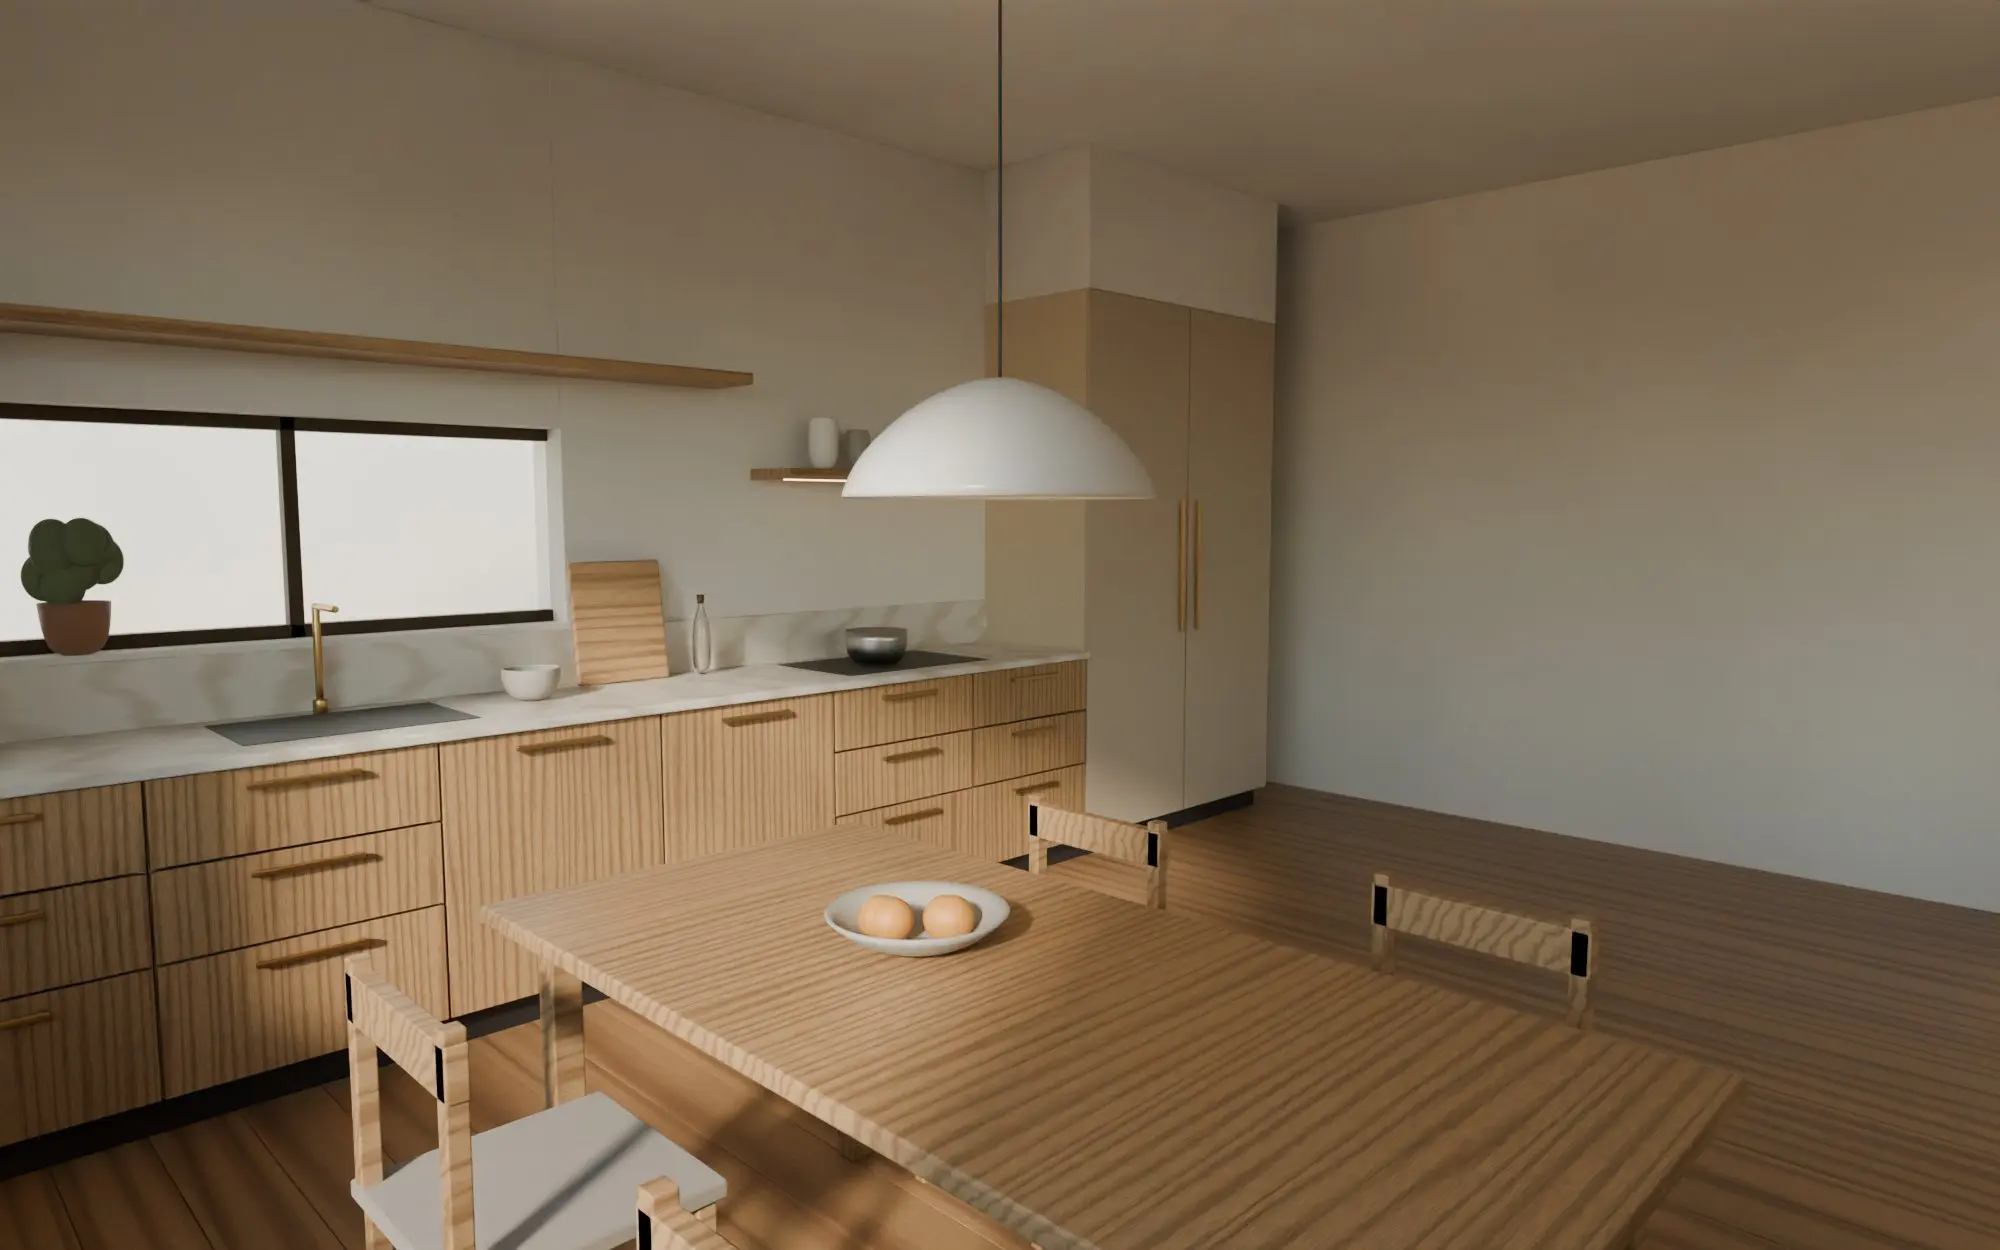
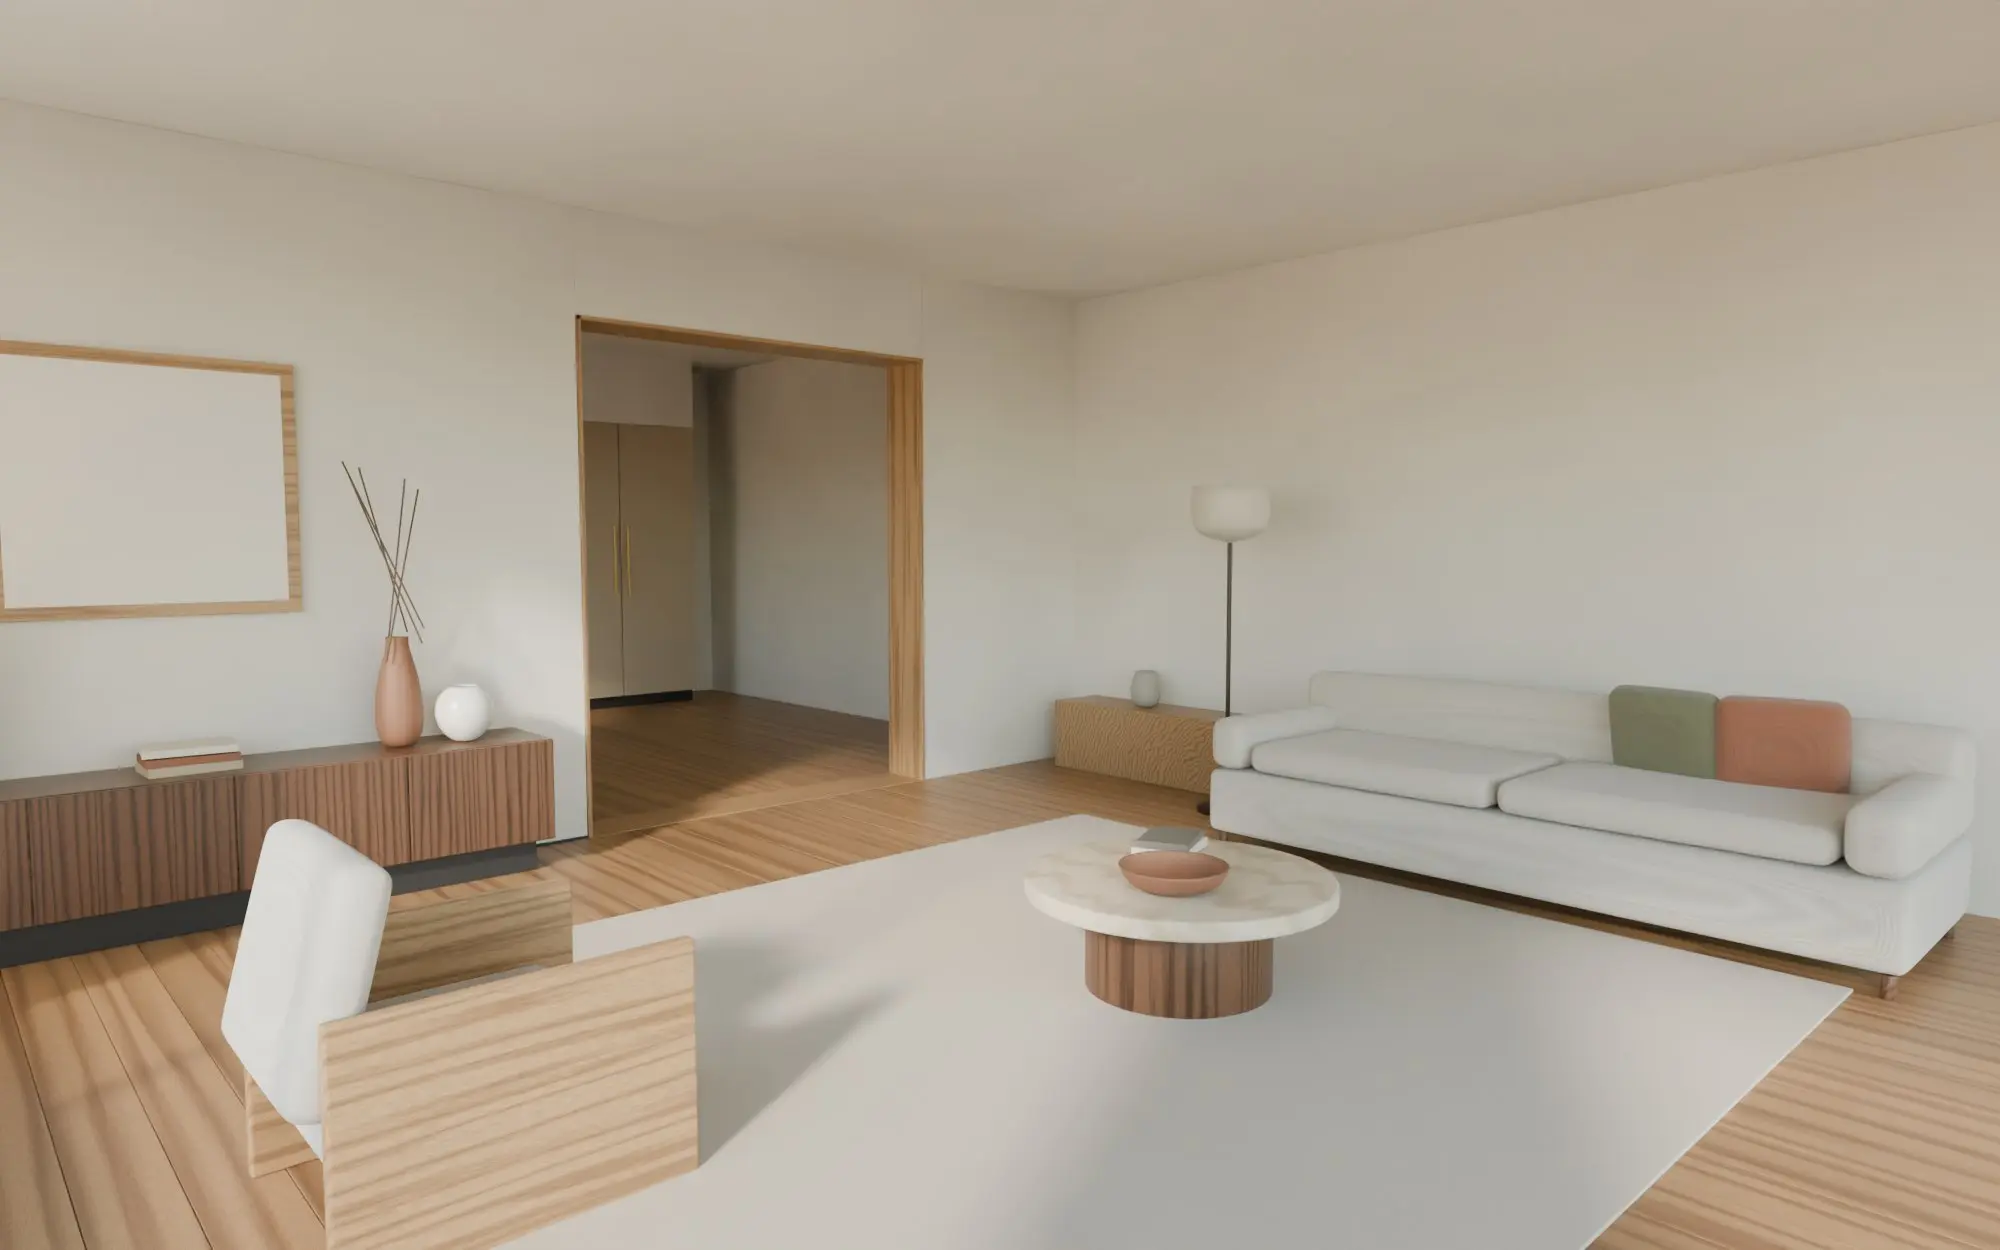
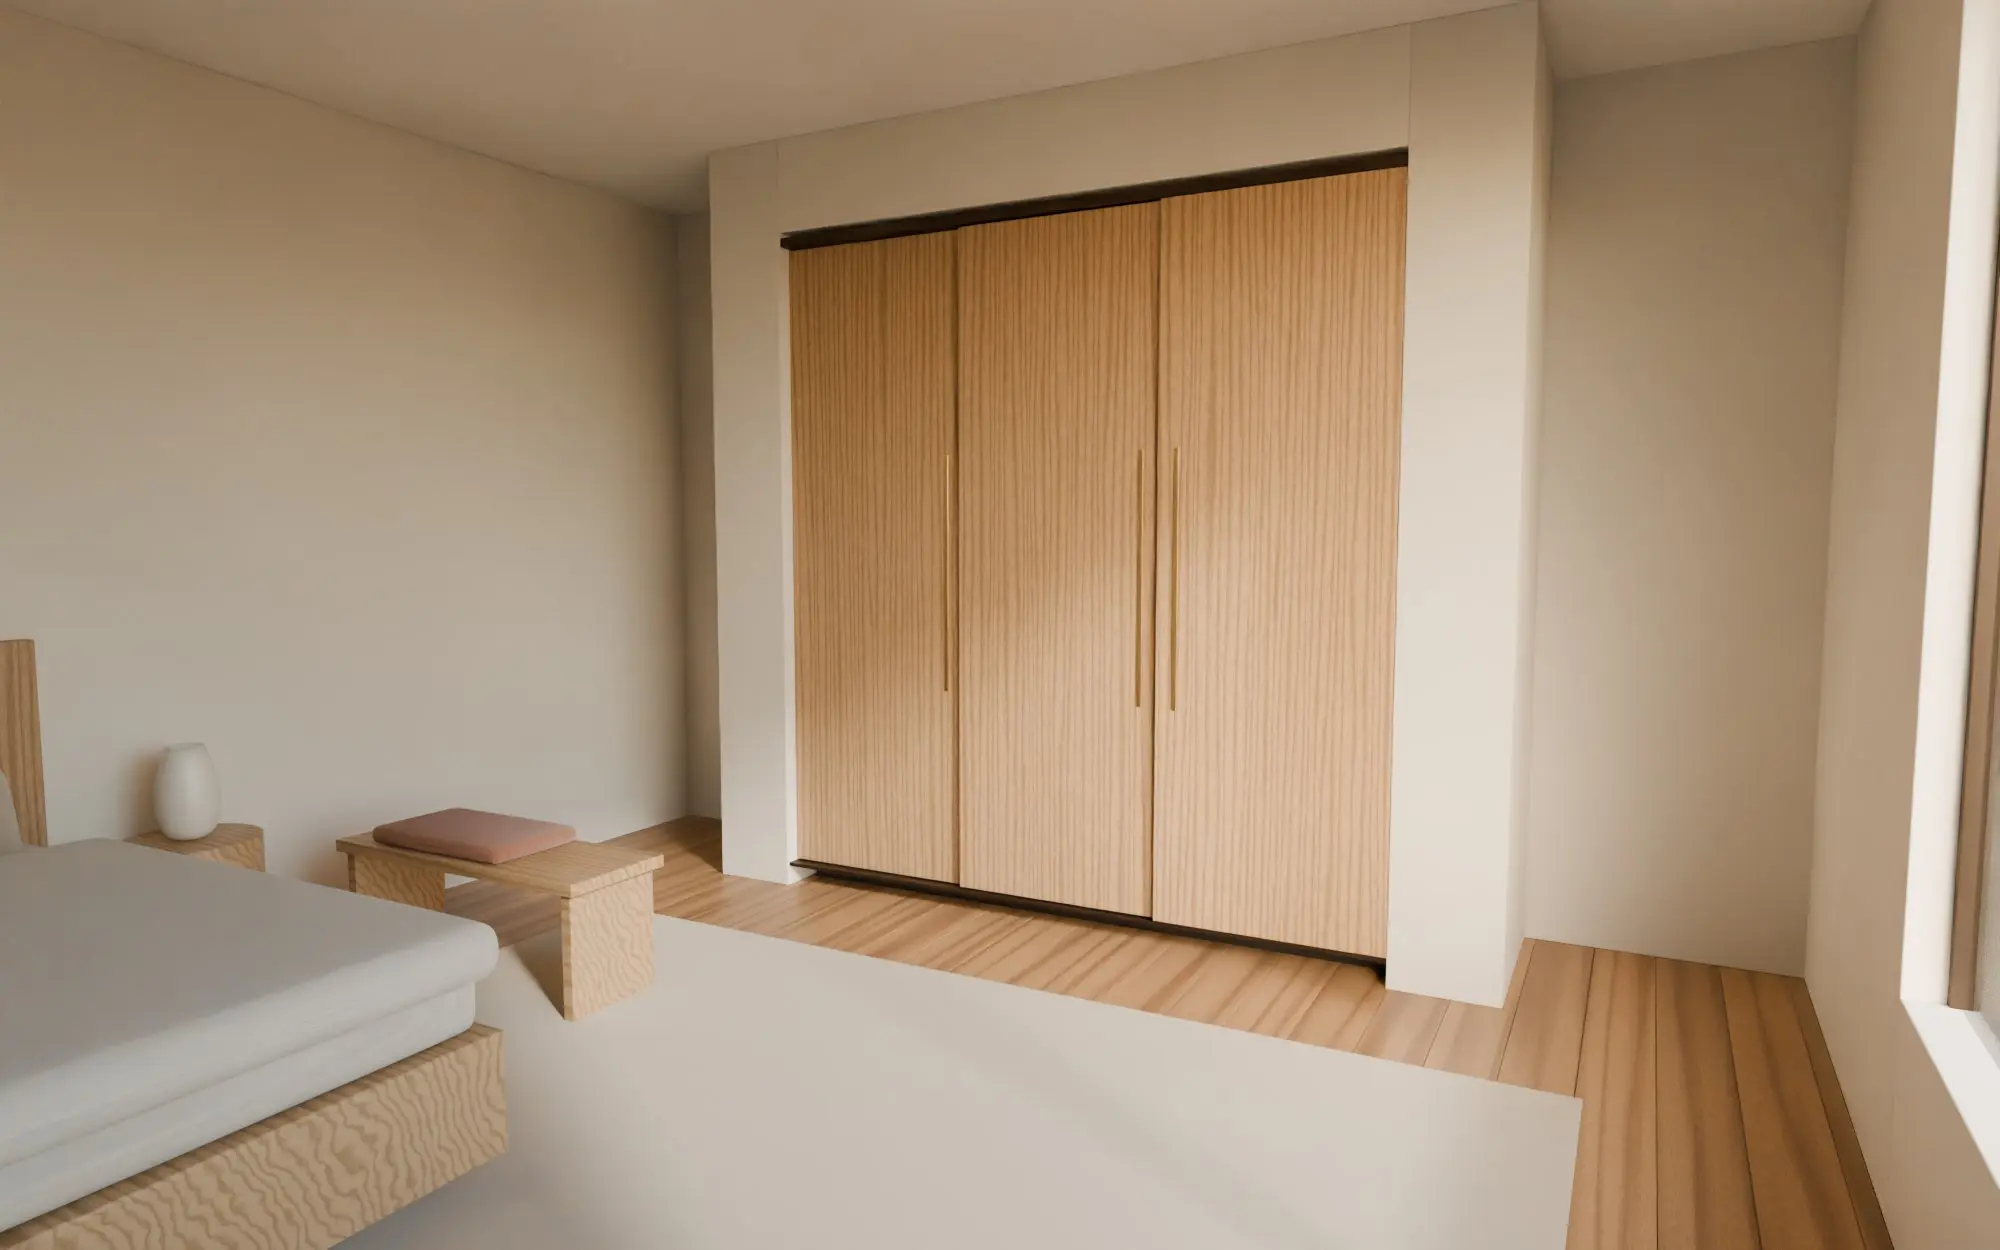
Different homes, different briefs
Each project starts with the people who live there and ends with what was built.
How a project runs
What happens after you get in touch.
Stage 1 of 6: First conversation
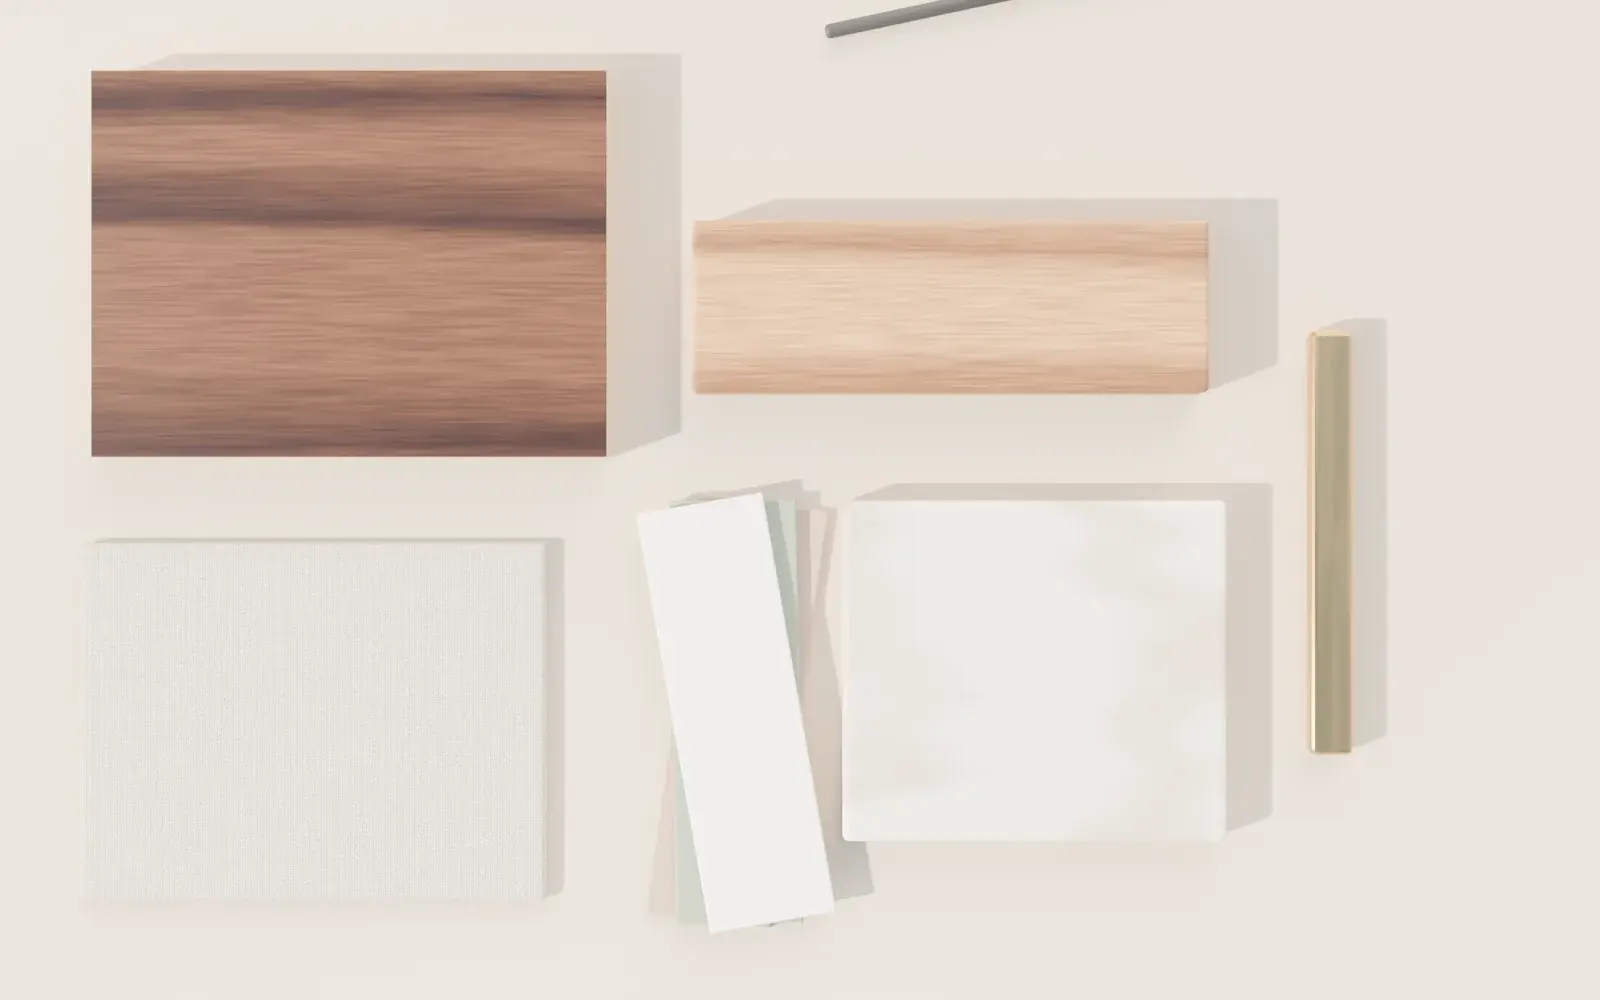 A call or meeting about the space, how you use it and what isn't working. We talk about scope and a comfortable budget range, and agree whether a site visit is the right next step.
You receiveA summary of what we heard · A proposed next step
ThenSite visit & measurement
Stage 2 of 6: Site visit & measurement
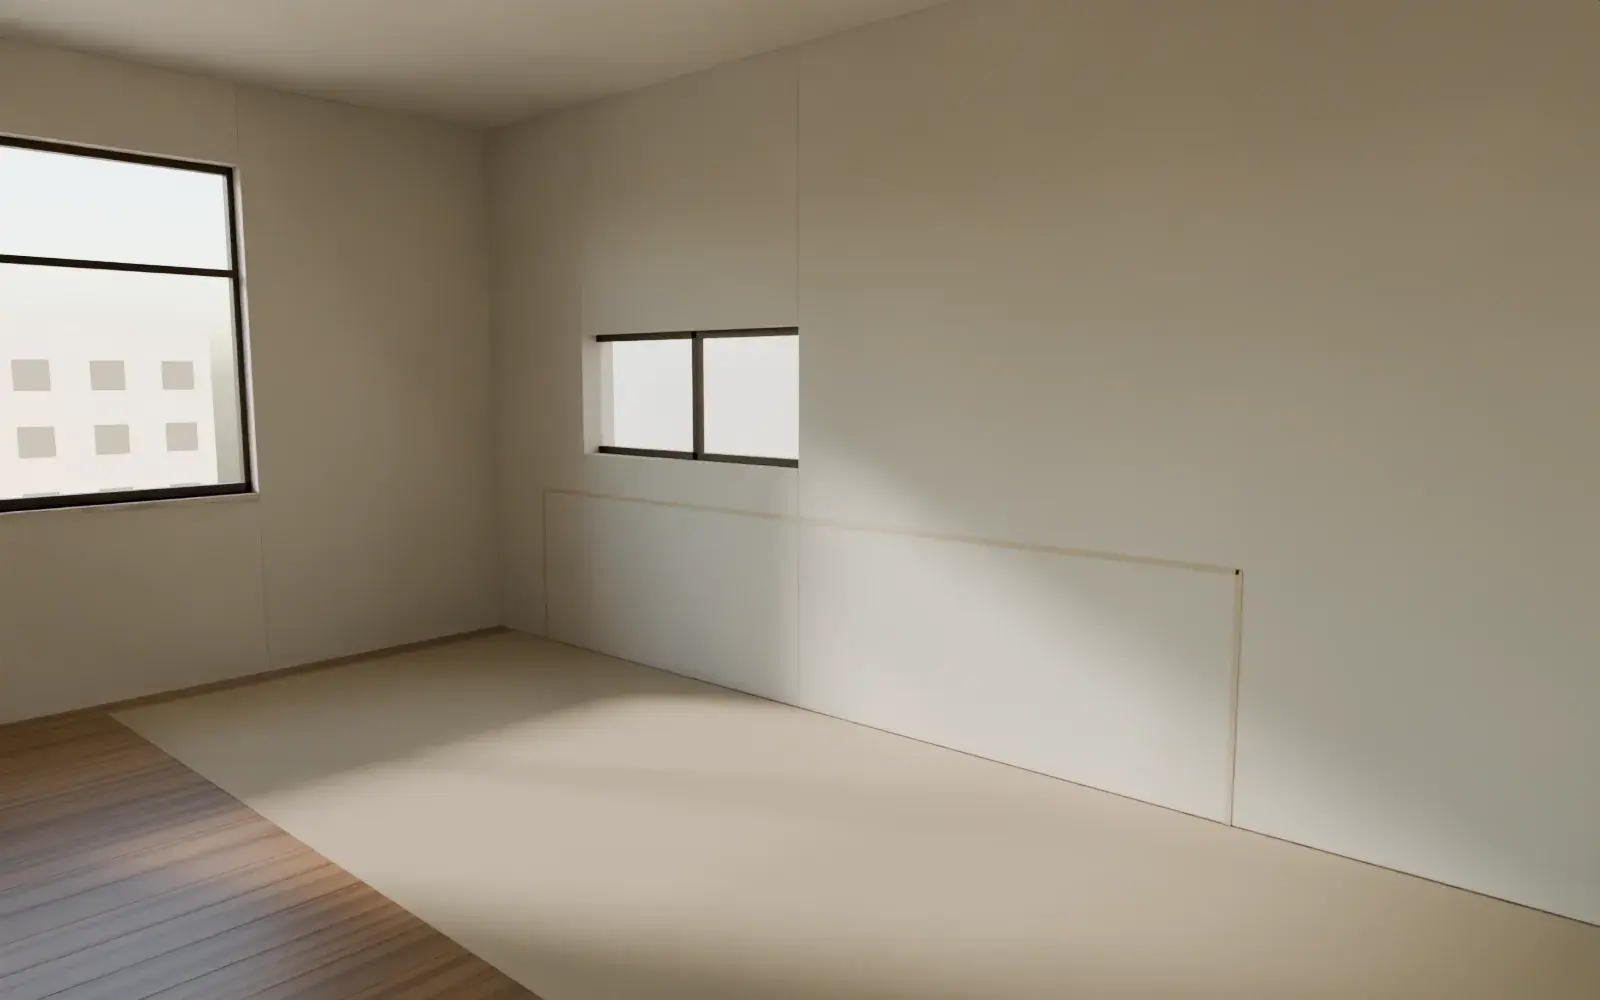 We measure every wall, opening and service point, photograph the space and check what can and can't move. This is where most surprises are found — before they cost anything.
You receiveMeasured drawings of the space · Notes on constraints
ThenDesign & 3D
Stage 3 of 6: Design & 3D
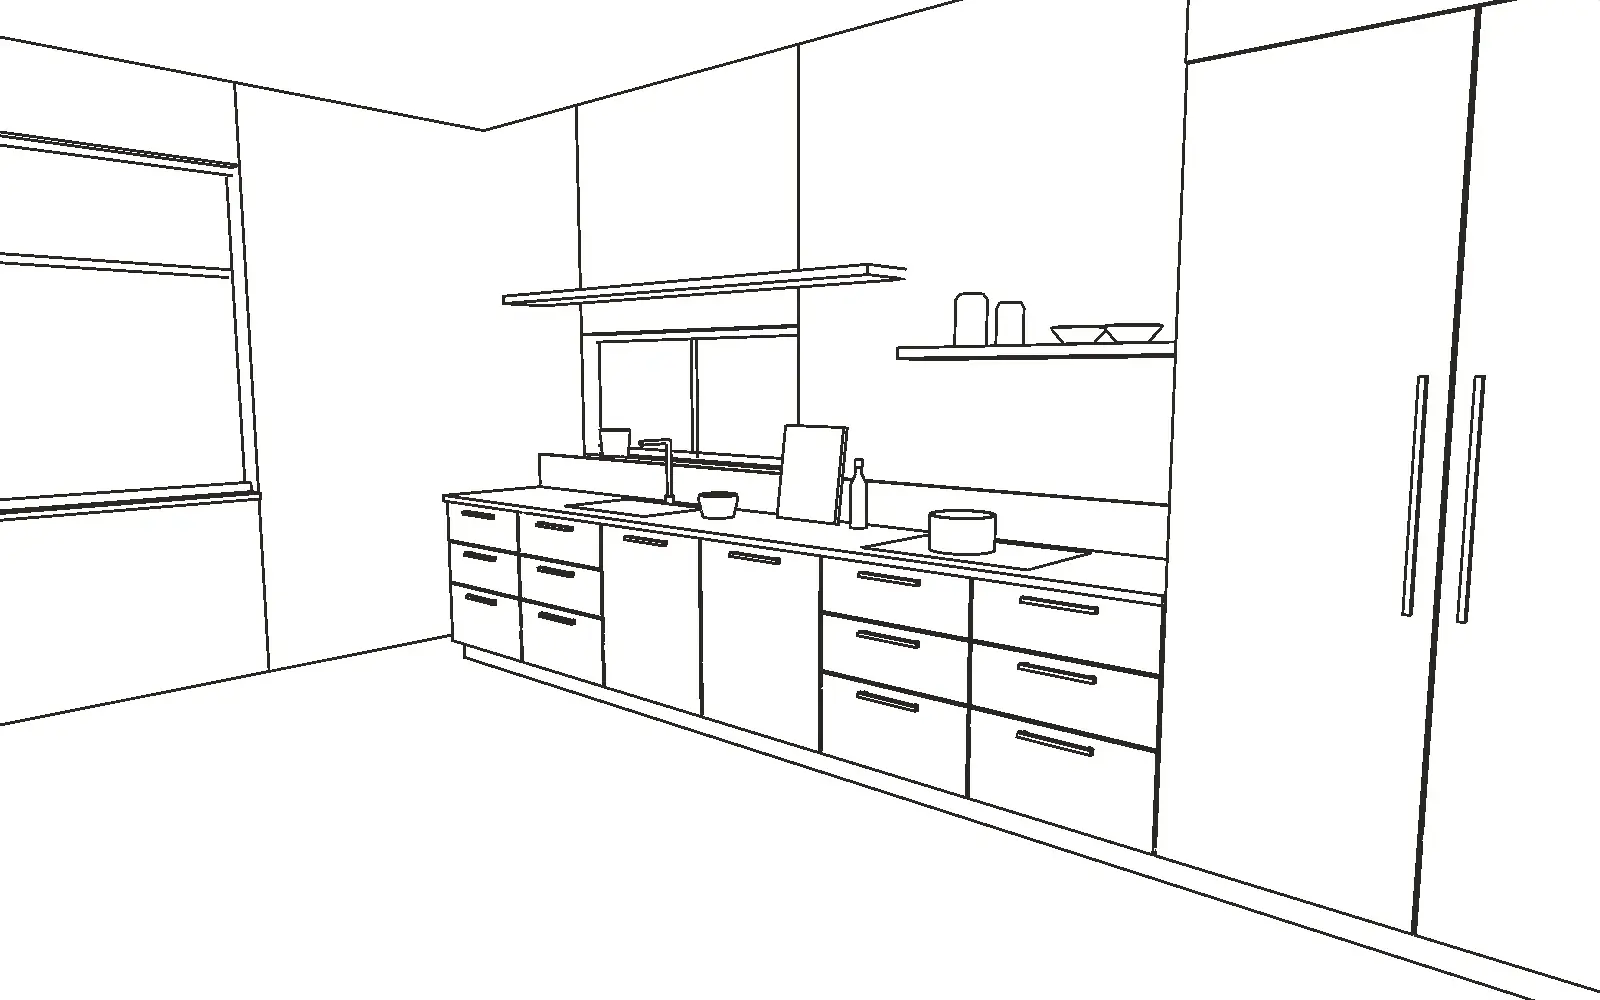 Layouts first, then 3D views and material samples you can hold. We revise together until the plan, the look and the estimate all agree.
You receiveLayout drawings · 3D views · Material and finish samples · An itemised estimate
ThenProduction
Stage 4 of 6: Production
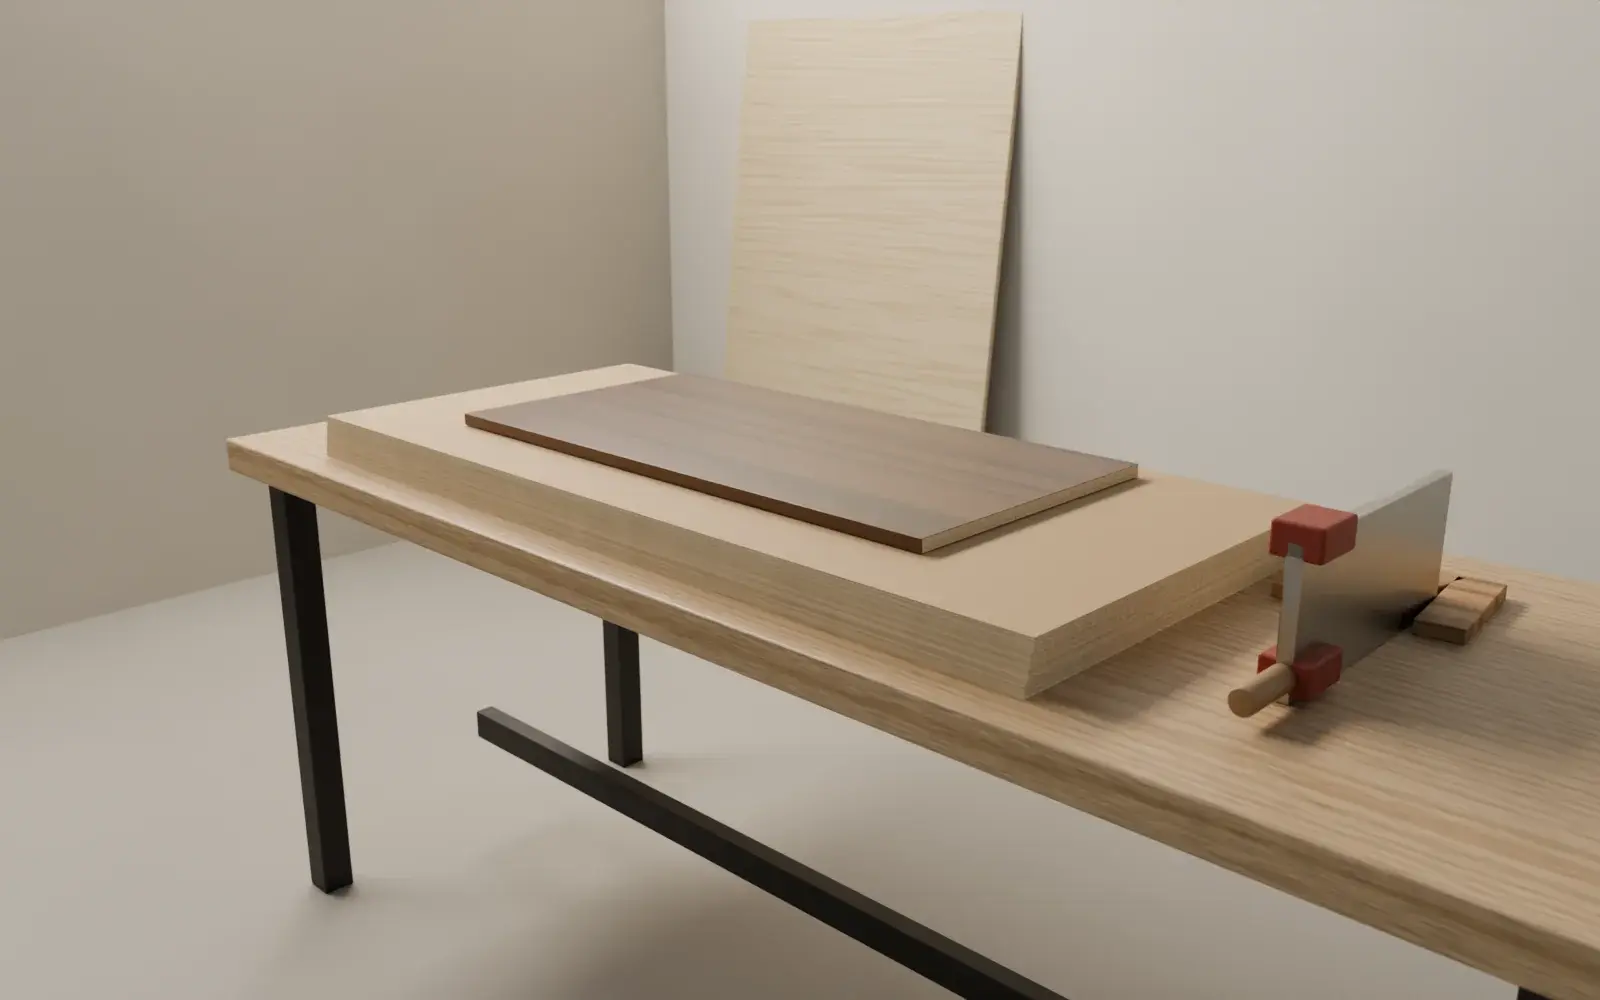 Joinery is made from the approved drawings. Site work — electrical, plumbing, civil — is scheduled so the room is ready when the joinery is.
You receiveA written schedule · Progress updates at agreed points
ThenInstallation
Stage 5 of 6: Installation
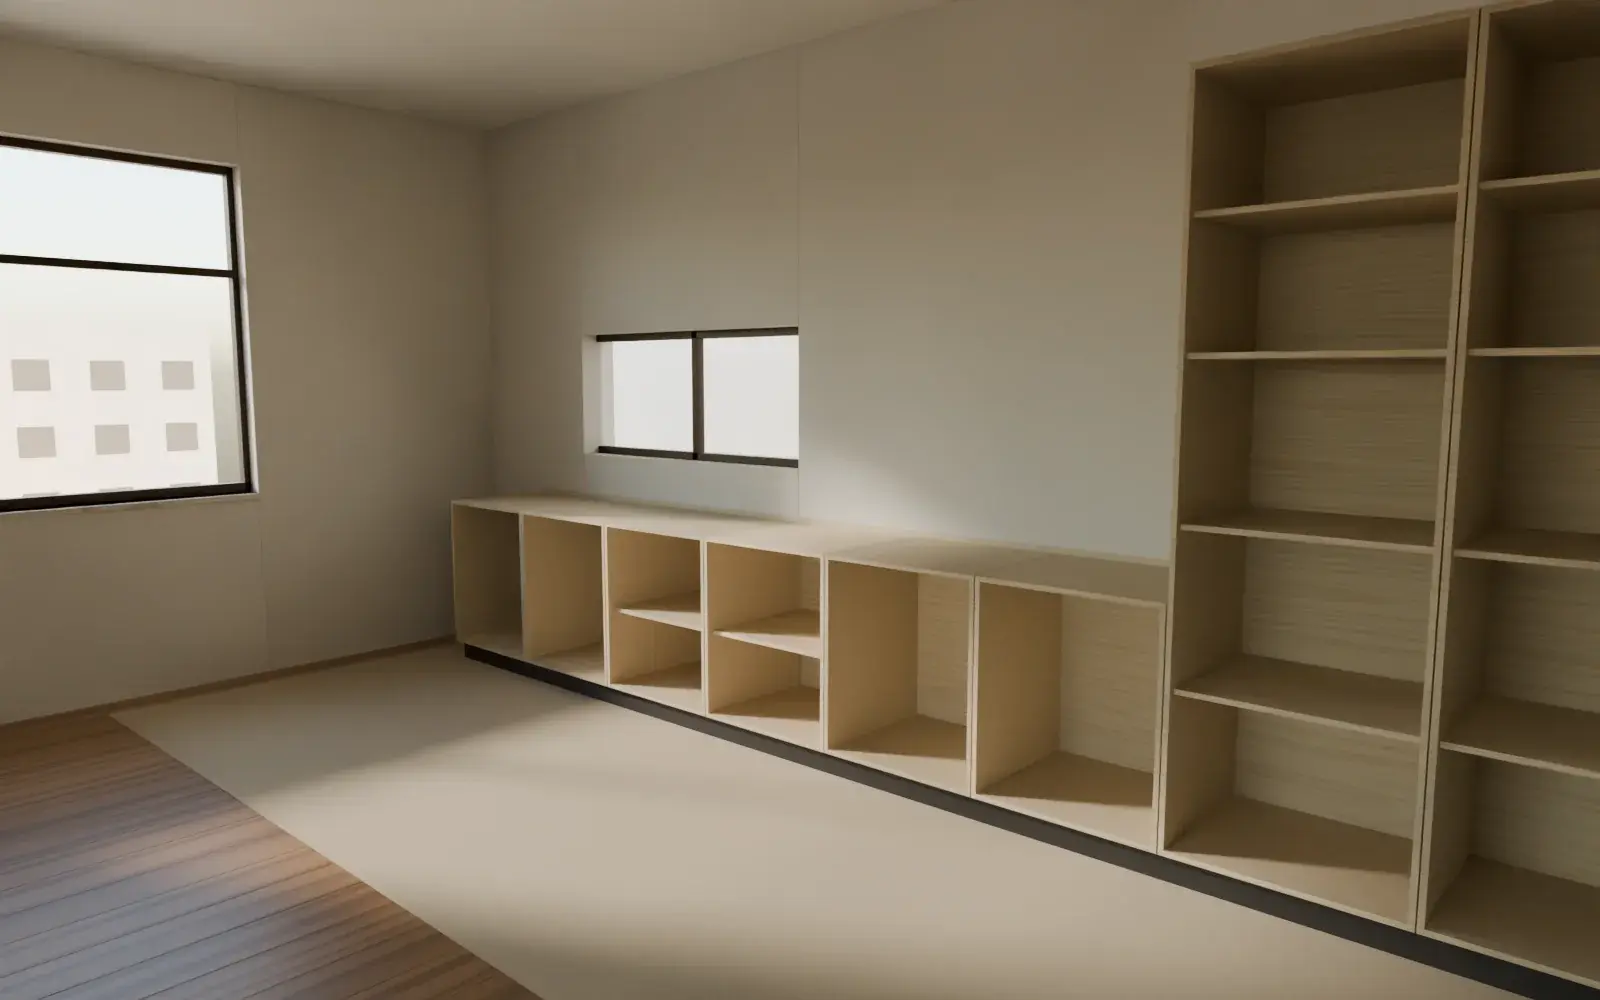 Fitting on site: carcasses levelled, doors aligned, worktops templated and fixed. The site is kept clean and protected each day.
You receiveA daily summary of what was done
ThenHandover
Stage 6 of 6: Handover
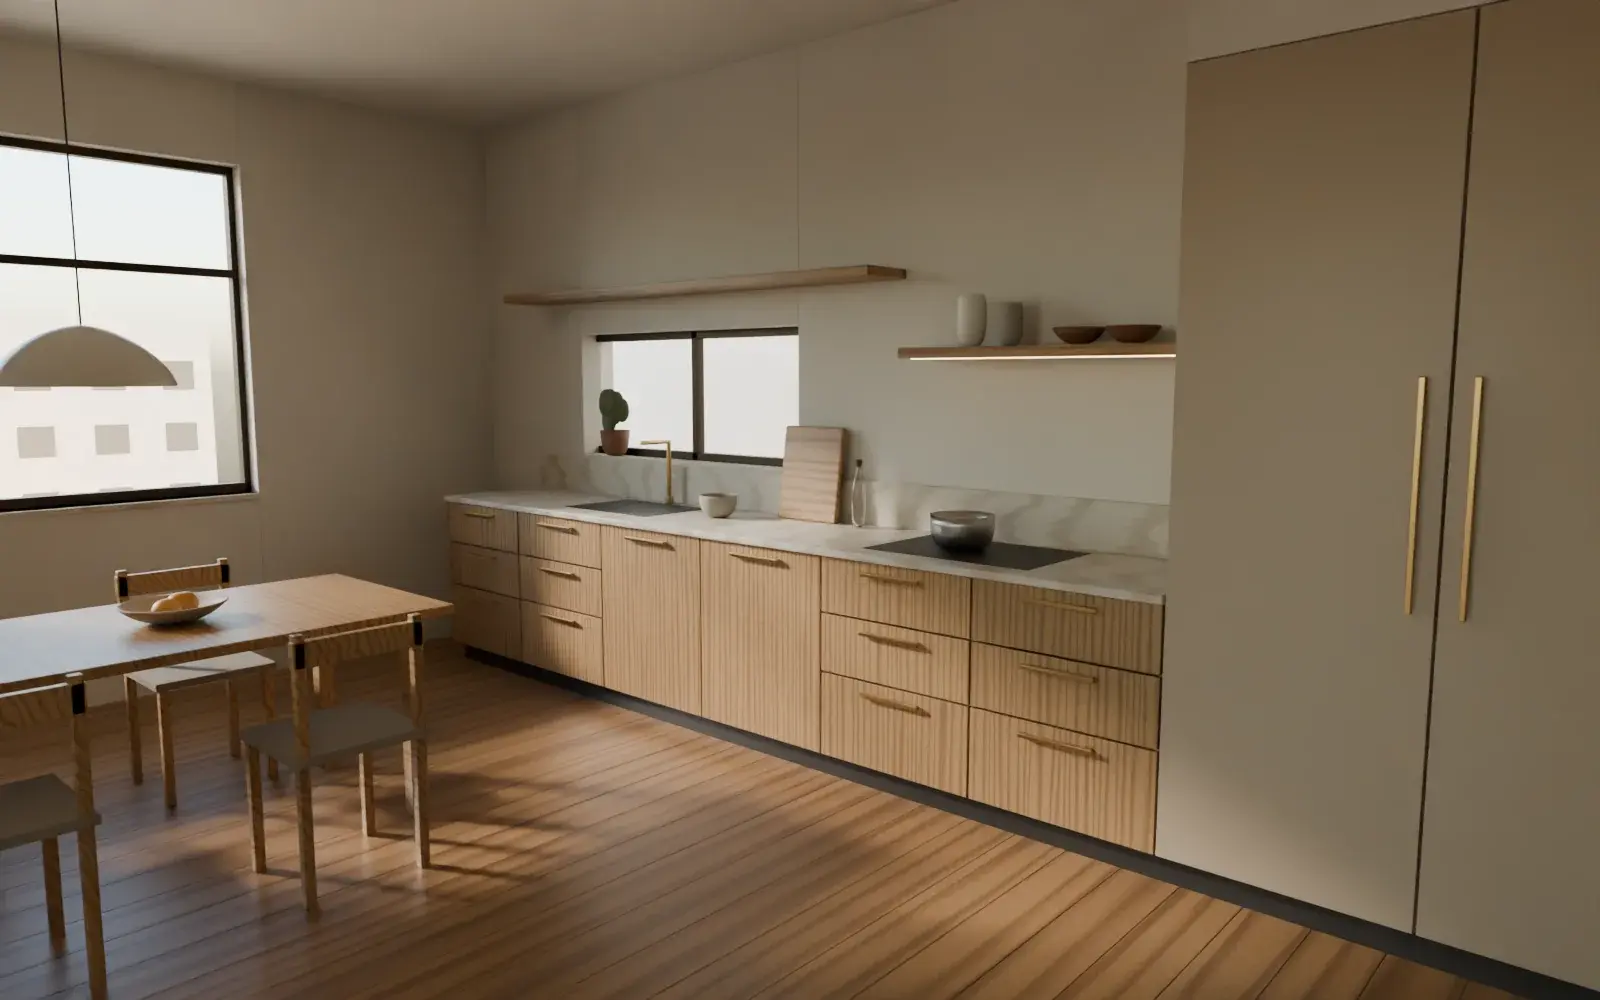 We walk through every door, drawer and fitting together, fix anything outstanding and explain how to look after each finish.
You receiveCare guide for your materials · A record of what was installed